1.4.4 Connecting TalkSwitch to a PC
There are four ways to connect TalkSwitch directly to your PC for configuration - Serial, USB (Windows XP, 2000 excluded), Ethernet (LAN port), and remotely using a dial up modem.
Serial: | Use the provided serial cable (RS232) to connect TalkSwitch to an |
| open COM port on your PC. |
USB: | Use a USB cable to connect TalkSwitch to an available USB port on |
| your PC or USB hub. |
Ethernet: | With the TalkSwitch 48 models, TalkSwitch can be configured using |
| a PC connected to the same LAN as your TalkSwitch units. TalkSwitch |
| cannot be configured from the Internet. |
Modem: | Using a PC with a dial up modem and running the TalkSwitch con- |
| figuration software, you can choose to call TalkSwitch from anywhere |
| in the world then connect and configure the system. |
1.4.4.1 Connecting TalkSwitch to a PC using a Serial cable
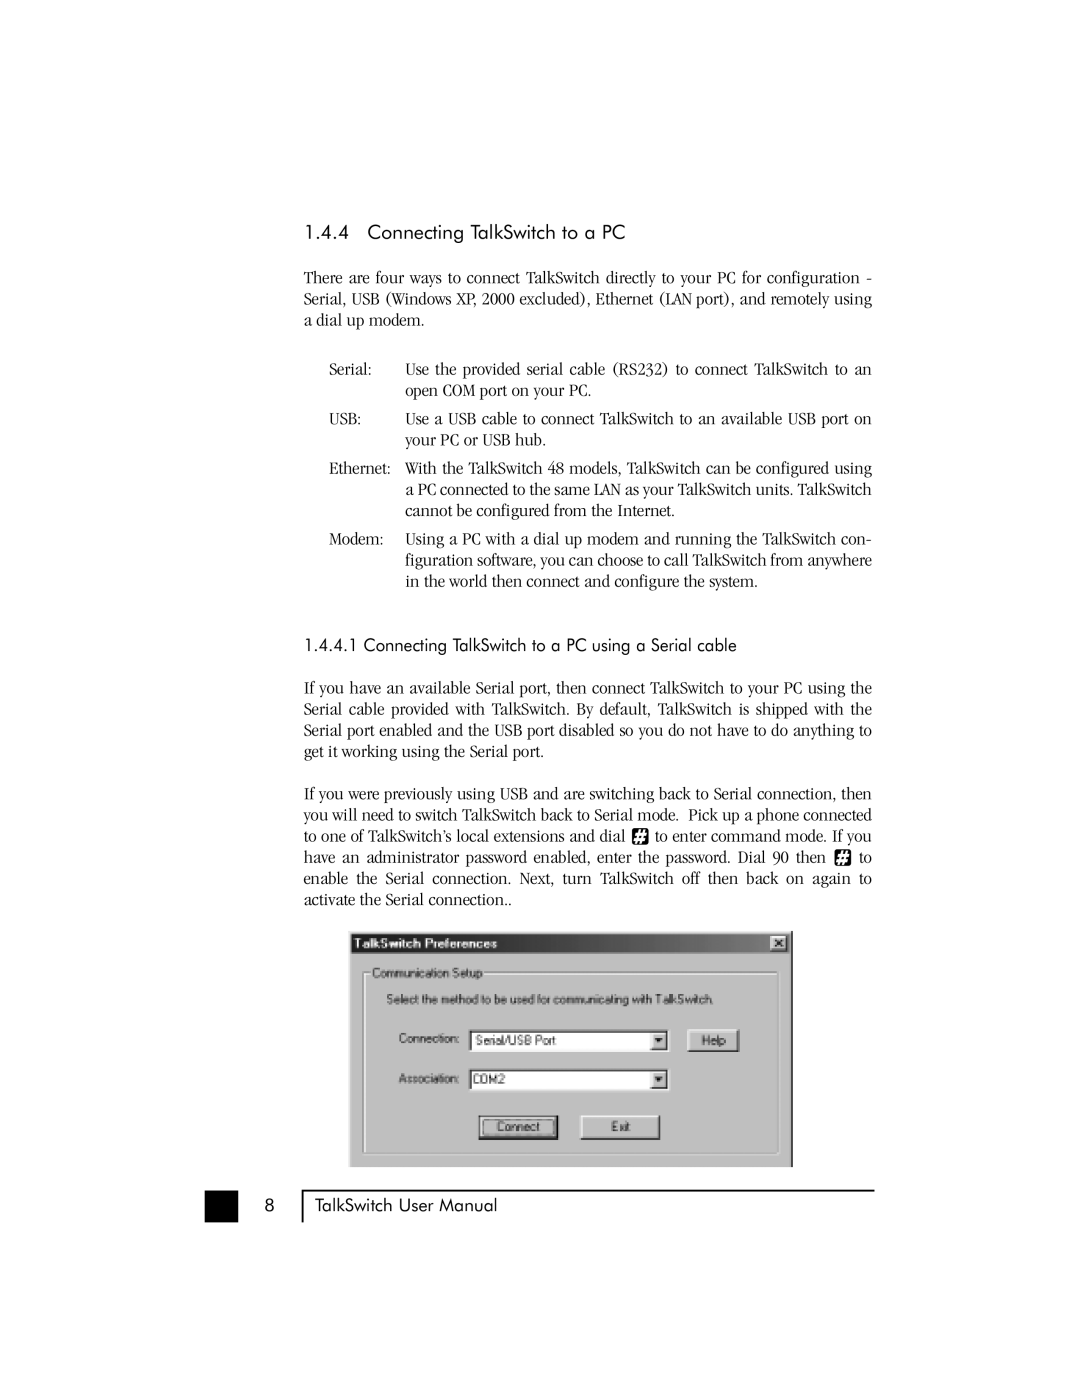
If you have an available Serial port, then connect TalkSwitch to your PC using the Serial cable provided with TalkSwitch. By default, TalkSwitch is shipped with the Serial port enabled and the USB port disabled so you do not have to do anything to get it working using the Serial port.
If you were previously using USB and are switching back to Serial connection, then you will need to switch TalkSwitch back to Serial mode. Pick up a phone connected
to one of TalkSwitch’s local extensions and dial ![]() to enter command mode. If you
to enter command mode. If you
have an administrator password enabled, enter the password. Dial 90 then ![]() to enable the Serial connection. Next, turn TalkSwitch off then back on again to activate the Serial connection..
to enable the Serial connection. Next, turn TalkSwitch off then back on again to activate the Serial connection..
8
TalkSwitch User Manual