2.2Control Center
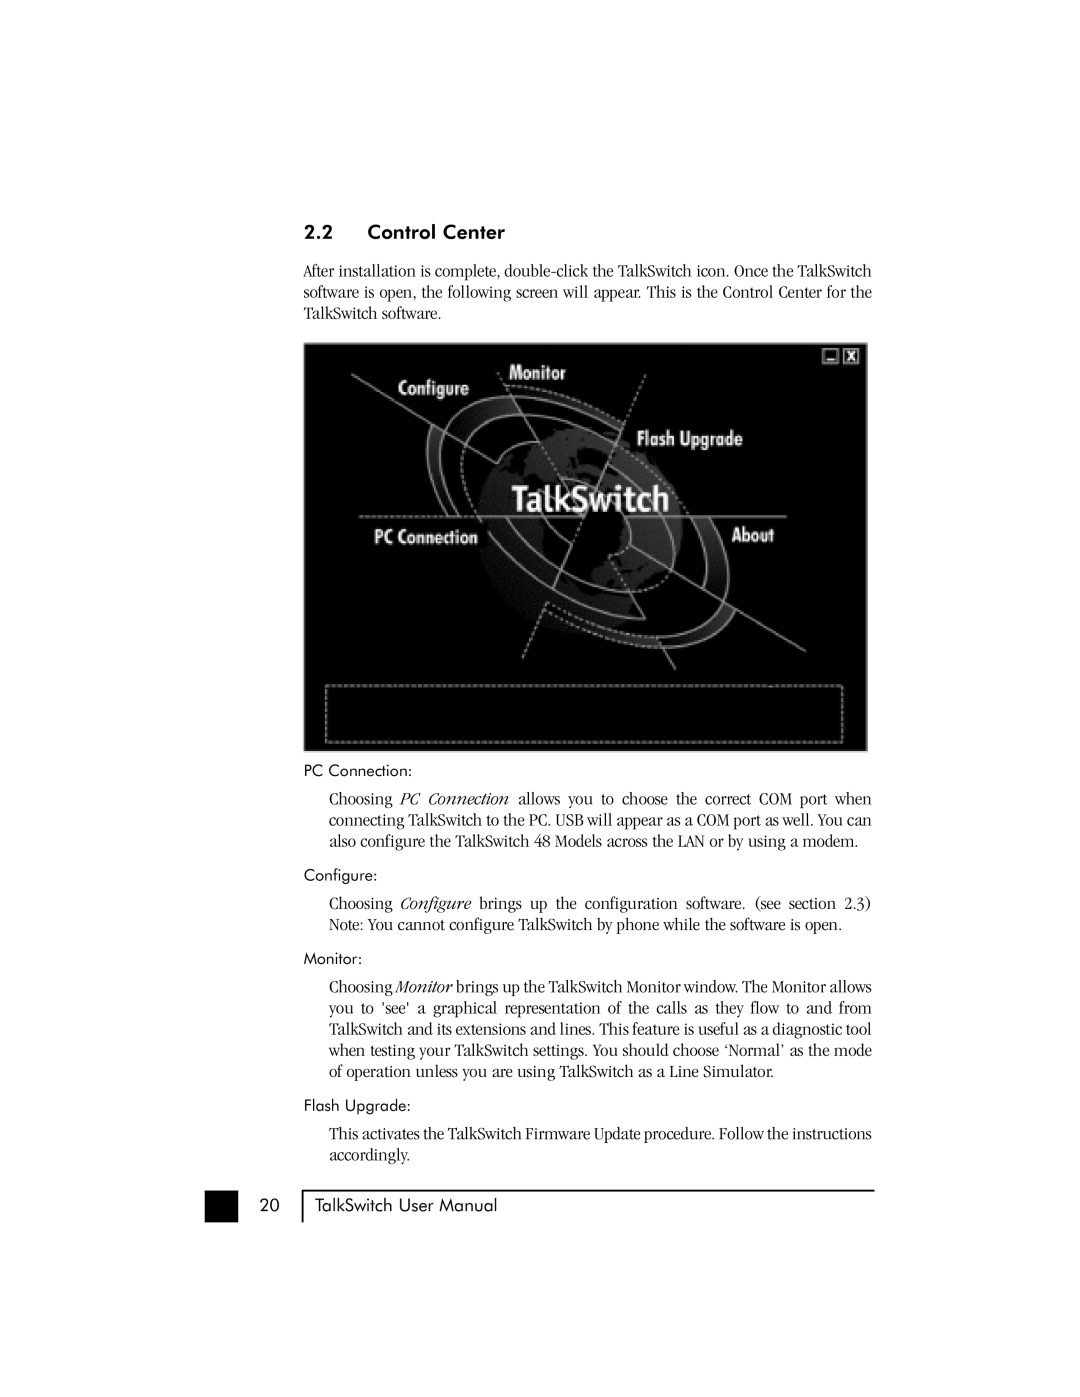
After installation is complete,
PC Connection:
Choosing PC Connection allows you to choose the correct COM port when connecting TalkSwitch to the PC. USB will appear as a COM port as well. You can also configure the TalkSwitch 48 Models across the LAN or by using a modem.
Configure:
Choosing Configure brings up the configuration software. (see section 2.3) Note: You cannot configure TalkSwitch by phone while the software is open.
Monitor:
Choosing Monitor brings up the TalkSwitch Monitor window. The Monitor allows you to 'see' a graphical representation of the calls as they flow to and from TalkSwitch and its extensions and lines. This feature is useful as a diagnostic tool when testing your TalkSwitch settings. You should choose ‘Normal’ as the mode of operation unless you are using TalkSwitch as a Line Simulator.
Flash Upgrade:
This activates the TalkSwitch Firmware Update procedure. Follow the instructions accordingly.
20
TalkSwitch User Manual
