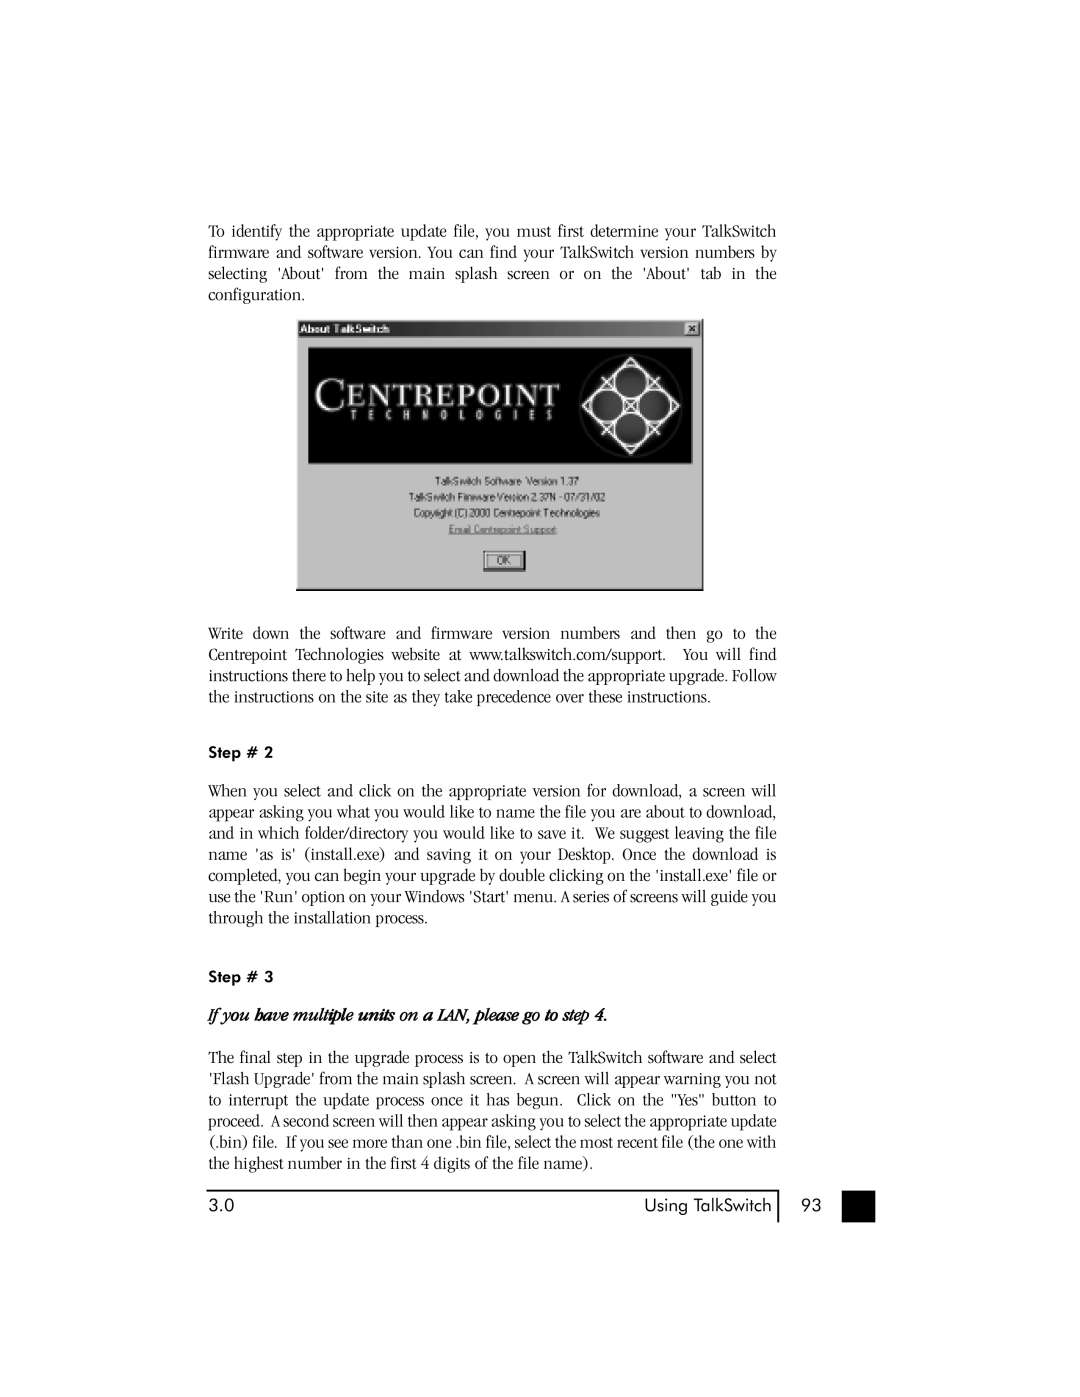
To identify the appropriate update file, you must first determine your TalkSwitch firmware and software version. You can find your TalkSwitch version numbers by selecting 'About' from the main splash screen or on the 'About' tab in the configuration.
Write down the software and firmware version numbers and then go to the Centrepoint Technologies website at www.talkswitch.com/support. You will find instructions there to help you to select and download the appropriate upgrade. Follow the instructions on the site as they take precedence over these instructions.
Step # 2
When you select and click on the appropriate version for download, a screen will appear asking you what you would like to name the file you are about to download, and in which folder/directory you would like to save it. We suggest leaving the file name 'as is' (install.exe) and saving it on your Desktop. Once the download is completed, you can begin your upgrade by double clicking on the 'install.exe' file or use the 'Run' option on your Windows 'Start' menu. A series of screens will guide you through the installation process.
Step # 3
If you have multiple units on a LAN, please go to step 4.
The final step in the upgrade process is to open the TalkSwitch software and select 'Flash Upgrade' from the main splash screen. A screen will appear warning you not to interrupt the update process once it has begun. Click on the "Yes" button to proceed. A second screen will then appear asking you to select the appropriate update (.bin) file. If you see more than one .bin file, select the most recent file (the one with the highest number in the first 4 digits of the file name).
3.0 | Using TalkSwitch 93 |