6
By default, TalkSwitch is set to Serial connection. To activate USB connection, dial
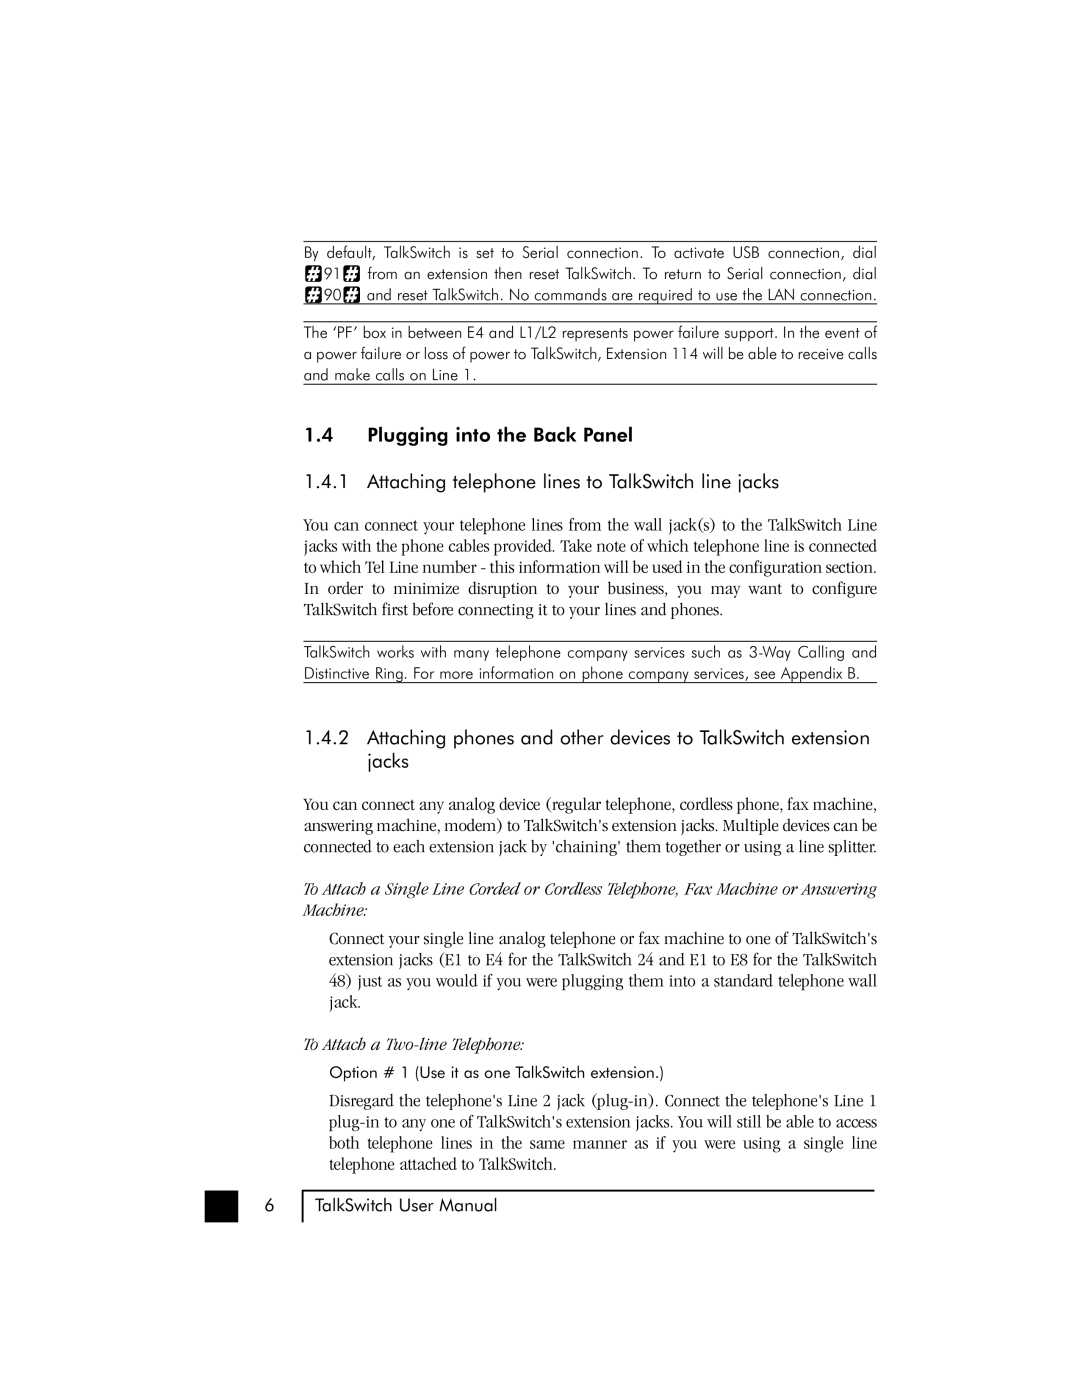
![]() 91
91![]() from an extension then reset TalkSwitch. To return to Serial connection, dial
from an extension then reset TalkSwitch. To return to Serial connection, dial ![]() 90
90![]() and reset TalkSwitch. No commands are required to use the LAN connection.
and reset TalkSwitch. No commands are required to use the LAN connection.
The ‘PF’ box in between E4 and L1/L2 represents power failure support. In the event of a power failure or loss of power to TalkSwitch, Extension 114 will be able to receive calls and make calls on Line 1.
1.4Plugging into the Back Panel
1.4.1 Attaching telephone lines to TalkSwitch line jacks
You can connect your telephone lines from the wall jack(s) to the TalkSwitch Line jacks with the phone cables provided. Take note of which telephone line is connected to which Tel Line number - this information will be used in the configuration section. In order to minimize disruption to your business, you may want to configure TalkSwitch first before connecting it to your lines and phones.
TalkSwitch works with many telephone company services such as
1.4.2Attaching phones and other devices to TalkSwitch extension jacks
You can connect any analog device (regular telephone, cordless phone, fax machine, answering machine, modem) to TalkSwitch's extension jacks. Multiple devices can be connected to each extension jack by 'chaining' them together or using a line splitter.
To Attach a Single Line Corded or Cordless Telephone, Fax Machine or Answering Machine:
Connect your single line analog telephone or fax machine to one of TalkSwitch's extension jacks (E1 to E4 for the TalkSwitch 24 and E1 to E8 for the TalkSwitch
48)just as you would if you were plugging them into a standard telephone wall jack.
To Attach a Two-line Telephone:
Option # 1 (Use it as one TalkSwitch extension.)
Disregard the telephone's Line 2 jack
TalkSwitch User Manual