3.2 Executing the Diagnostic Test | 3 Tests and Diagnostics |
Note: To exit the DIAGNOSTIC TEST MENU, press the Esc key. If a test program is in progress, press Ctrl + Break to exit the test program. If a test program is in progress, press Ctrl + C to stop the test program.
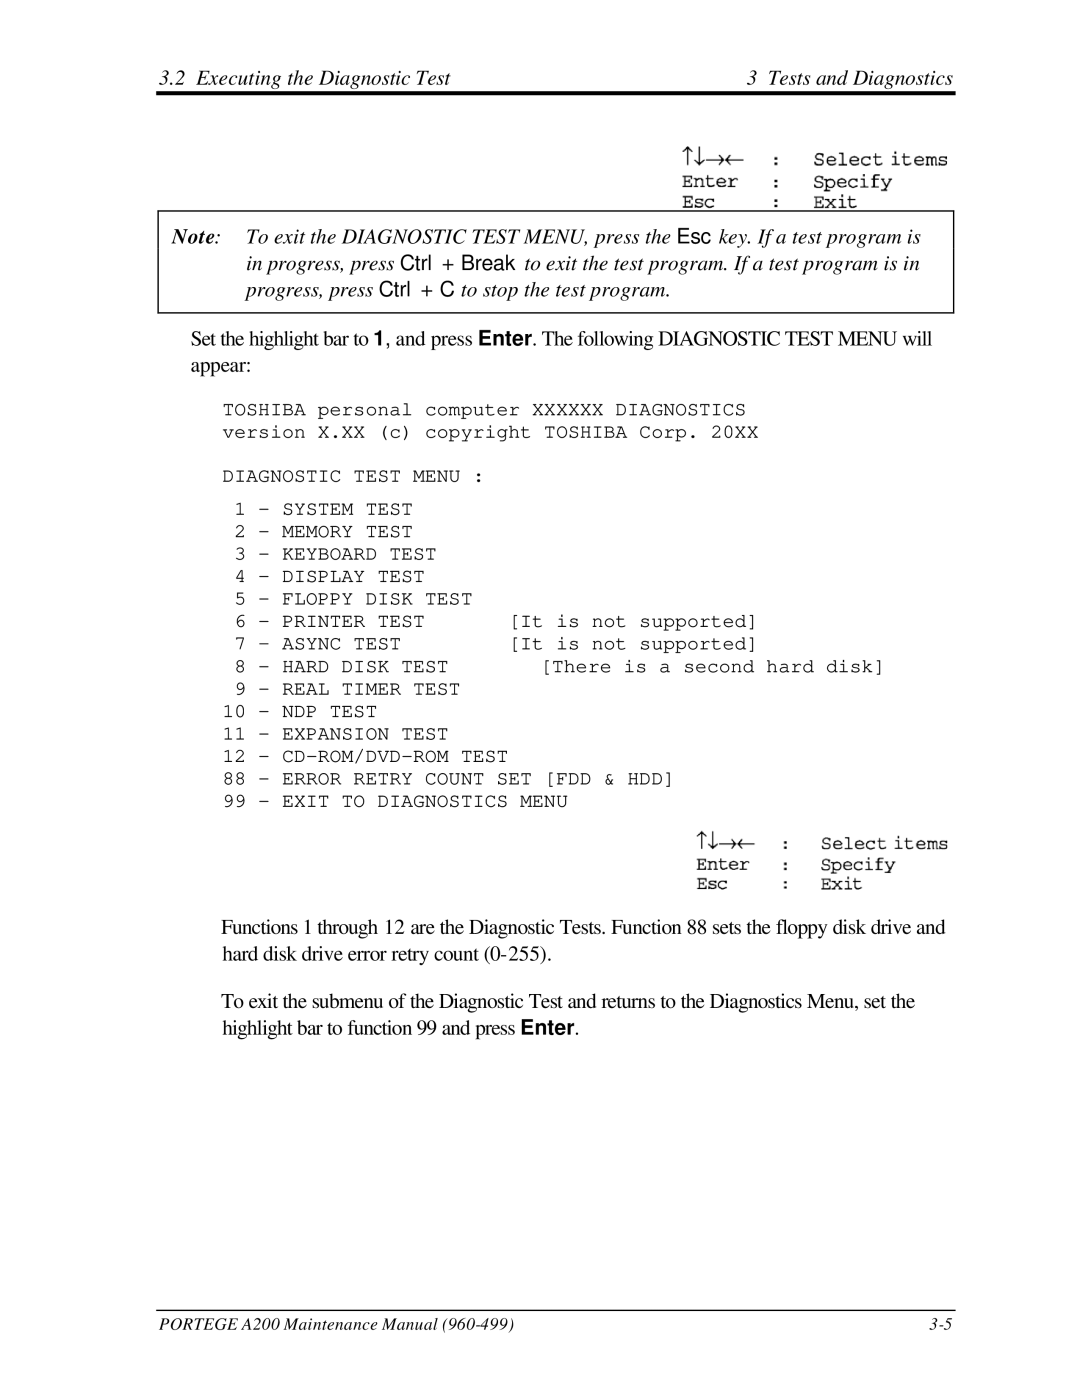
Set the highlight bar to 1, and press Enter. The following DIAGNOSTIC TEST MENU will appear:
TOSHIBA personal | computer XXXXXX DIAGNOSTICS | ||
version X.XX (c) | copyright TOSHIBA Corp. 20XX | ||
DIAGNOSTIC TEST MENU : |
| ||
1 | - SYSTEM TEST |
|
|
2 | - MEMORY TEST |
|
|
3 | - KEYBOARD TEST |
| |
4 | - DISPLAY TEST |
|
|
5 | - FLOPPY DISK | TEST |
|
6 | - PRINTER TEST |
| [It is not supported] |
7 | – ASYNC TEST |
| [It is not supported] |
8 | - HARD DISK TEST | [There is a second hard disk] | |
9 | - REAL TIMER TEST |
| |
10 | - NDP TEST |
|
|
11 | - EXPANSION TEST |
| |
12 | - |
| |
88 | - ERROR RETRY | COUNT SET [FDD & HDD] | |
99 | - EXIT TO DIAGNOSTICS MENU | ||
Functions 1 through 12 are the Diagnostic Tests. Function 88 sets the floppy disk drive and hard disk drive error retry count
To exit the submenu of the Diagnostic Test and returns to the Diagnostics Menu, set the highlight bar to function 99 and press Enter.
PORTEGE A200 Maintenance Manual |