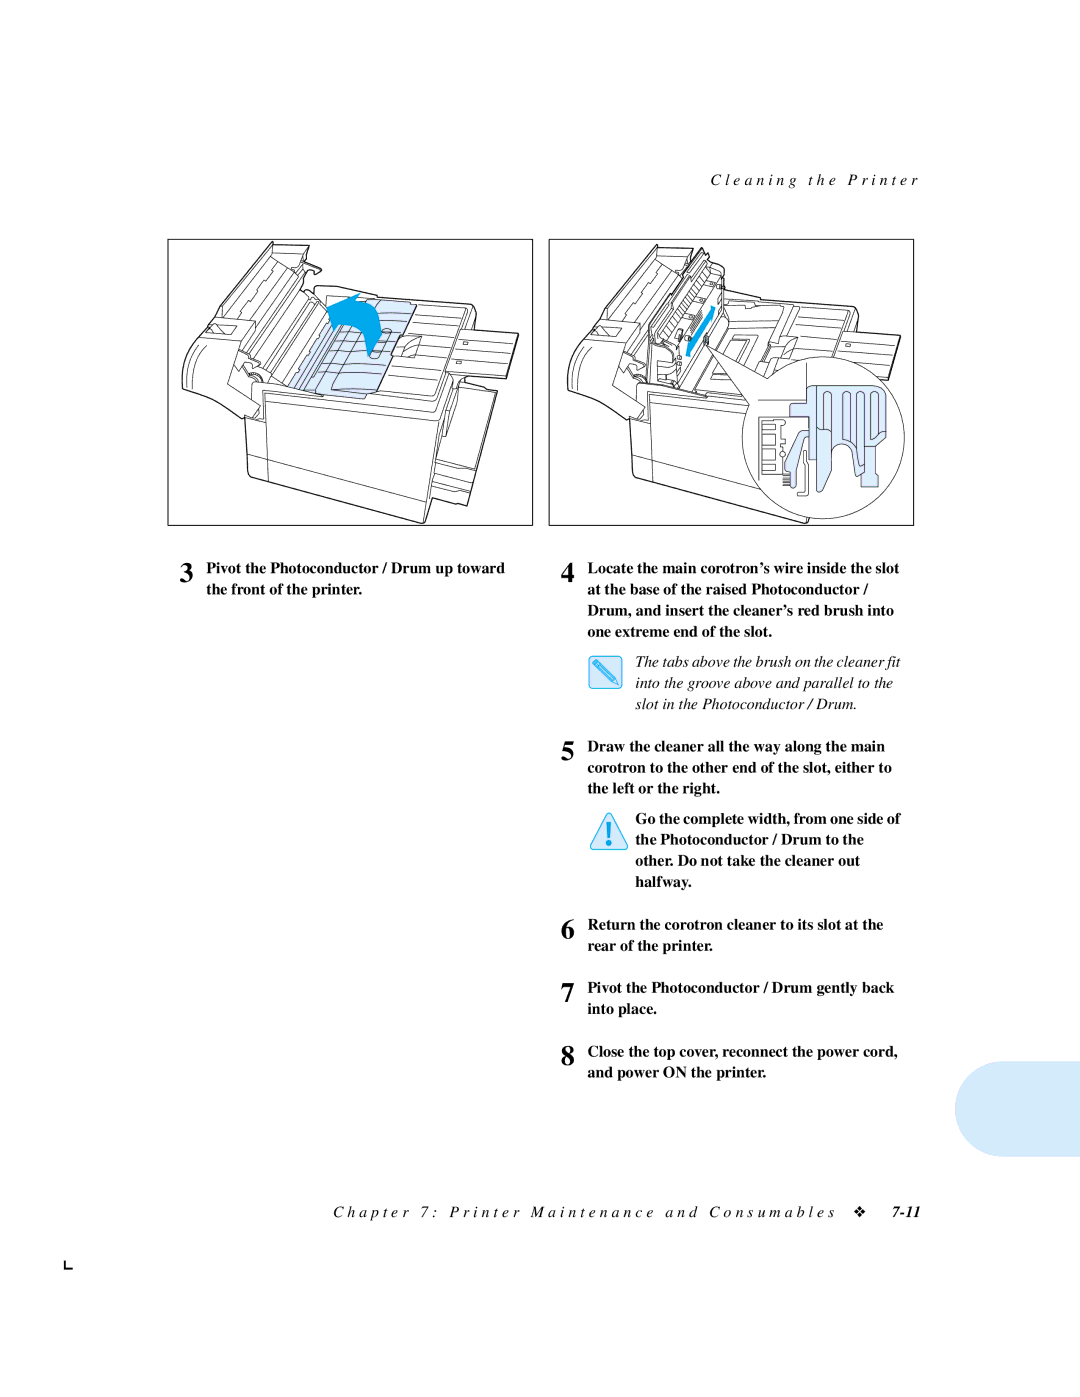
3 Pivot the Photoconductor / Drum up toward the front of the printer.
C l e a n i n g t h e P r i n t e r |
4 Locate the main corotron’s wire inside the slot at the base of the raised Photoconductor / Drum, and insert the cleaner’s red brush into one extreme end of the slot.
The tabs above the brush on the cleaner fit into the groove above and parallel to the slot in the Photoconductor / Drum.
5 Draw the cleaner all the way along the main corotron to the other end of the slot, either to the left or the right.
Go the complete width, from one side of the Photoconductor / Drum to the other. Do not take the cleaner out halfway.
6 | Return the corotron cleaner to its slot at the |
| rear of the printer. |
7 | Pivot the Photoconductor / Drum gently back |
| into place. |
8 | Close the top cover, reconnect the power cord, |
| and power ON the printer. |
C h a p t e r 7 : P r i n t e r M a i n t e n a n c e a n d C o n s u m a b l e s ❖