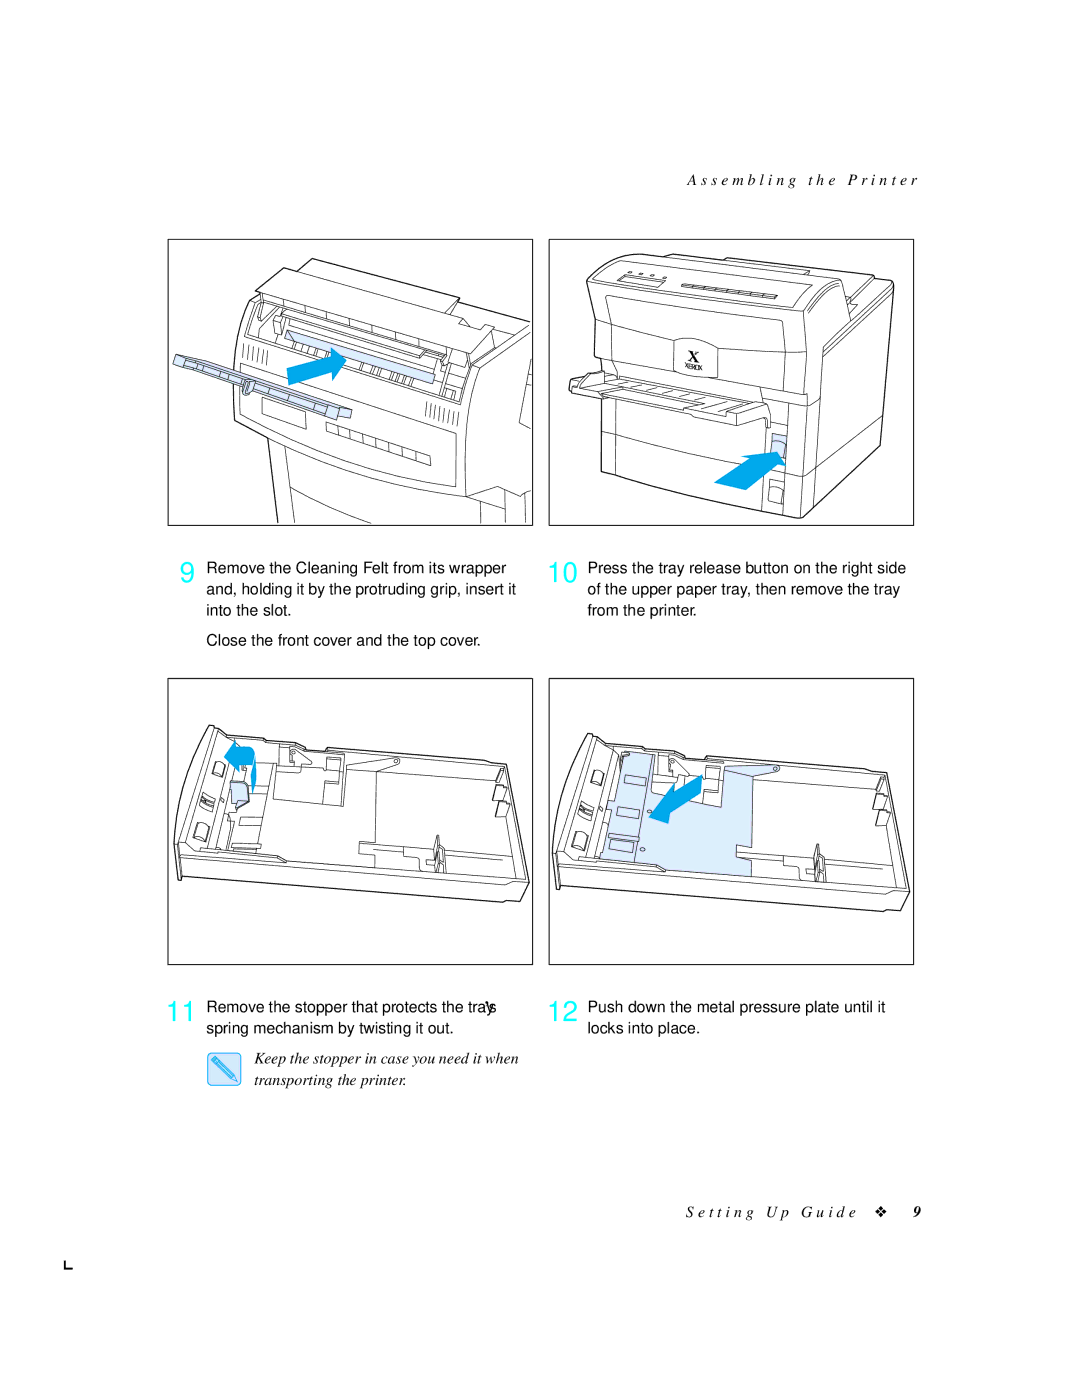
9 Remove the Cleaning Felt from its wrapper and, holding it by the protruding grip, insert it into the slot.
Close the front cover and the top cover.
A s s e m b l i n g t h e P r i n t e r |
10 Press the tray release button on the right side of the upper paper tray, then remove the tray from the printer.
11 Remove the stopper that protects the tray’s spring mechanism by twisting it out.
12 Push down the metal pressure plate until it locks into place.
Keep the stopper in case you need it when transporting the printer.