Dimension
| Table | |
|
| |
LABEL | DESCRIPTION | |
|
| |
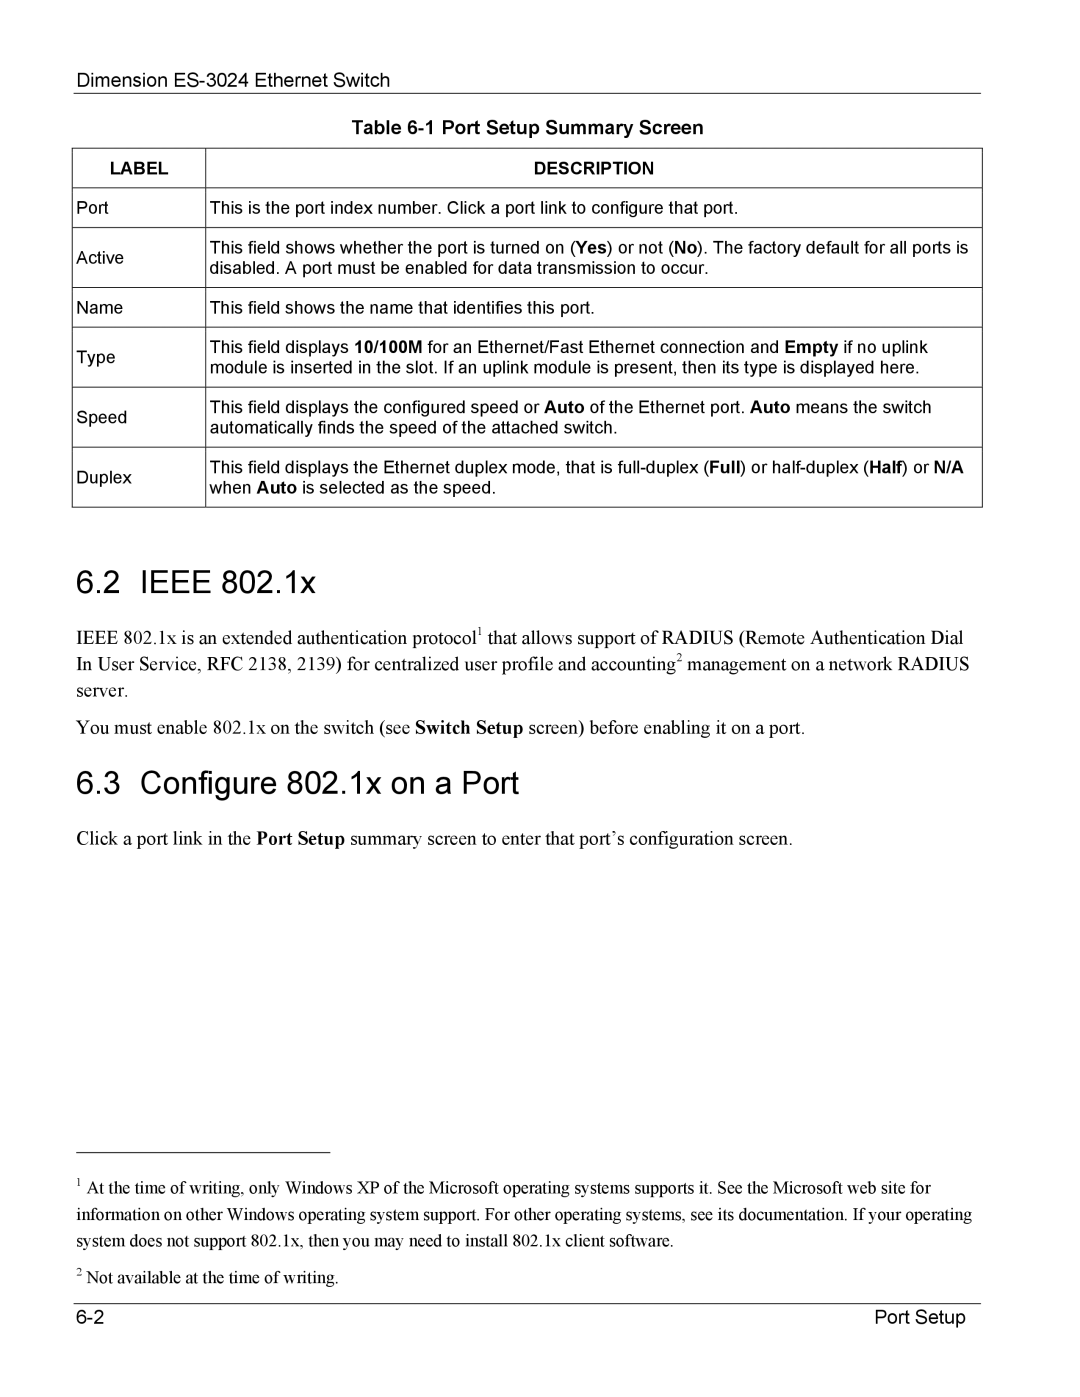
Port | This is the port index number. Click a port link to configure that port. | |
|
| |
Active | This field shows whether the port is turned on (Yes) or not (No). The factory default for all ports is | |
disabled. A port must be enabled for data transmission to occur. | ||
| ||
|
| |
Name | This field shows the name that identifies this port. | |
|
| |
Type | This field displays 10/100M for an Ethernet/Fast Ethernet connection and Empty if no uplink | |
module is inserted in the slot. If an uplink module is present, then its type is displayed here. | ||
| ||
|
| |
Speed | This field displays the configured speed or Auto of the Ethernet port. Auto means the switch | |
automatically finds the speed of the attached switch. | ||
| ||
|
| |
Duplex | This field displays the Ethernet duplex mode, that is | |
when Auto is selected as the speed. | ||
| ||
|
|
6.2 IEEE 802.1x
IEEE 802.1x is an extended authentication protocol1 that allows support of RADIUS (Remote Authentication Dial In User Service, RFC 2138, 2139) for centralized user profile and accounting2 management on a network RADIUS server.
You must enable 802.1x on the switch (see Switch Setup screen) before enabling it on a port.
6.3 Configure 802.1x on a Port
Click a port link in the Port Setup summary screen to enter that port’s configuration screen.
1At the time of writing, only Windows XP of the Microsoft operating systems supports it. See the Microsoft web site for information on other Windows operating system support. For other operating systems, see its documentation. If your operating system does not support 802.1x, then you may need to install 802.1x client software.
2Not available at the time of writing.
Port Setup |
