Shooting Negatives
Preview
Mode
To view negative films, turn on the backlight and switch to negative mode.
Ensure that the backlight is lit (P.77).
Procedure with the Remote Control
This function cannot be controlled with the remote control.
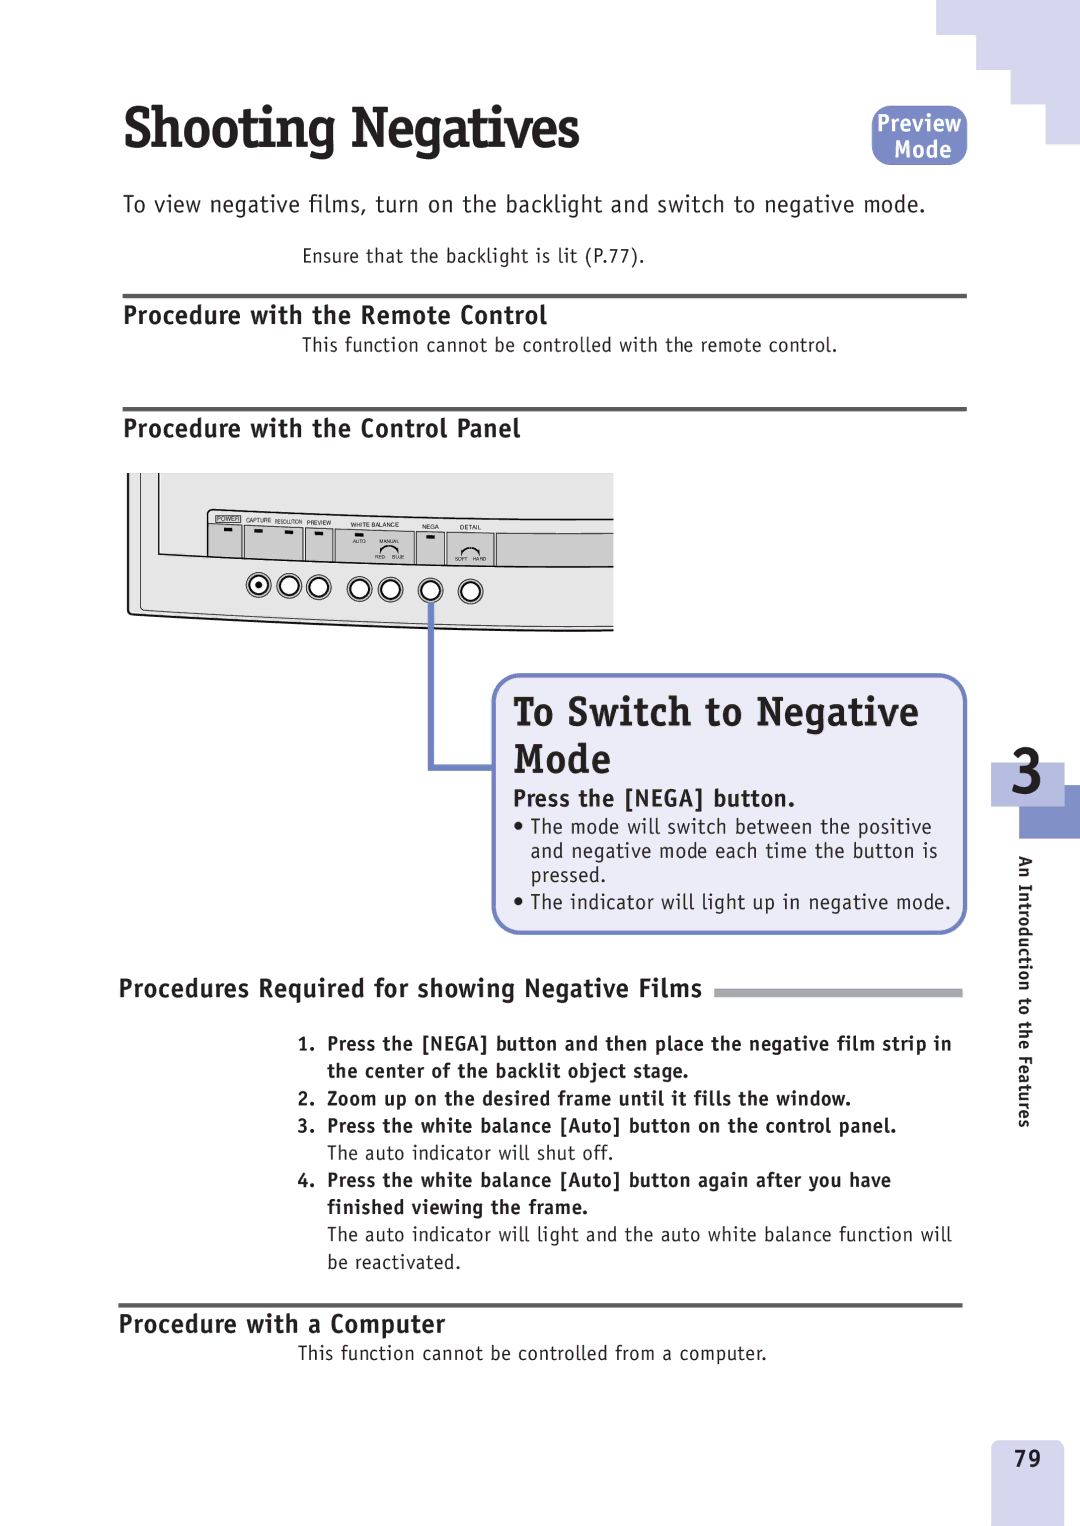
Procedure with the Control Panel
POWER | CAPTURE RESOLUTION PREVIEW | WHITE BALANCE |
|
| |
| NEGA | DETAIL | |||
|
| AUTO | MANUAL |
|
|
|
|
| RED BLUE |
| SOFT HARD |
To Switch to Negative
Mode
Press the [NEGA] button.
•The mode will switch between the positive and negative mode each time the button is pressed.
•The indicator will light up in negative mode.
Procedures Required for showing Negative Films
1.Press the [NEGA] button and then place the negative film strip in the center of the backlit object stage.
2.Zoom up on the desired frame until it fills the window.
3.Press the white balance [Auto] button on the control panel. The auto indicator will shut off.
4.Press the white balance [Auto] button again after you have finished viewing the frame.
The auto indicator will light and the auto white balance function will be reactivated.
Procedure with a Computer
This function cannot be controlled from a computer.
3
An Introduction to the Features
79
