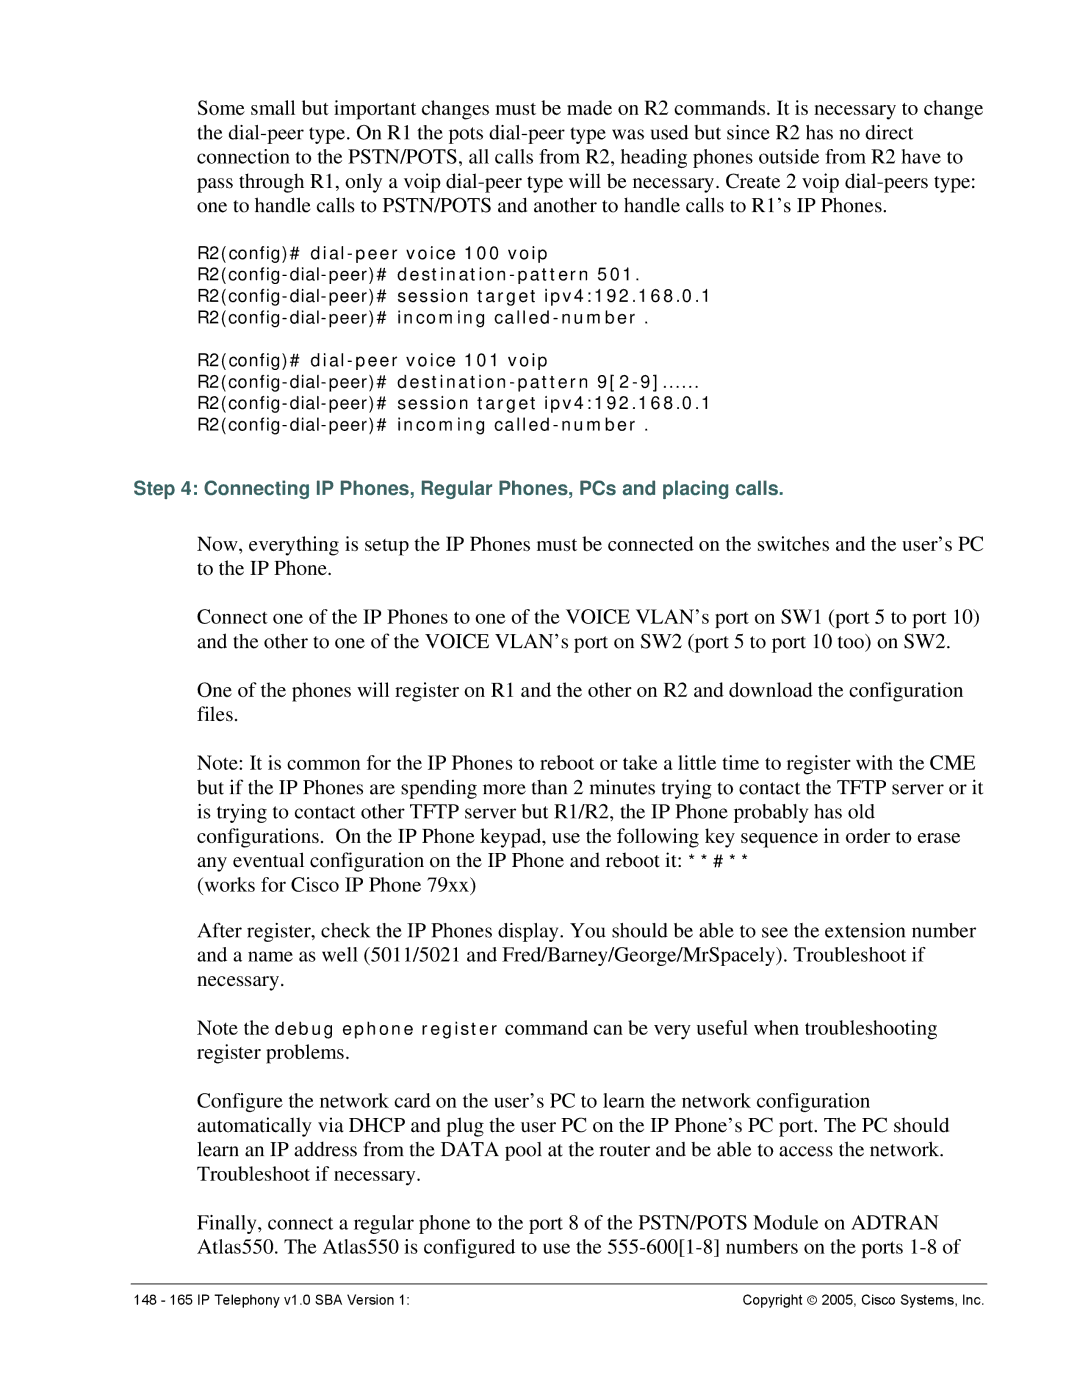
Some small but important changes must be made on R2 commands. It is necessary to change the
R2(config)#
R2(config)#
Step 4: Connecting IP Phones, Regular Phones, PCs and placing calls.
Now, everything is setup the IP Phones must be connected on the switches and the user’s PC to the IP Phone.
Connect one of the IP Phones to one of the VOICE VLAN’s port on SW1 (port 5 to port 10) and the other to one of the VOICE VLAN’s port on SW2 (port 5 to port 10 too) on SW2.
One of the phones will register on R1 and the other on R2 and download the configuration files.
Note: It is common for the IP Phones to reboot or take a little time to register with the CME but if the IP Phones are spending more than 2 minutes trying to contact the TFTP server or it is trying to contact other TFTP server but R1/R2, the IP Phone probably has old configurations. On the IP Phone keypad, use the following key sequence in order to erase any eventual configuration on the IP Phone and reboot it: **#**
(works for Cisco IP Phone 79xx)
After register, check the IP Phones display. You should be able to see the extension number and a name as well (5011/5021 and Fred/Barney/George/MrSpacely). Troubleshoot if necessary.
Note the debug ephone register command can be very useful when troubleshooting register problems.
Configure the network card on the user’s PC to learn the network configuration automatically via DHCP and plug the user PC on the IP Phone’s PC port. The PC should learn an IP address from the DATA pool at the router and be able to access the network. Troubleshoot if necessary.
Finally, connect a regular phone to the port 8 of the PSTN/POTS Module on ADTRAN Atlas550. The Atlas550 is configured to use the
148 - 165 IP Telephony v1.0 SBA Version 1: | Copyright ♥ 2005, Cisco Systems, Inc. |
