AUTOMATIC EXPOSURE ADJUSTMENT AUTOMATISCHE BELICHTUNGSKORREKTUR
The automatic exposure level can be adjusted to suit | Die automatische Belichtungskorrektur kann Ihren Kopie- |
your copying needs.This level is set for copying from the | ranforderungen gemäß eingestellt werden. Diese Ein- |
original table and copying from the | stellung erfolgt, um aus dem Originaleinzug bzw. aus |
tively | dem SPF/ |
| kopieren. |
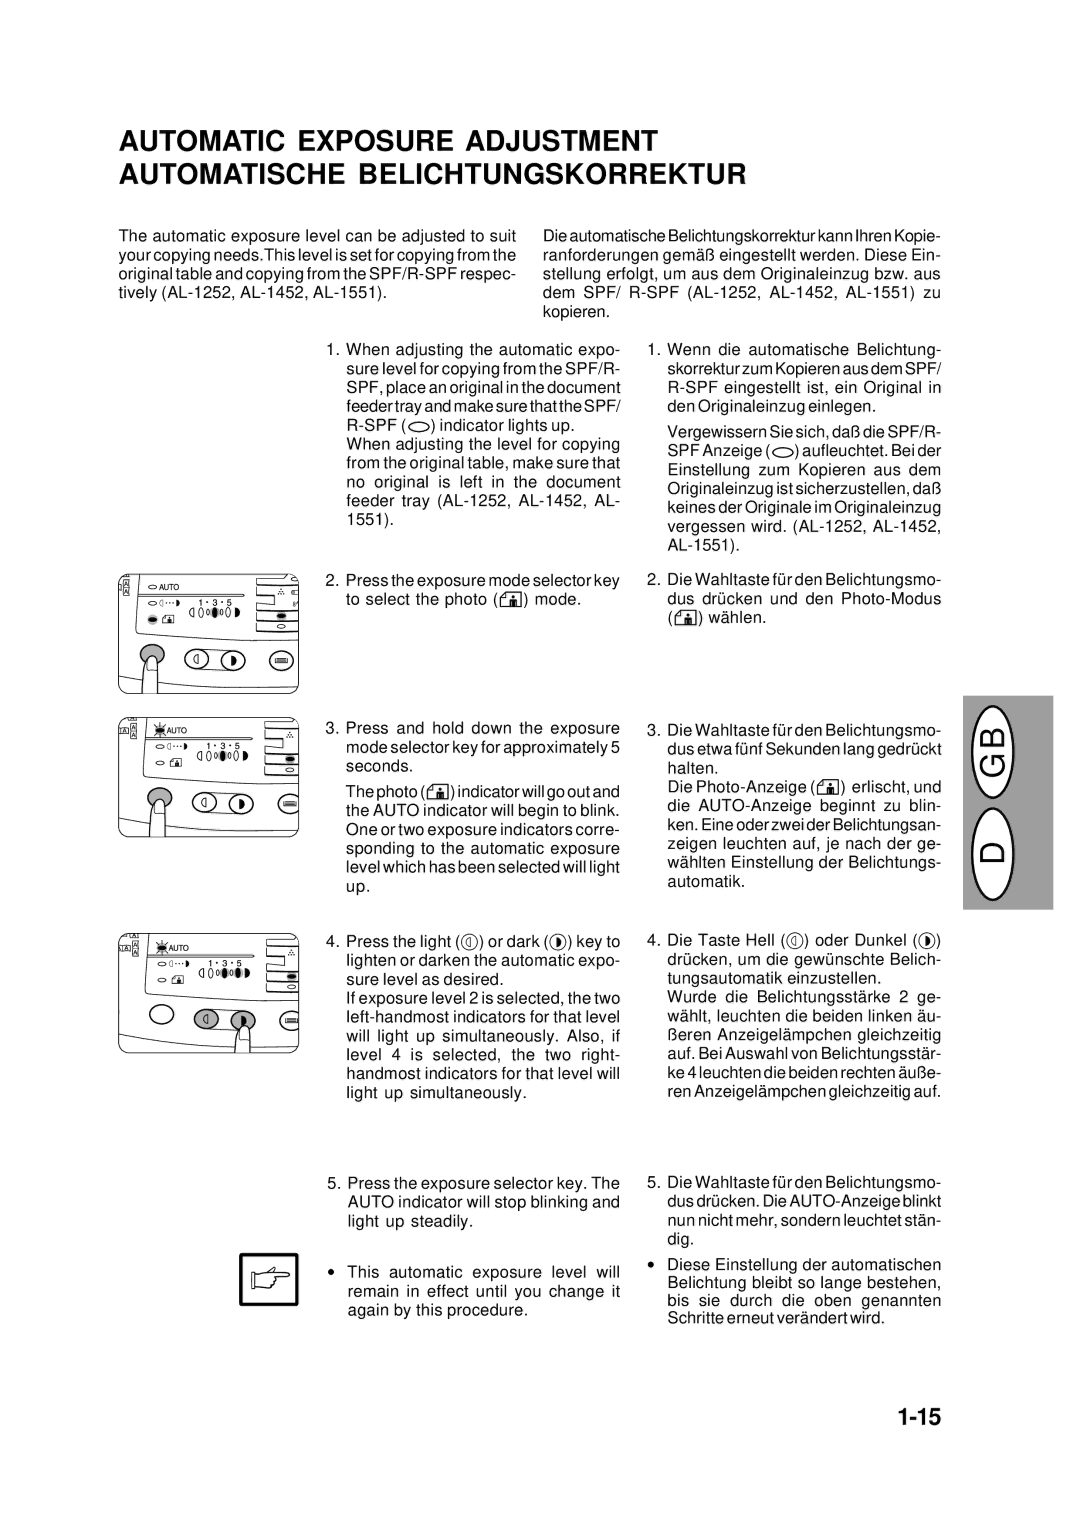
1.When adjusting the automatic expo- sure level for copying from the SPF/R- SPF, place an original in the document feeder tray and make sure that the SPF/ ![]() ) indicator lights up.
) indicator lights up.
When adjusting the level for copying from the original table, make sure that no original is left in the document feeder tray
2.Press the exposure mode selector key to select the photo (![]() ) mode.
) mode.
3.Press and hold down the exposure mode selector key for approximately 5 seconds.
The photo (![]() ) indicator will go out and the AUTO indicator will begin to blink. One or two exposure indicators corre- sponding to the automatic exposure level which has been selected will light up.
) indicator will go out and the AUTO indicator will begin to blink. One or two exposure indicators corre- sponding to the automatic exposure level which has been selected will light up.
4.Press the light ({) or dark (}) key to lighten or darken the automatic expo- sure level as desired.
If exposure level 2 is selected, the two
5.Press the exposure selector key. The AUTO indicator will stop blinking and light up steadily.
•This automatic exposure level will remain in effect until you change it again by this procedure.
1.Wenn die automatische Belichtung- skorrektur zum Kopieren aus dem SPF/
Vergewissern Sie sich, daß die SPF/R- SPF Anzeige (![]() ) aufleuchtet. Bei der Einstellung zum Kopieren aus dem Originaleinzug ist sicherzustellen, daß keines der Originale im Originaleinzug vergessen wird.
) aufleuchtet. Bei der Einstellung zum Kopieren aus dem Originaleinzug ist sicherzustellen, daß keines der Originale im Originaleinzug vergessen wird.
2.Die Wahltaste für den Belichtungsmo- dus drücken und den ![]() ) wählen.
) wählen.
3.Die Wahltaste für den Belichtungsmo- dus etwa fünf Sekunden lang gedrückt halten.
Die ![]() ) erlischt, und die
) erlischt, und die
4.Die Taste Hell ({) oder Dunkel (}) drücken, um die gewünschte Belich- tungsautomatik einzustellen.
Wurde die Belichtungsstärke 2 ge- wählt, leuchten die beiden linken äu- ß eren Anzeigelämpchen gleichzeitig auf. Bei Auswahl von Belichtungsstär- ke 4 leuchten die beiden rechten äuß e- ren Anzeigelämpchen gleichzeitig auf.
5.Die Wahltaste für den Belichtungsmo- dus drücken. Die
•Diese Einstellung der automatischen Belichtung bleibt so lange bestehen, bis sie durch die oben genannten Schritte erneut verändert wird.
D G B