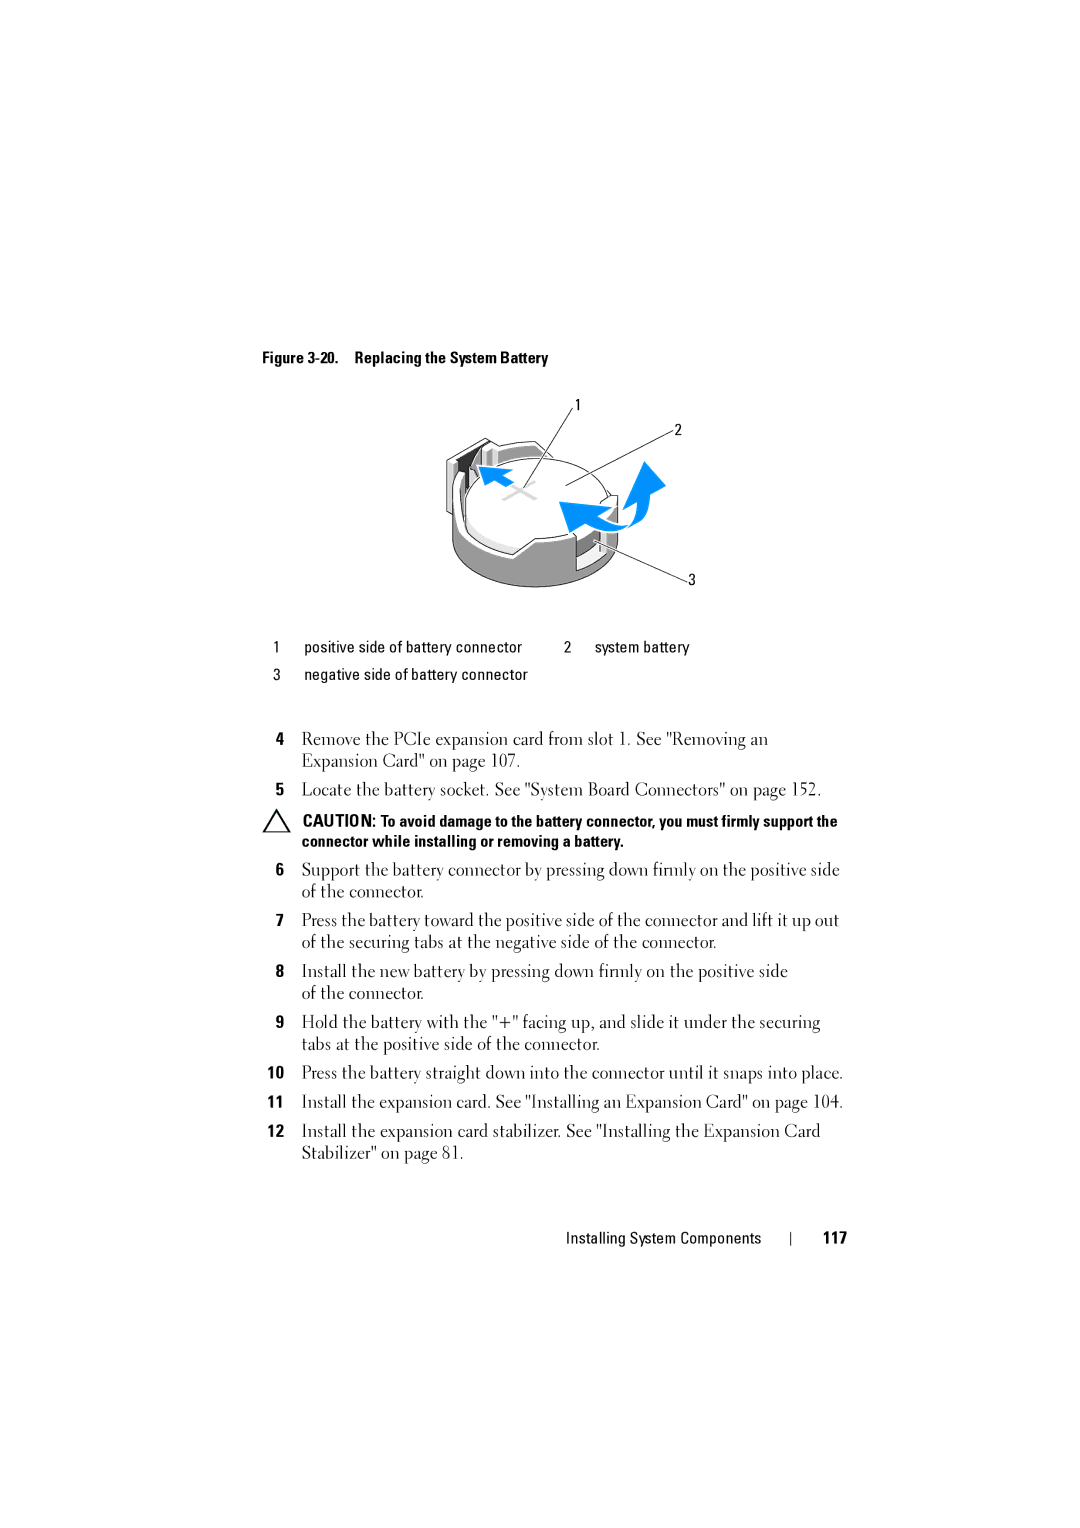
Figure 3-20. Replacing the System Battery
1
2
![]() 3
3
1 | positive side of battery connector | 2 | system battery |
3 | negative side of battery connector |
|
|
4Remove the PCIe expansion card from slot 1. See "Removing an Expansion Card" on page 107.
5Locate the battery socket. See "System Board Connectors" on page 152.
CAUTION: To avoid damage to the battery connector, you must firmly support the connector while installing or removing a battery.
6Support the battery connector by pressing down firmly on the positive side of the connector.
7Press the battery toward the positive side of the connector and lift it up out of the securing tabs at the negative side of the connector.
8Install the new battery by pressing down firmly on the positive side of the connector.
9Hold the battery with the "+" facing up, and slide it under the securing tabs at the positive side of the connector.
10Press the battery straight down into the connector until it snaps into place.
11Install the expansion card. See "Installing an Expansion Card" on page 104.
12Install the expansion card stabilizer. See "Installing the Expansion Card Stabilizer" on page 81.