5Using a #2 Phillips screwdriver, loosen one of the
6Wait 30 seconds for the heat sink to loosen from the processor.
7Loosen the other
8Gently lift the heat sink off of the processor and set the heat sink aside with thermal grease side facing up.
CAUTION: The processor is held in its socket under strong pressure. Be aware that the release lever can spring up suddenly if not firmly grasped.
9Position your thumb firmly over the processor
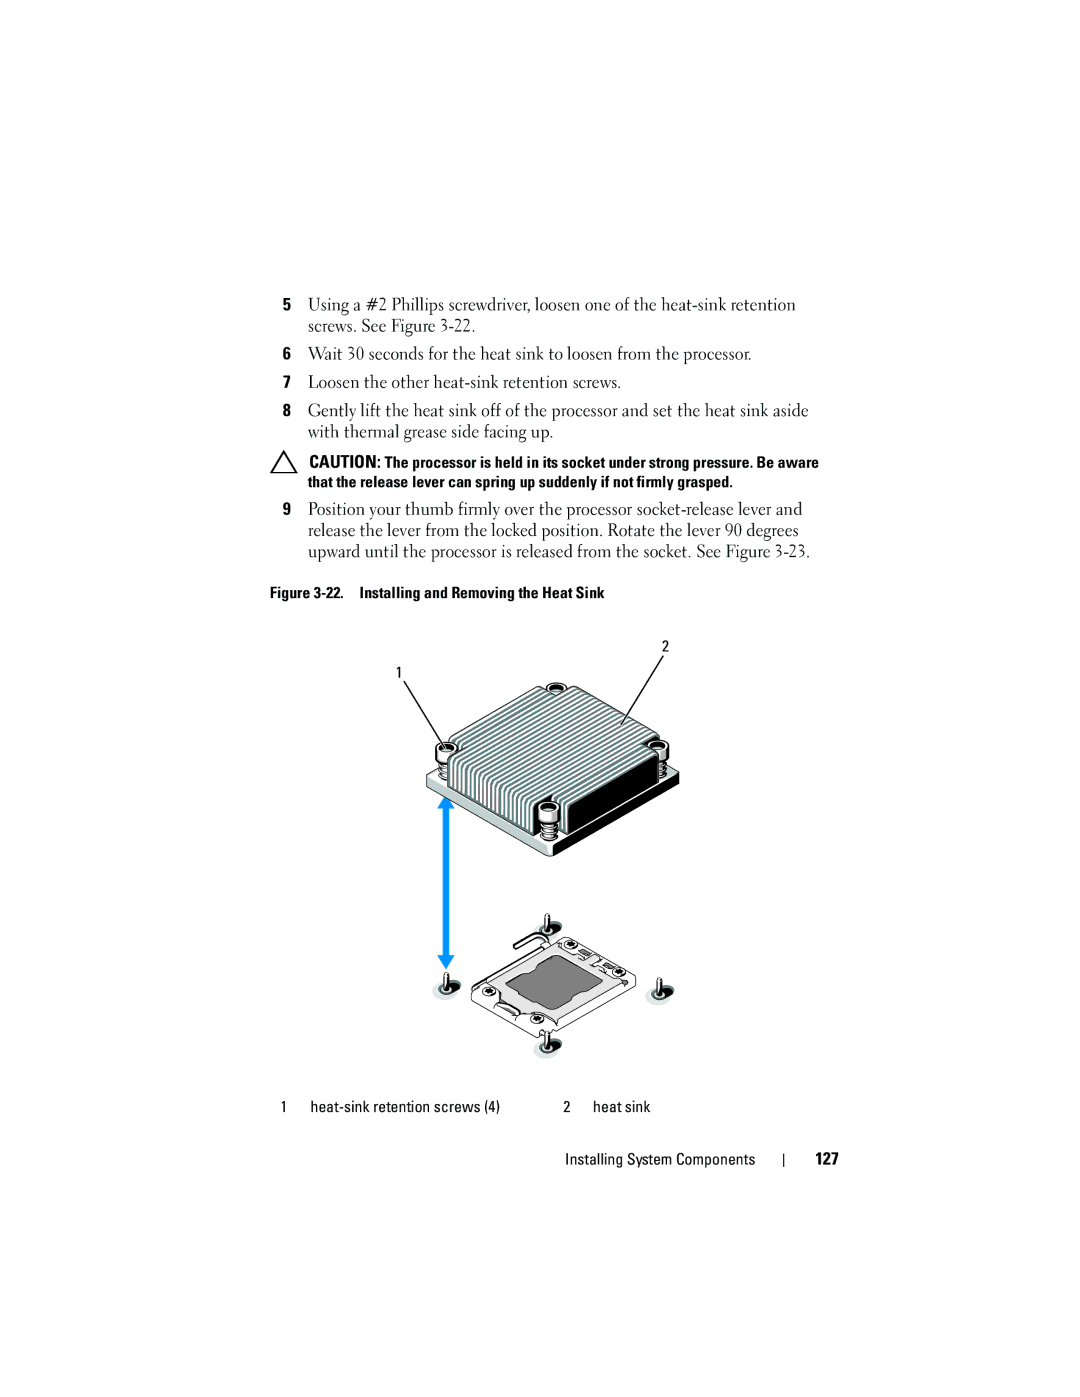
Figure 3-22. Installing and Removing the Heat Sink
2
1
1 | 2 heat sink |