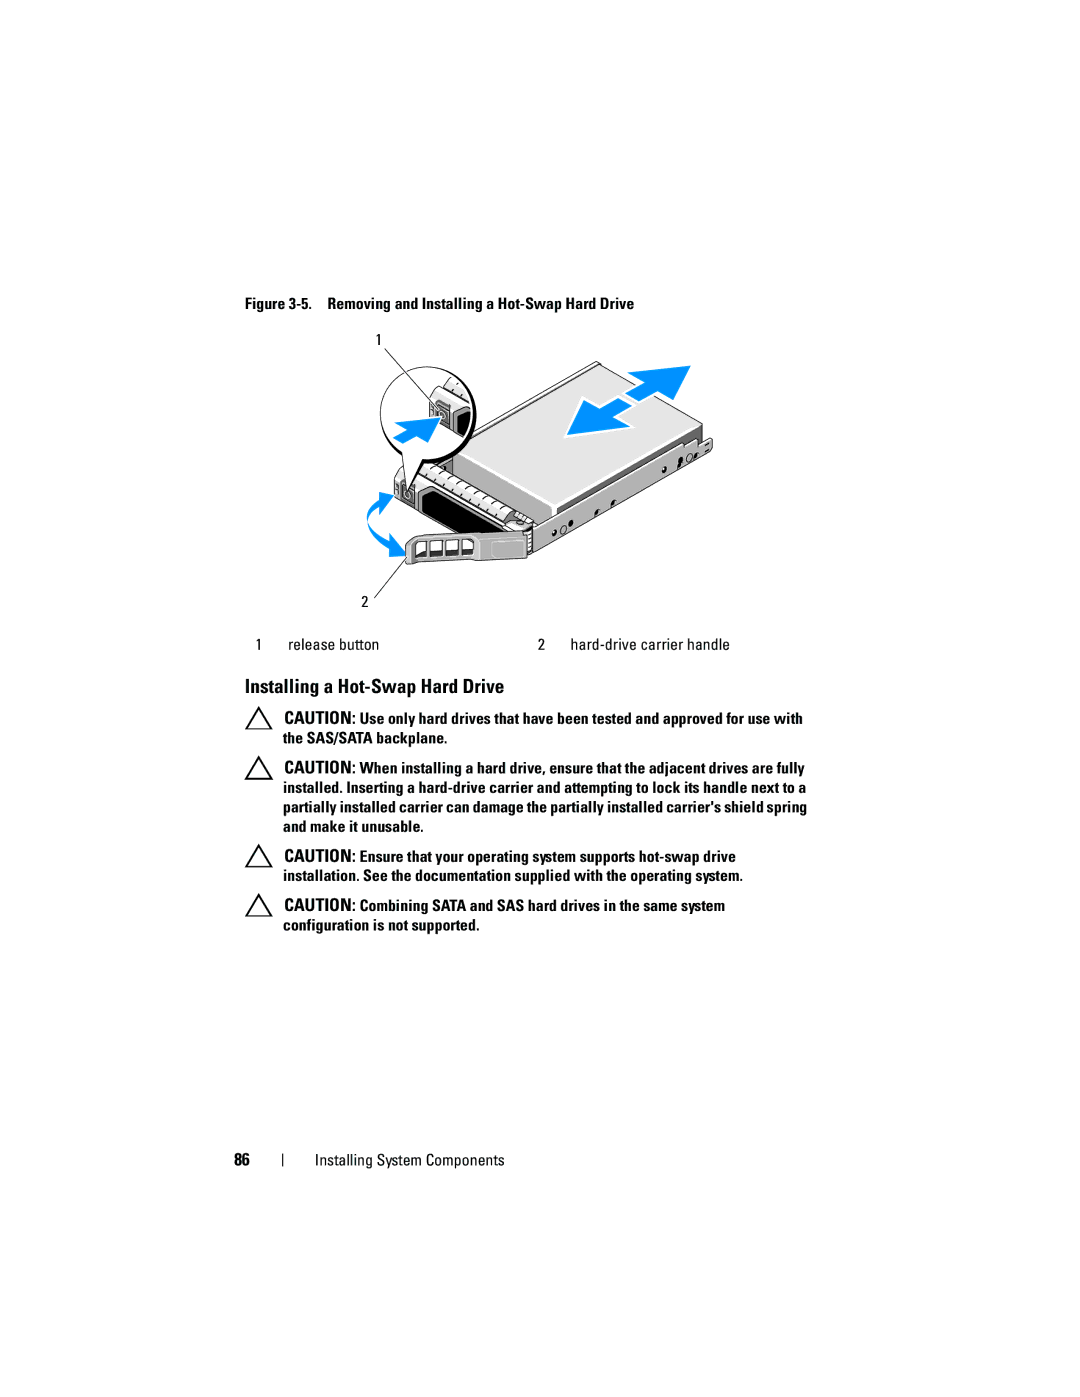
Figure 3-5. Removing and Installing a Hot-Swap Hard Drive
1
2
1 | release button | 2 |
Installing a Hot-Swap Hard Drive
CAUTION: Use only hard drives that have been tested and approved for use with the SAS/SATA backplane.
CAUTION: When installing a hard drive, ensure that the adjacent drives are fully installed. Inserting a
CAUTION: Ensure that your operating system supports
CAUTION: Combining SATA and SAS hard drives in the same system configuration is not supported.
86