Follow these instructions to select the correct connection option:
1.On the Start menu, click the Settings option, and then perform one of the following: Windows XP Home: Click the Printers and Other Hardware Devices option.
Windows XP Professional, Windows Server 2003, and Windows 2008: Click the Printers and Faxes option.
Windows Vista: Under the Hardware and Sound category, click the Printer option.
Windows 7: Click the Devices and Printers option.
2.Click the Add a printer option. The Add Printer Wizard opens.
3.Click the Next button on the Add Printer Wizard welcome dialog box.
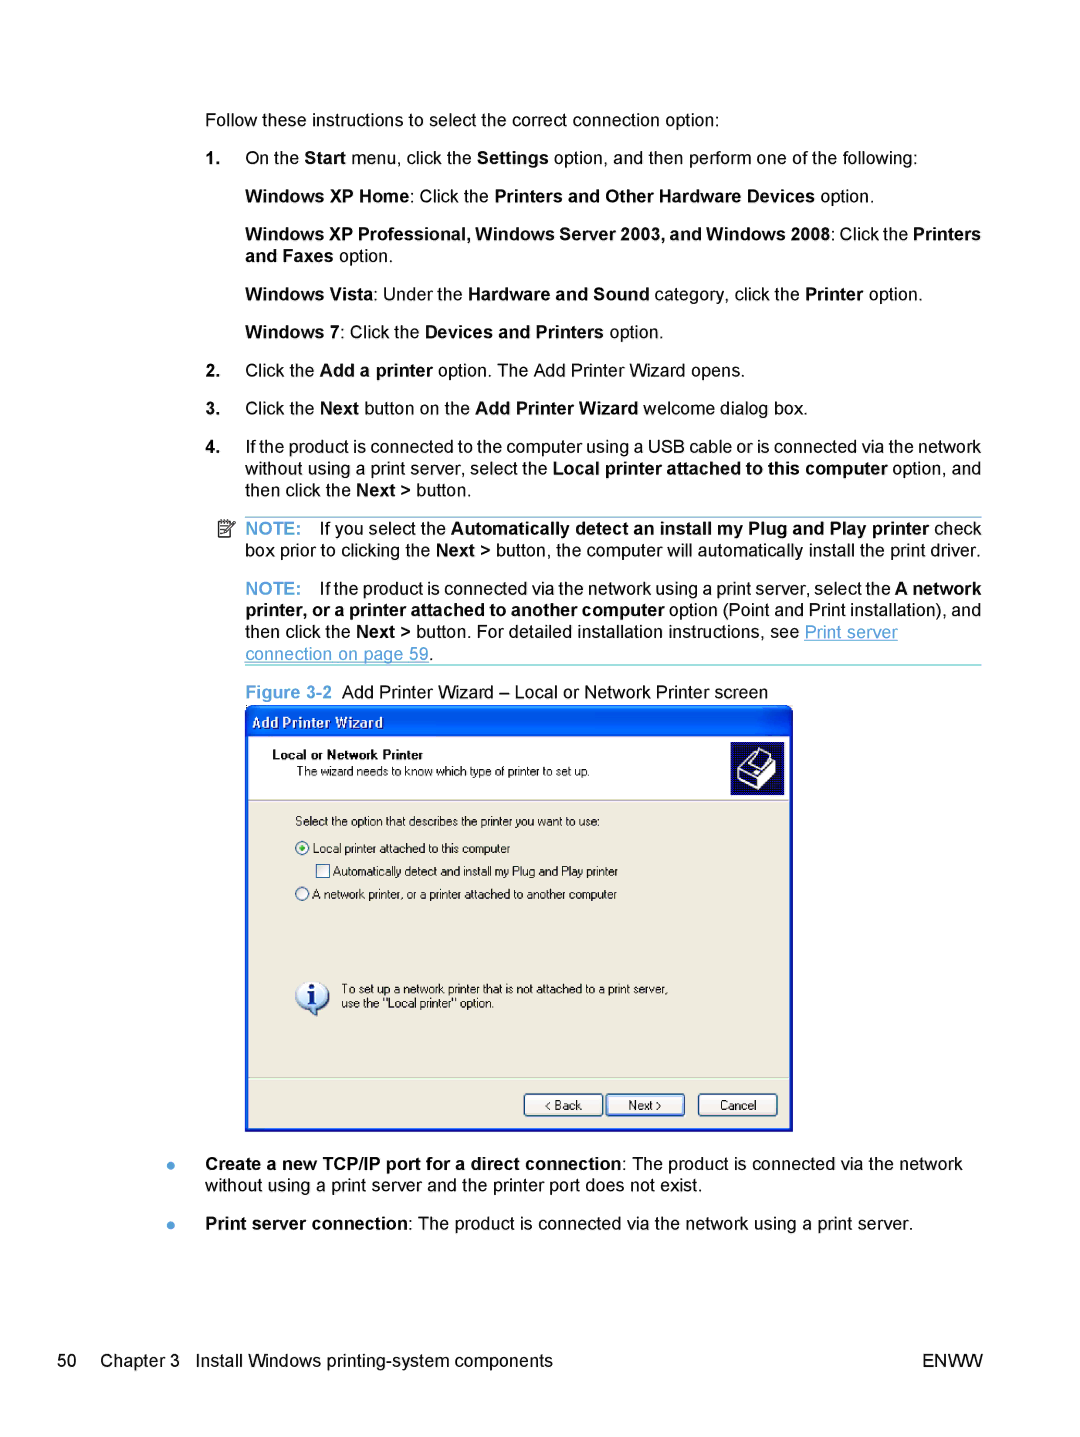
4.If the product is connected to the computer using a USB cable or is connected via the network without using a print server, select the Local printer attached to this computer option, and then click the Next > button.
![]() NOTE: If you select the Automatically detect an install my Plug and Play printer check box prior to clicking the Next > button, the computer will automatically install the print driver.
NOTE: If you select the Automatically detect an install my Plug and Play printer check box prior to clicking the Next > button, the computer will automatically install the print driver.
NOTE: If the product is connected via the network using a print server, select the A network printer, or a printer attached to another computer option (Point and Print installation), and then click the Next > button. For detailed installation instructions, see Print server connection on page 59.
Figure 3-2 Add Printer Wizard – Local or Network Printer screen
●Create a new TCP/IP port for a direct connection: The product is connected via the network without using a print server and the printer port does not exist.
●Print server connection: The product is connected via the network using a print server.
50 Chapter 3 Install Windows | ENWW |