1.From the HP 3PAR Online Import Utility, execute the adddestination command. Example 50 adddestination command
>adddestination
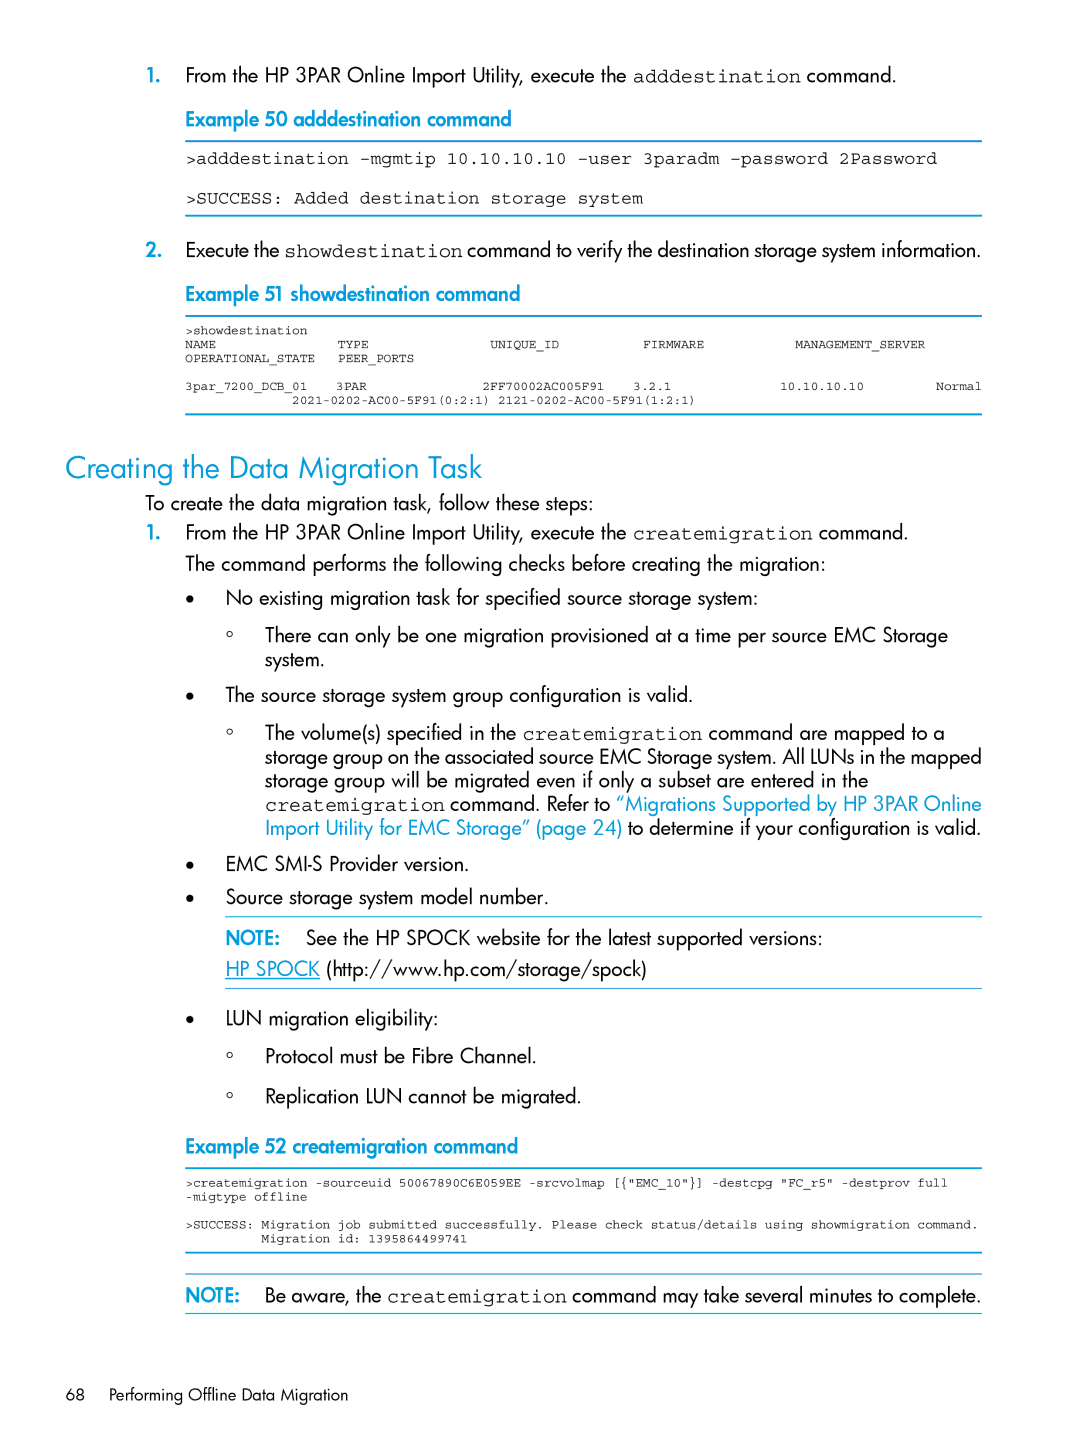
2.Execute the showdestination command to verify the destination storage system information.
Example 51 showdestination command
>showdestination |
|
|
|
|
|
NAME | TYPE | UNIQUE_ID | FIRMWARE | MANAGEMENT_SERVER |
|
OPERATIONAL_STATE | PEER_PORTS |
|
|
|
|
3par_7200_DCB_01 | 3PAR | 2FF70002AC005F91 | 3.2.1 | 10.10.10.10 | Normal |
Creating the Data Migration Task
To create the data migration task, follow these steps:
1.From the HP 3PAR Online Import Utility, execute the createmigration command. The command performs the following checks before creating the migration:
•No existing migration task for specified source storage system:
◦There can only be one migration provisioned at a time per source EMC Storage system.
•The source storage system group configuration is valid.
◦The volume(s) specified in the createmigration command are mapped to a storage group on the associated source EMC Storage system. All LUNs in the mapped storage group will be migrated even if only a subset are entered in the createmigration command. Refer to “Migrations Supported by HP 3PAR Online Import Utility for EMC Storage” (page 24) to determine if your configuration is valid.
•EMC
•Source storage system model number.
NOTE: See the HP SPOCK website for the latest supported versions: HP SPOCK (http://www.hp.com/storage/spock)
•LUN migration eligibility:
◦Protocol must be Fibre Channel.
◦Replication LUN cannot be migrated.
Example 52 createmigration command
>createmigration
>SUCCESS: Migration job submitted successfully. Please check status/details using showmigration command. Migration id: 1395864499741
NOTE: Be aware, the createmigration command may take several minutes to complete.
68 Performing Offline Data Migration