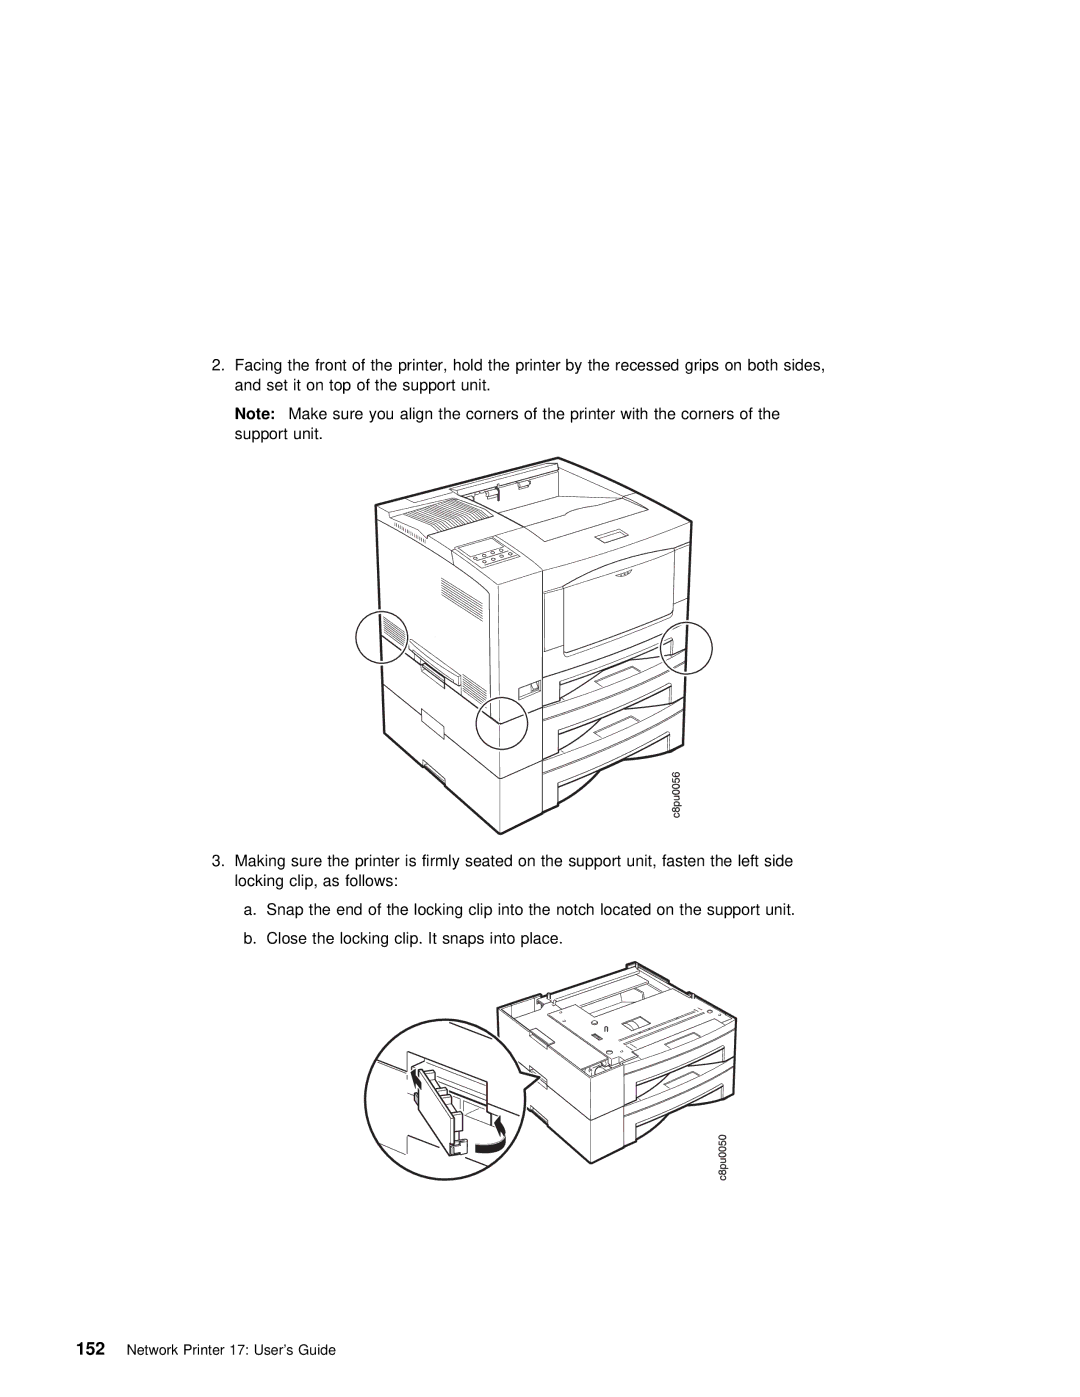
2. Facing | the | front of the printer, | hold the printer by the recessed grips on both |
and set | it | on top of the support | unit. |
Note: Make sure you align the corners of the printer with the corners of the support unit.
3. Making | sure | the | printer is firmly seated on the support unit, fasten the left sid |
locking | clip, | as | follows: |
a. Snap the end of the locking clip into the notch located on the support unit.
b. Close the locking clip. It snaps into place.
