Installing a New Fuser Unit
1. Unpack a new fuser unit.
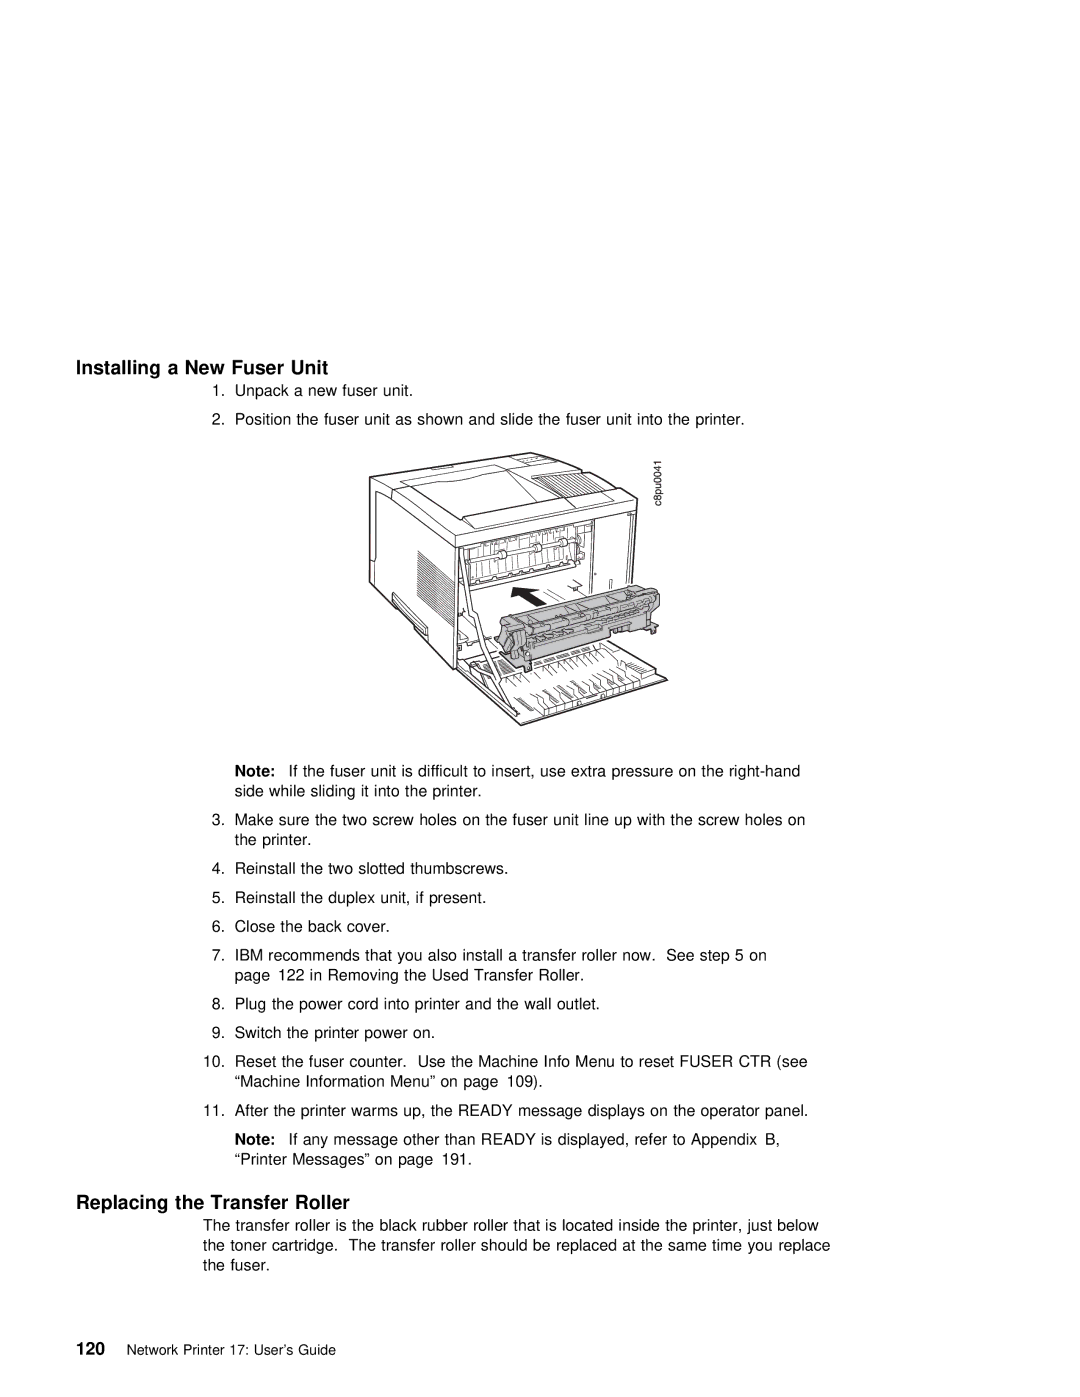
2. Position the fuser unit as shown and slide the fuser unit into the printer.
Note: | If the | fuser | unit | is difficult | to insert, | use | extra pressure | on the right- | |||
side | while | sliding | it | into | the | printer. |
|
|
|
| |
3. Make | sure | the | two | screw | holes | on the | fuser unit | line | up with the | screw holes on | |
the | printer. |
|
|
|
|
|
|
|
|
| |
4. Reinstall the two slotted thumbscrews.
5. Reinstall the duplex unit, if present.
6. | Close | the | back | cover. |
|
|
|
|
| |
7. | IBM | recommends | that | you | also install | a | transfer | roller now. See step 5 on | ||
| page 122 | in Removing | the | Used | Transfer | Roller. |
| |||
8. | Plug | the | power | cord | into | printer | and | the wall | outlet. | |
9. Switch the printer power on.
10.Reset the fuser counter. Use the Machine Info Menu to reset FUSER CTR (see “Machine Information Menu” on page 109).
11. After the printer warms up, the READY message displays on the operator panel.
Note: If any message other than READY is displayed, refer to Appendix B, “Printer Messages” on page 191.
Replacing the Transfer Roller
The | transfer roller is the black rubber | roller | that | is located inside the printer, ju |
the | toner cartridge. The transfer roller | should | be | replaced at the same time you re |
the | fuser. |
|
|
|