NEC HX4500 manual Connect a power cable to the back of the drive see Figure

Models: HX4500

1 160
Download 160 pages 12.37 Kb
Page 107
Image 107

A

B

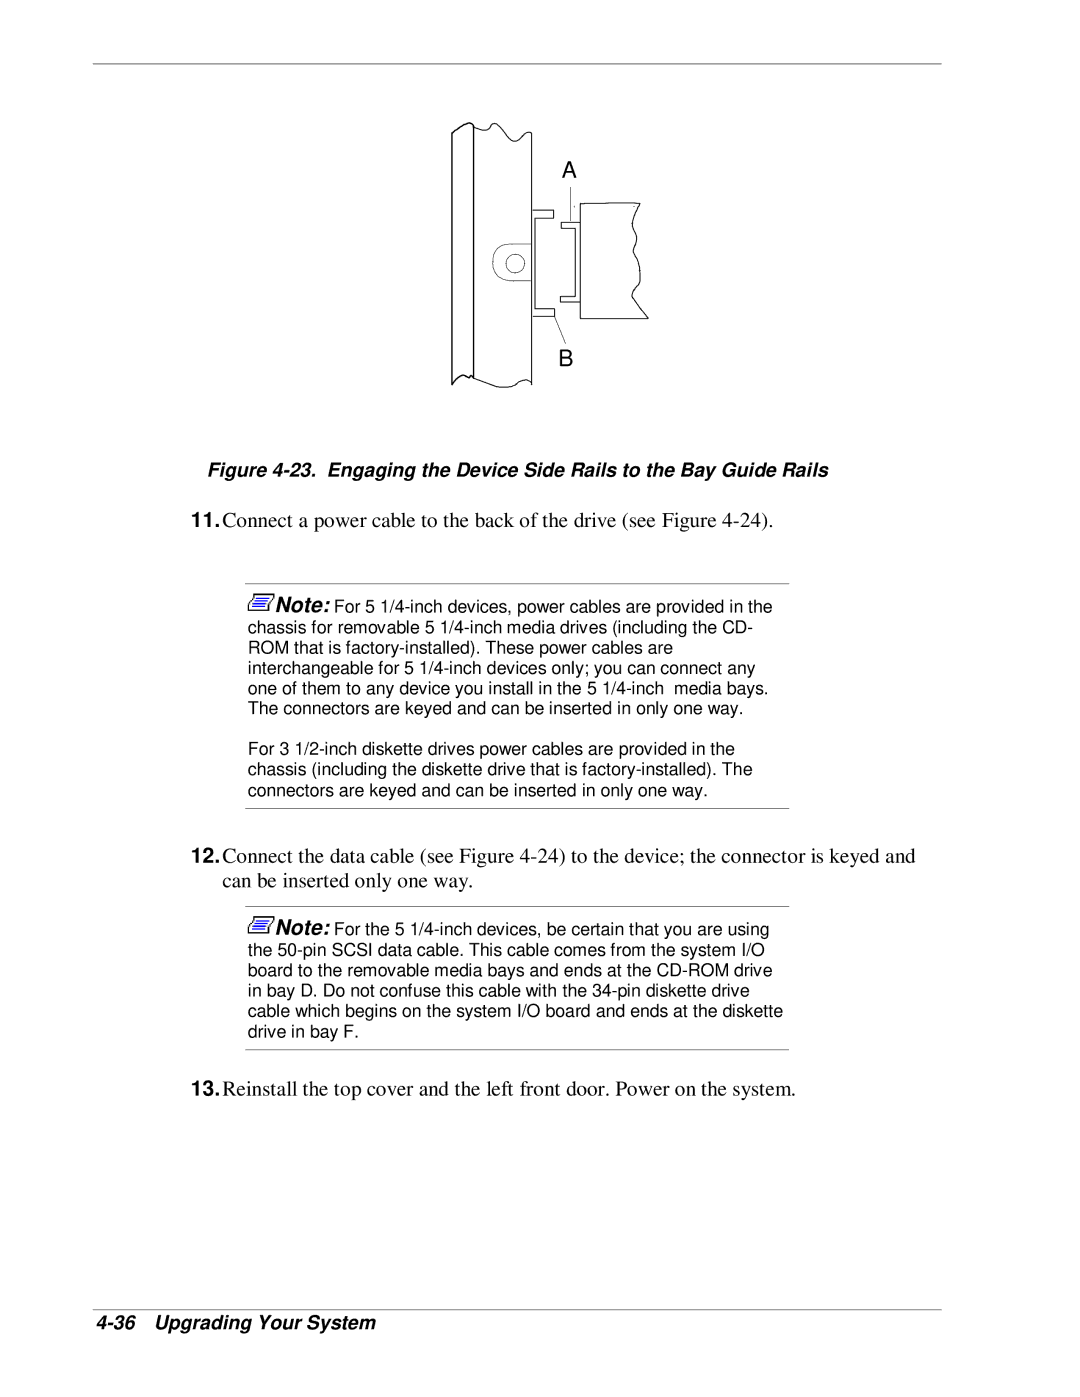
Figure 4-23. Engaging the Device Side Rails to the Bay Guide Rails

11.Connect a power cable to the back of the drive (see Figure 4-24).

Note: For 5 1/4-inch devices, power cables are provided in the chassis for removable 5 1/4-inch media drives (including the CD- ROM that is factory-installed). These power cables are interchangeable for 5 1/4-inch devices only; you can connect any one of them to any device you install in the 5 1/4-inch media bays. The connectors are keyed and can be inserted in only one way.

For 3 1/2-inch diskette drives power cables are provided in the chassis (including the diskette drive that is factory-installed). The connectors are keyed and can be inserted in only one way.

12.Connect the data cable (see Figure 4-24) to the device; the connector is keyed and can be inserted only one way.

Note: For the 5 1/4-inch devices, be certain that you are using the 50-pin SCSI data cable. This cable comes from the system I/O board to the removable media bays and ends at the CD-ROM drive in bay D. Do not confuse this cable with the 34-pin diskette drive cable which begins on the system I/O board and ends at the diskette drive in bay F.

13. Reinstall the top cover and the left front door. Power on the system.

4-36 Upgrading Your System

Page 107
Image 107
NEC HX4500 manual Connect a power cable to the back of the drive see Figure