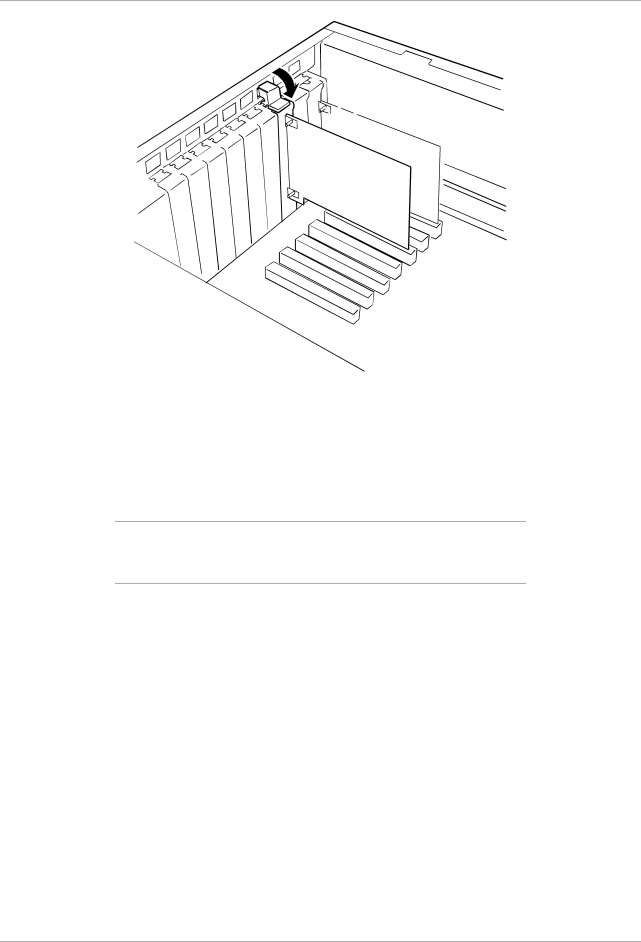
Figure 4-16. Installing an Option Board
11.Connect any external cables (if they are needed) to the installed option board.
12.Replace the top cover and power on the system.
Removing an Option Board
![]() Note: Expansion slot covers must be installed on all vacant slots to maintain the electromagnetic emissions characteristics of the system and to assure proper cooling of the system components.
Note: Expansion slot covers must be installed on all vacant slots to maintain the electromagnetic emissions characteristics of the system and to assure proper cooling of the system components.
1.Power off the system and remove the top cover as described earlier.
2.Unplug any cables attached to the option board you are removing.
3.Determine the expansion slot retaining bracket that corresponds to desired expansion slot and release the cover lock by pressing on the cover tab (see Figure 4- 15).
4.Hold the board at each end, and carefully rock it back and forth until the edge connectors pull free. Make sure that you do not scrape the board against other components.
5.Remove the board from the expansion slot and place it in an antistatic wrapper.
6.If you are replacing a board, go to "Installing an Option Board," otherwise continue.
7.Install an expansion slot cover over the vacant slot. Secure the cover by pushing down on the cover tab (see Figure
8.Replace the top cover and power on the system.
