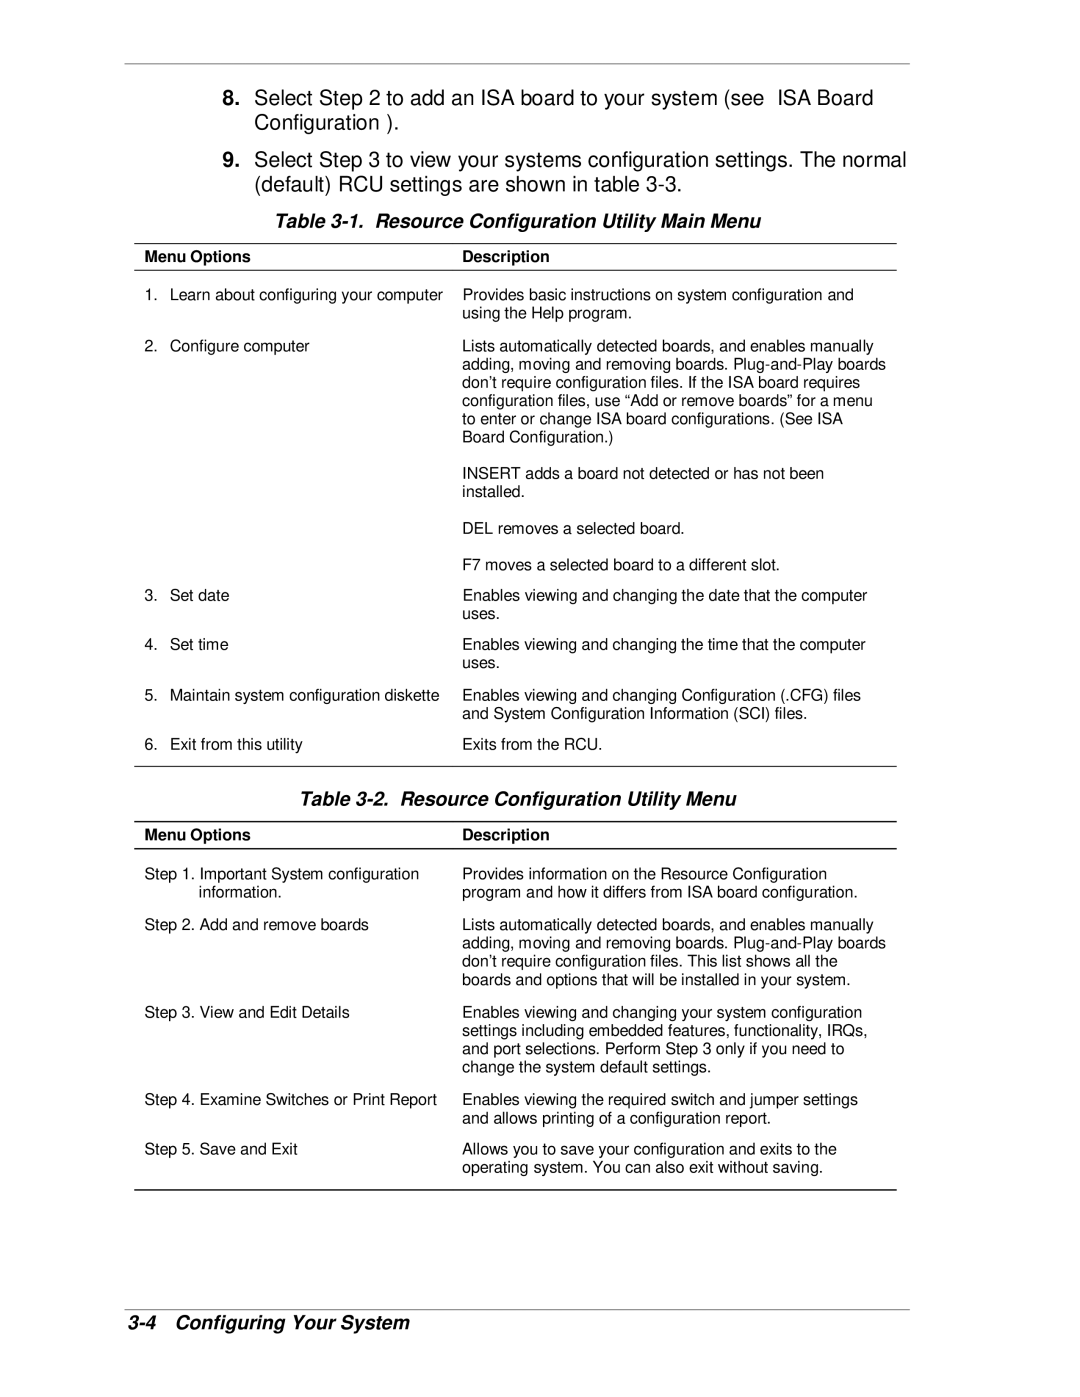
8.Select Step 2 to add an ISA board to your system (see “ISA Board Configuration”).
9.Select Step 3 to view your systems configuration settings. The normal (default) RCU settings are shown in table
Table 3-1. Resource Configuration Utility Main Menu
Menu Options | Description | |
1. | Learn about configuring your computer | Provides basic instructions on system configuration and |
|
| using the Help program. |
2. | Configure computer | Lists automatically detected boards, and enables manually |
|
| adding, moving and removing boards. |
|
| don’t require configuration files. If the ISA board requires |
|
| configuration files, use “Add or remove boards” for a menu |
|
| to enter or change ISA board configurations. (See ISA |
|
| Board Configuration.) |
|
| INSERT adds a board not detected or has not been |
|
| installed. |
|
| DEL removes a selected board. |
|
| F7 moves a selected board to a different slot. |
3. | Set date | Enables viewing and changing the date that the computer |
|
| uses. |
4. | Set time | Enables viewing and changing the time that the computer |
|
| uses. |
5. | Maintain system configuration diskette | Enables viewing and changing Configuration (.CFG) files |
|
| and System Configuration Information (SCI) files. |
6. | Exit from this utility | Exits from the RCU. |
|
|
|
Table 3-2. Resource Configuration Utility Menu
Menu Options | Description | |
Step 1. Important System configuration | Provides information on the Resource Configuration | |
| information. | program and how it differs from ISA board configuration. |
Step 2. | Add and remove boards | Lists automatically detected boards, and enables manually |
|
| adding, moving and removing boards. |
|
| don’t require configuration files. This list shows all the |
|
| boards and options that will be installed in your system. |
Step 3. | View and Edit Details | Enables viewing and changing your system configuration |
|
| settings including embedded features, functionality, IRQs, |
|
| and port selections. Perform Step 3 only if you need to |
|
| change the system default settings. |
Step 4. | Examine Switches or Print Report | Enables viewing the required switch and jumper settings |
|
| and allows printing of a configuration report. |
Step 5. | Save and Exit | Allows you to save your configuration and exits to the |
|
| operating system. You can also exit without saving. |
|
|
|
