2-20 Firmware User Guide
You are finished configuring the
•In the Add Scheduled Connection screen, select Use Connection Profile and choose from the list of connection profiles you have already created. A scheduled connection must be associated with a connection profile to be useful. The connection profile becomes active during the times specified in the associated scheduled connection, if any exists.
•Select ADD SCHEDULED CONNECTION to save the current scheduled connection. Select CANCEL to exit the Add Scheduled Connection screen without saving the new scheduled connection.
Modifying a scheduled connection
To modify a scheduled connection, select Display/Change Scheduled Connection in the Scheduled Connections screen to display a table of scheduled connections.
Select a scheduled connection from the table and press Return. The Change Scheduled Connection screen appears. The parameters in this screen are the same as the ones in the Add Scheduled Connection screen (except that ADD SCHEDULED CONNECTION and CANCEL do not appear). To find out how to set them, see “Adding a scheduled connection” on page
Deleting a scheduled connection
To delete a scheduled connection, select Delete Scheduled Connection in the Scheduled Connections screen to display a table of scheduled connections.
Select a scheduled connection from the table and press the Return key to delete it. To exit the table without deleting the selected scheduled connection, press the Escape key.
Backup Configuration
See “Line Backup” on page
Priority Queuing (TOS bit)
Netopia Firmware Version 8.4 offers the ability to prioritize
Certain types of IP packets, such as voice or multimedia packets, are sensitive to latency introduced by the network. This means that if such packets are not received rapidly, the quality of service degrades. If you expect to route significant amounts of such traffic you can configure your router to prioritize this type of traffic using the priority queuing feature.
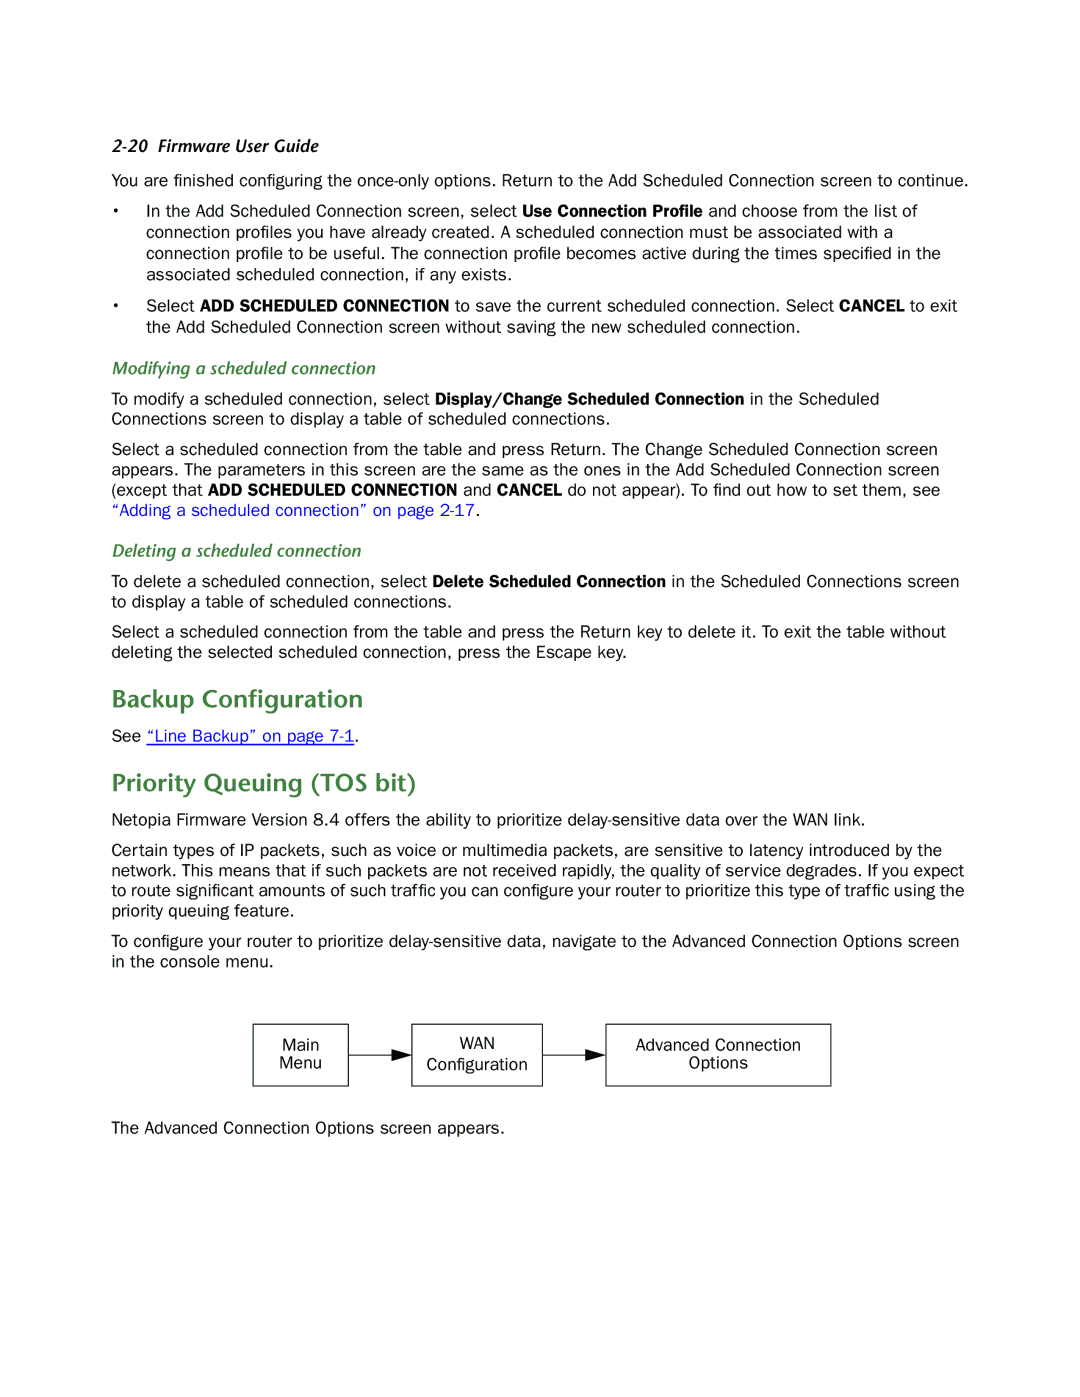
To configure your router to prioritize
Main
Menu
WAN
Configuration
Advanced Connection
Options
The Advanced Connection Options screen appears.