WAN and System Configuration 2-9
Creating a New Connection Profile
Connection profiles are useful for configuring the connection and authentication settings for negotiating a PPP connection. If you are using the PPP data link encapsulation method, you can store your authentication information in the connection profile so that your user name and password (or host name and secret) are transmitted when you attempt to connect.
Connection profiles define the networking protocols necessary for the Router to make a remote connection. A connection profile is like an address book entry describing how the Router is to get to a remote site, or how to recognize and authenticate a connection. To create a new connection profile, you navigate to the WAN Configuration screen from the Main Menu, and select Add Connection Profile.
Main |
|
| WAN |
|
Menu |
|
| Configuration |
|
|
|
|
|
|
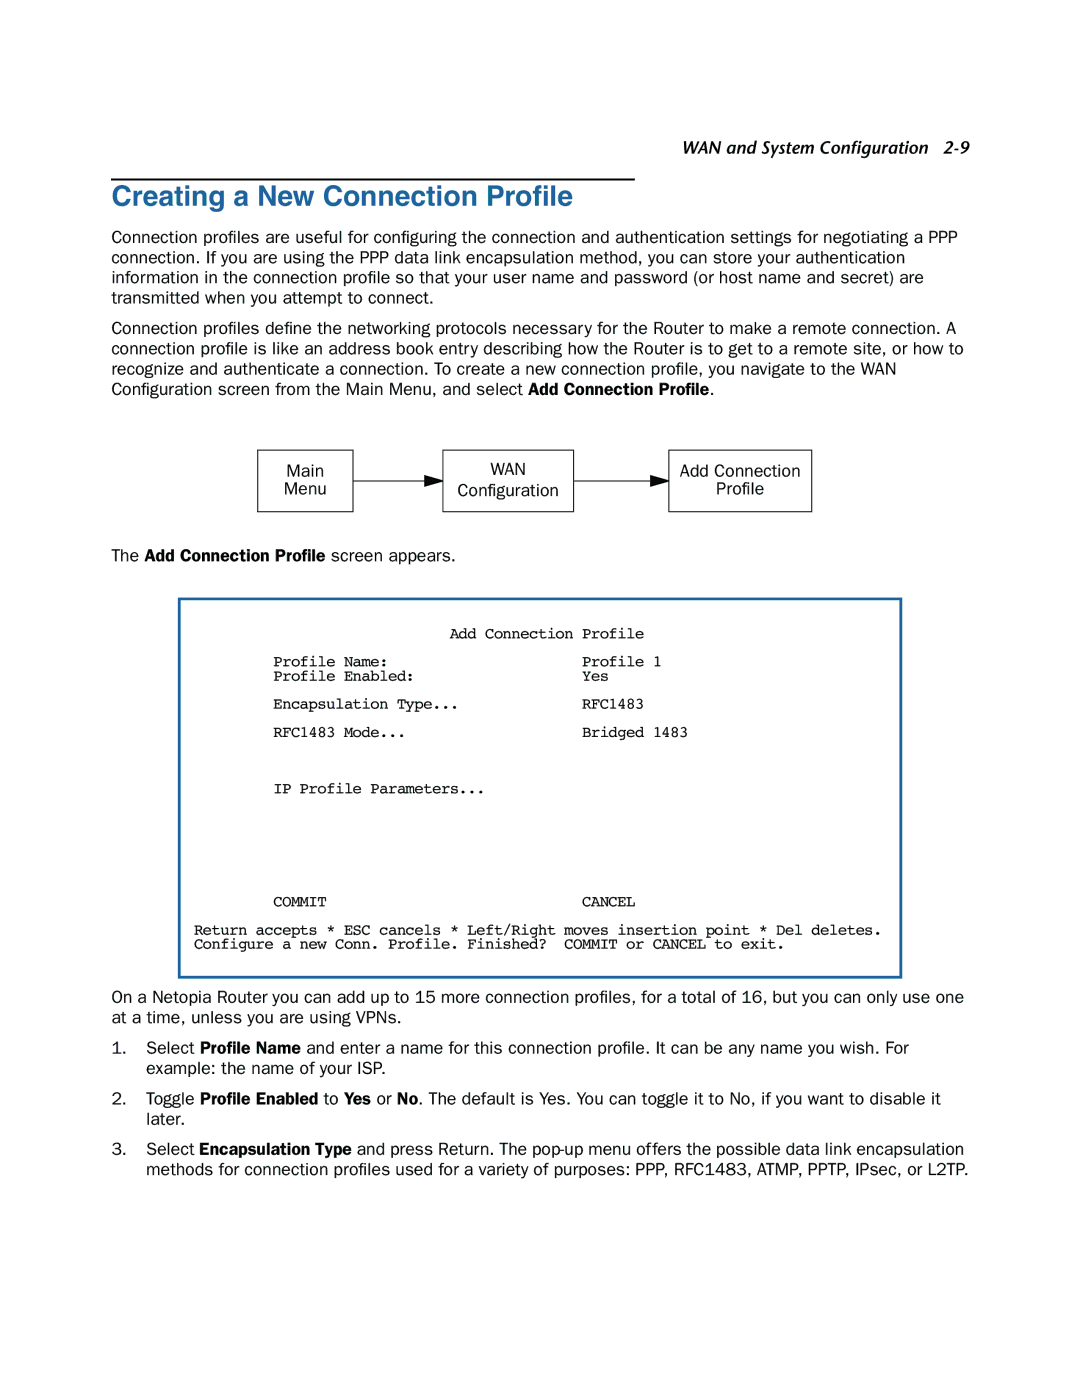
The Add Connection Profile screen appears.
Add Connection
Profile
Add Connection Profile |
| |
Profile Name: | Profile | 1 |
Profile Enabled: | Yes |
|
Encapsulation Type... | RFC1483 |
|
RFC1483 Mode... | Bridged | 1483 |
IP Profile Parameters... |
|
|
COMMIT | CANCEL |
|
Return accepts * ESC cancels * Left/Right moves insertion point * Del deletes. Configure a new Conn. Profile. Finished? COMMIT or CANCEL to exit.
On a Netopia Router you can add up to 15 more connection profiles, for a total of 16, but you can only use one at a time, unless you are using VPNs.
1.Select Profile Name and enter a name for this connection profile. It can be any name you wish. For example: the name of your ISP.
2.Toggle Profile Enabled to Yes or No. The default is Yes. You can toggle it to No, if you want to disable it later.
3.Select Encapsulation Type and press Return. The