5-8 Firmware User Guide
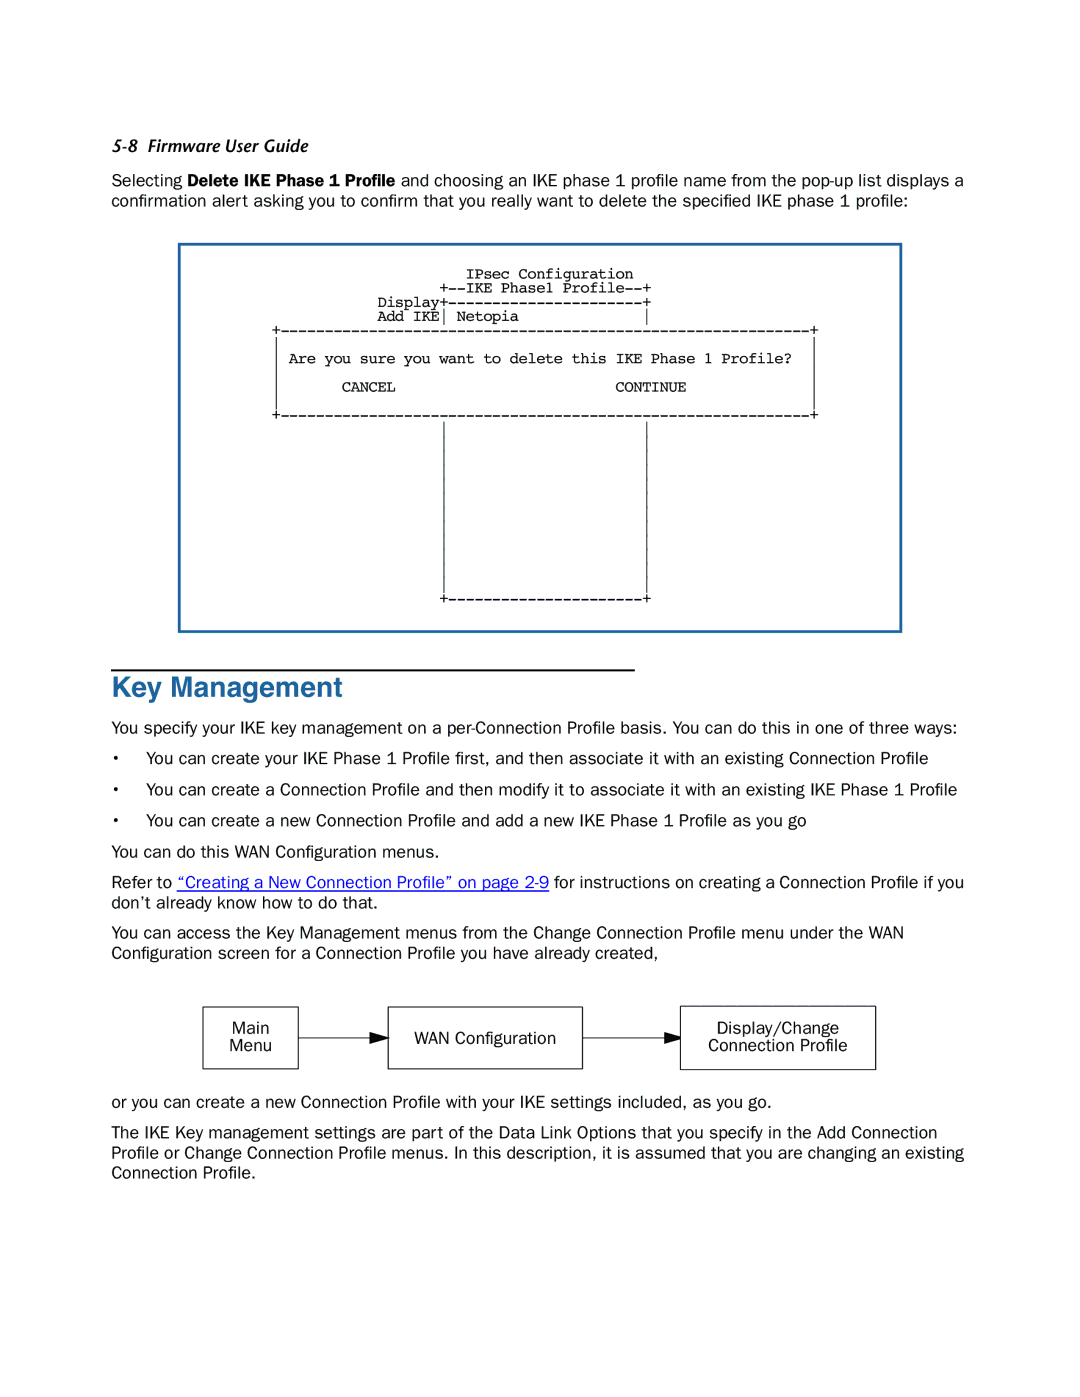
Selecting Delete IKE Phase 1 Profile and choosing an IKE phase 1 profile name from the
IPsec Configuration |
|
+ | |
+ | |
Add IKE Netopia | |
+ | |
Are you sure you want to delete this IKE Phase 1 Profile?
|
| ||
CANCEL | CONTINUE | ||
|
| ||
| + | ||
+ |
Key Management
You specify your IKE key management on a
•You can create your IKE Phase 1 Profile first, and then associate it with an existing Connection Profile
•You can create a Connection Profile and then modify it to associate it with an existing IKE Phase 1 Profile
•You can create a new Connection Profile and add a new IKE Phase 1 Profile as you go
You can do this WAN Configuration menus.
Refer to “Creating a New Connection Profile” on page
You can access the Key Management menus from the Change Connection Profile menu under the WAN Configuration screen for a Connection Profile you have already created,
Main
Menu
WAN Configuration
Display/Change
Connection Profile
or you can create a new Connection Profile with your IKE settings included, as you go.
The IKE Key management settings are part of the Data Link Options that you specify in the Add Connection Profile or Change Connection Profile menus. In this description, it is assumed that you are changing an existing Connection Profile.