Setting the SCSI IDs
This section describes how to view the default SCSI IDS for the library and change them, if necessary.
NOTE
The library and tape drive must each have a unique SCSI ID within each SCSI bus. Because you may have multiple buses, the library does not check for duplicate SCSI IDs. It is your responsibility to make sure you do not assign duplicate IDs within a bus.
To view and change the SCSI IDs:
1.If the security option is enabled, disable it.
2.From the operator panel’s keypad, press [MENU] to display the menus. The first menu item to appear is “Cartridge Inventory”.
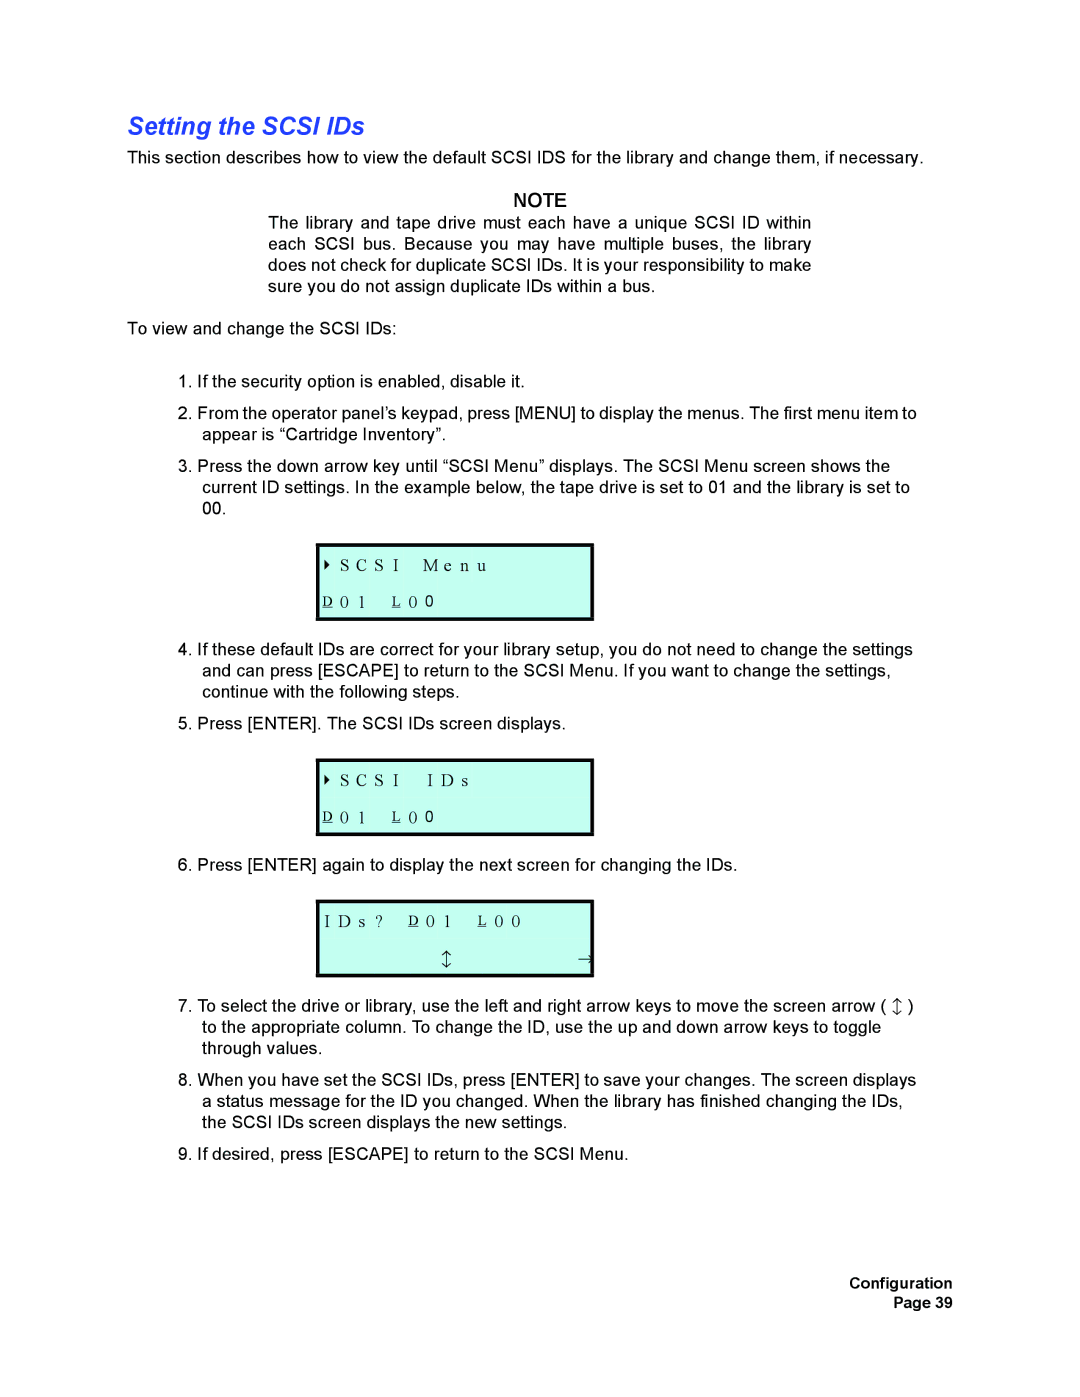
3.Press the down arrow key until “SCSI Menu” displays. The SCSI Menu screen shows the current ID settings. In the example below, the tape drive is set to 01 and the library is set to 00.
S C S I M e n u
D 0 1 L 0 0
4.If these default IDs are correct for your library setup, you do not need to change the settings and can press [ESCAPE] to return to the SCSI Menu. If you want to change the settings, continue with the following steps.
5.Press [ENTER]. The SCSI IDs screen displays.
S C S I I D s
D 0 1 L 0 0
6. Press [ENTER] again to display the next screen for changing the IDs.
I D s ? D 0 1 | L 0 0 |
b | → |
|
7.To select the drive or library, use the left and right arrow keys to move the screen arrow ( b ) to the appropriate column. To change the ID, use the up and down arrow keys to toggle through values.
8.When you have set the SCSI IDs, press [ENTER] to save your changes. The screen displays a status message for the ID you changed. When the library has finished changing the IDs, the SCSI IDs screen displays the new settings.
9.If desired, press [ESCAPE] to return to the SCSI Menu.
Configuration Page 39
