5.Use the up or down arrow keys to select one of the tests (described in the following table), then press [ENTER].
6.When the test is finished, the screen displays a status message. Press [ESCAPE] to return to the Command Menu or to abort a test in progress.
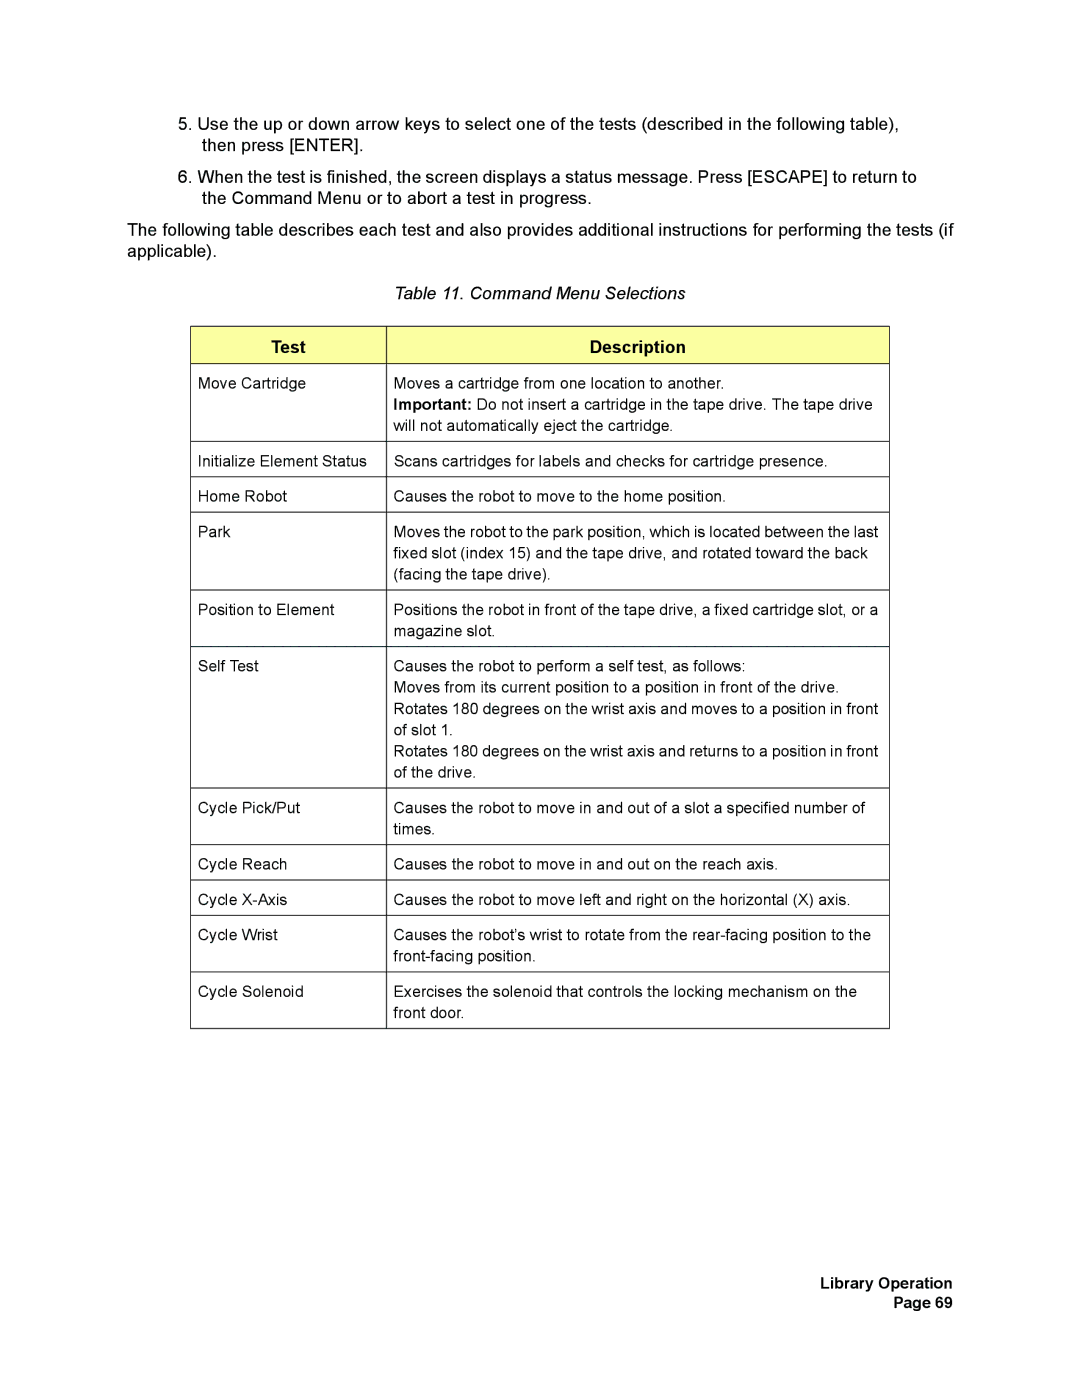
The following table describes each test and also provides additional instructions for performing the tests (if applicable).
| Table 11. Command Menu Selections |
|
|
Test | Description |
Move Cartridge | Moves a cartridge from one location to another. |
| Important: Do not insert a cartridge in the tape drive. The tape drive |
| will not automatically eject the cartridge. |
|
|
Initialize Element Status | Scans cartridges for labels and checks for cartridge presence. |
|
|
Home Robot | Causes the robot to move to the home position. |
|
|
Park | Moves the robot to the park position, which is located between the last |
| fixed slot (index 15) and the tape drive, and rotated toward the back |
| (facing the tape drive). |
|
|
Position to Element | Positions the robot in front of the tape drive, a fixed cartridge slot, or a |
| magazine slot. |
|
|
Self Test | Causes the robot to perform a self test, as follows: |
| Moves from its current position to a position in front of the drive. |
| Rotates 180 degrees on the wrist axis and moves to a position in front |
| of slot 1. |
| Rotates 180 degrees on the wrist axis and returns to a position in front |
| of the drive. |
|
|
Cycle Pick/Put | Causes the robot to move in and out of a slot a specified number of |
| times. |
|
|
Cycle Reach | Causes the robot to move in and out on the reach axis. |
|
|
Cycle | Causes the robot to move left and right on the horizontal (X) axis. |
|
|
Cycle Wrist | Causes the robot’s wrist to rotate from the |
| |
|
|
Cycle Solenoid | Exercises the solenoid that controls the locking mechanism on the |
| front door. |
|
|
Library Operation Page 69
