Setting Ethernet Addresses
This section describes how to set the network addresses that enable the library to communicate in the Ethernet network. For more detailed information about these addresses, see the table on the next page and the readme file for the Library Monitor software.
NOTE
If your library does not include an Ethernet configuration, the Ethernet screens are not available on the LCD display.
To set the Ethernet addresses:
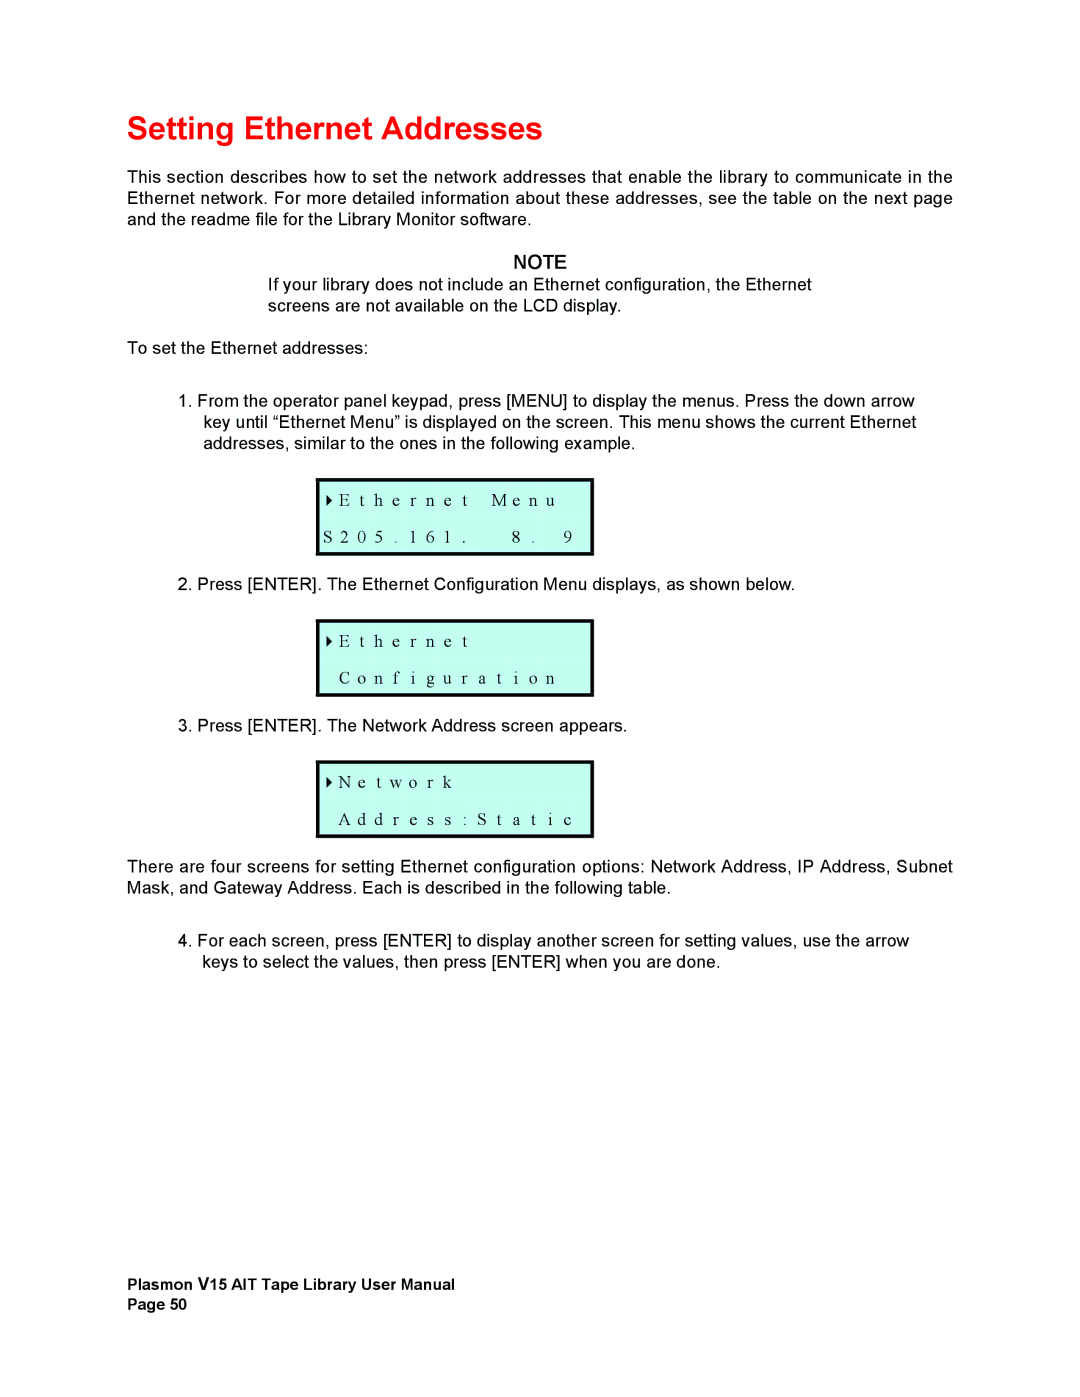
1.From the operator panel keypad, press [MENU] to display the menus. Press the down arrow key until “Ethernet Menu” is displayed on the screen. This menu shows the current Ethernet addresses, similar to the ones in the following example.
| E t | h e r | n e t | M e n u |
S | 2 0 5 . 1 6 1 . | 8 . 9 | ||
|
|
|
|
|
2. Press [ENTER]. The Ethernet Configuration Menu displays, as shown below.
E t h e r n e t
C o n f i g u r a t i o n
3. Press [ENTER]. The Network Address screen appears.
N e t w o r k
A d d r e s s : S t a t i c
There are four screens for setting Ethernet configuration options: Network Address, IP Address, Subnet Mask, and Gateway Address. Each is described in the following table.
4.For each screen, press [ENTER] to display another screen for setting values, use the arrow keys to select the values, then press [ENTER] when you are done.
Plasmon V15 AIT Tape Library User Manual Page 50