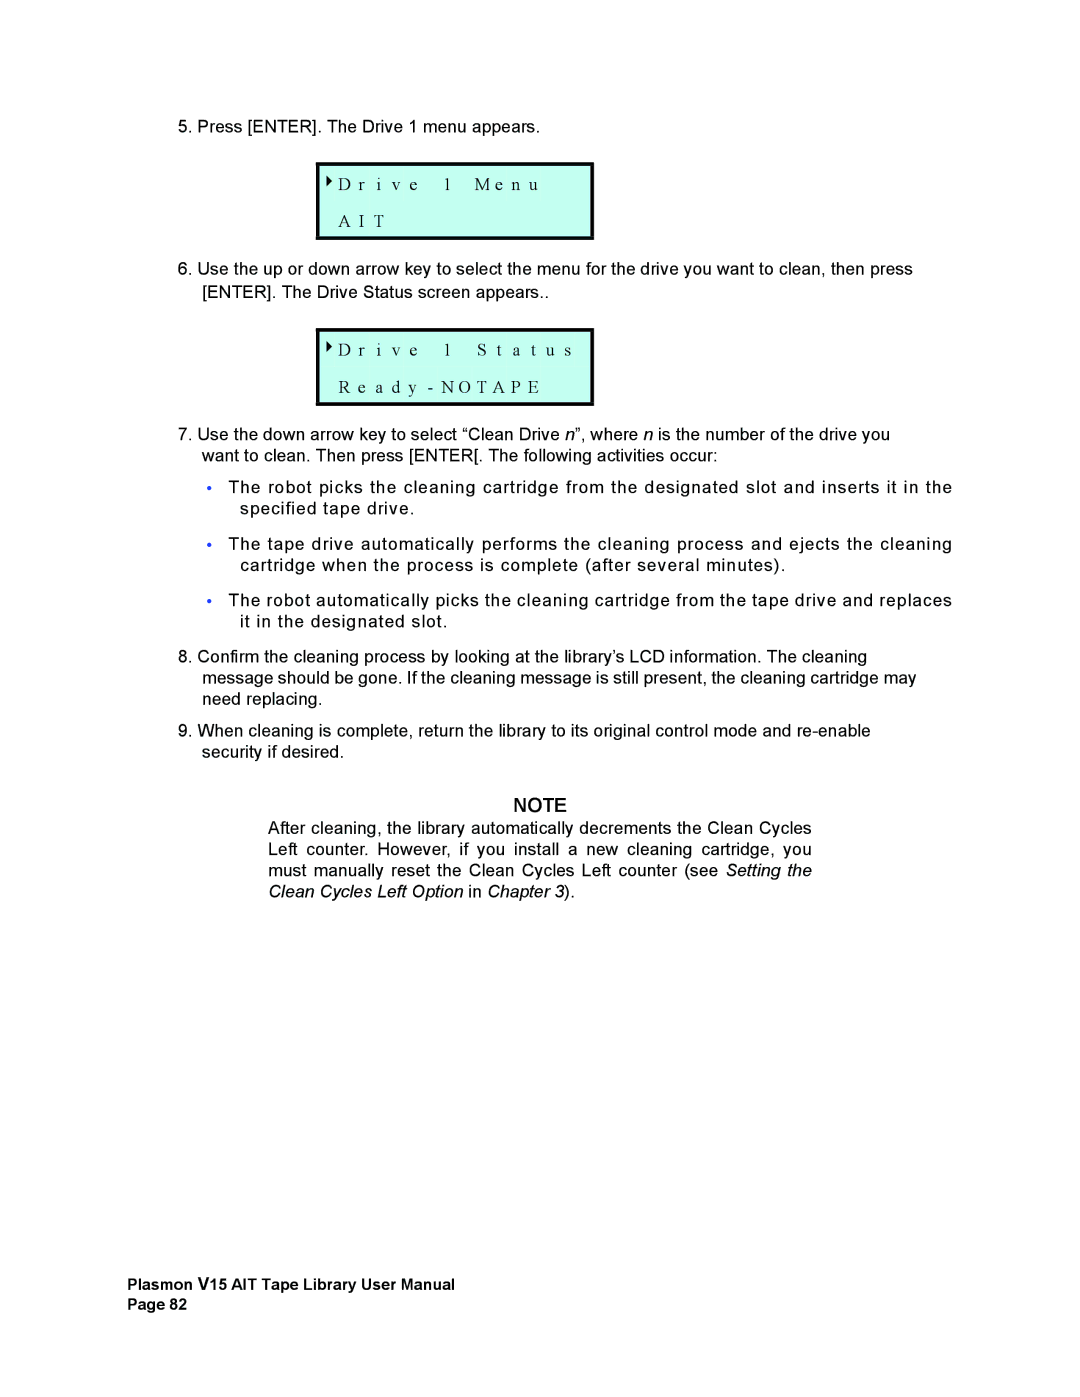
5. Press [ENTER]. The Drive 1 menu appears.
4D r i v e 1 M e n u
A I T
6.Use the up or down arrow key to select the menu for the drive you want to clean, then press [ENTER]. The Drive Status screen appears..
4D r i v e 1 S t a t u s
R e a d y - N O T A P E
7.Use the down arrow key to select “Clean Drive n”, where n is the number of the drive you want to clean. Then press [ENTER[. The following activities occur:
•The robot picks the cleaning cartridge from the designated slot and inserts it in the specified tape drive.
•The tape drive automatically performs the cleaning process and ejects the cleaning cartridge when the process is complete (after several minutes).
•The robot automatically picks the cleaning cartridge from the tape drive and replaces it in the designated slot.
8.Confirm the cleaning process by looking at the library’s LCD information. The cleaning
message should be gone. If the cleaning message is still present, the cleaning cartridge may need replacing.
9.When cleaning is complete, return the library to its original control mode and
NOTE
After cleaning, the library automatically decrements the Clean Cycles Left counter. However, if you install a new cleaning cartridge, you must manually reset the Clean Cycles Left counter (see Setting the Clean Cycles Left Option in Chapter 3).
Plasmon V15 AIT Tape Library User Manual Page 82
