6. Configuring the Gateway
6.6. Deleting a Modbus Slave
This step allows you, for instance, to free up a location on the downstream Modbus network, known as the “Sub- Network” in AbcConf, in order to replace one Modbus slave with another.
In fact the gateway’s default configuration already allows it to communicate with eight TeSys U motor starters, whereas the maximum number of Modbus slaves with which it can communicate is limited to eight.
If the gateway is used to manage exchanges on a Modbus network with fewer than eight TeSys U motor starters, it is preferable to delete the redundant TeSys U motor starters from the gateway configuration. In fact, the deterioration in performances linked to the absence of one or more TeSys U motor starters is such that it is preferable to carry out this operation using AbcConf.
If you wish to retain the read/write aperiodic services for the value of a motor starter parameter, never delete the first configured TeSys U motor starter, because the two transactions associated with these services are configured for this motor starter.
In fact, these two transactions are sent to any Modbus slave, because the value of the “slave number” field in the Modbus queries associated to them is fully managed wholly by the DeviceNet master PLC software (bits 0 to 7 of outputs O:1.10 and O:1.13).
Procedure for deleting a Modbus slave
1)Select the node corresponding to the Modbus slave you wish to delete from the configuration. If this is the only node remaining in the configuration, you will not be able to delete it, as the downstream Modbus network must include at least one slave.
2)Right click on the icon or the name of this Modbus slave. A menu pops up underneath the mouse cursor. or
In the AbcConf main menu, pull down the menu whose name corresponds to the name of the previously selected node.
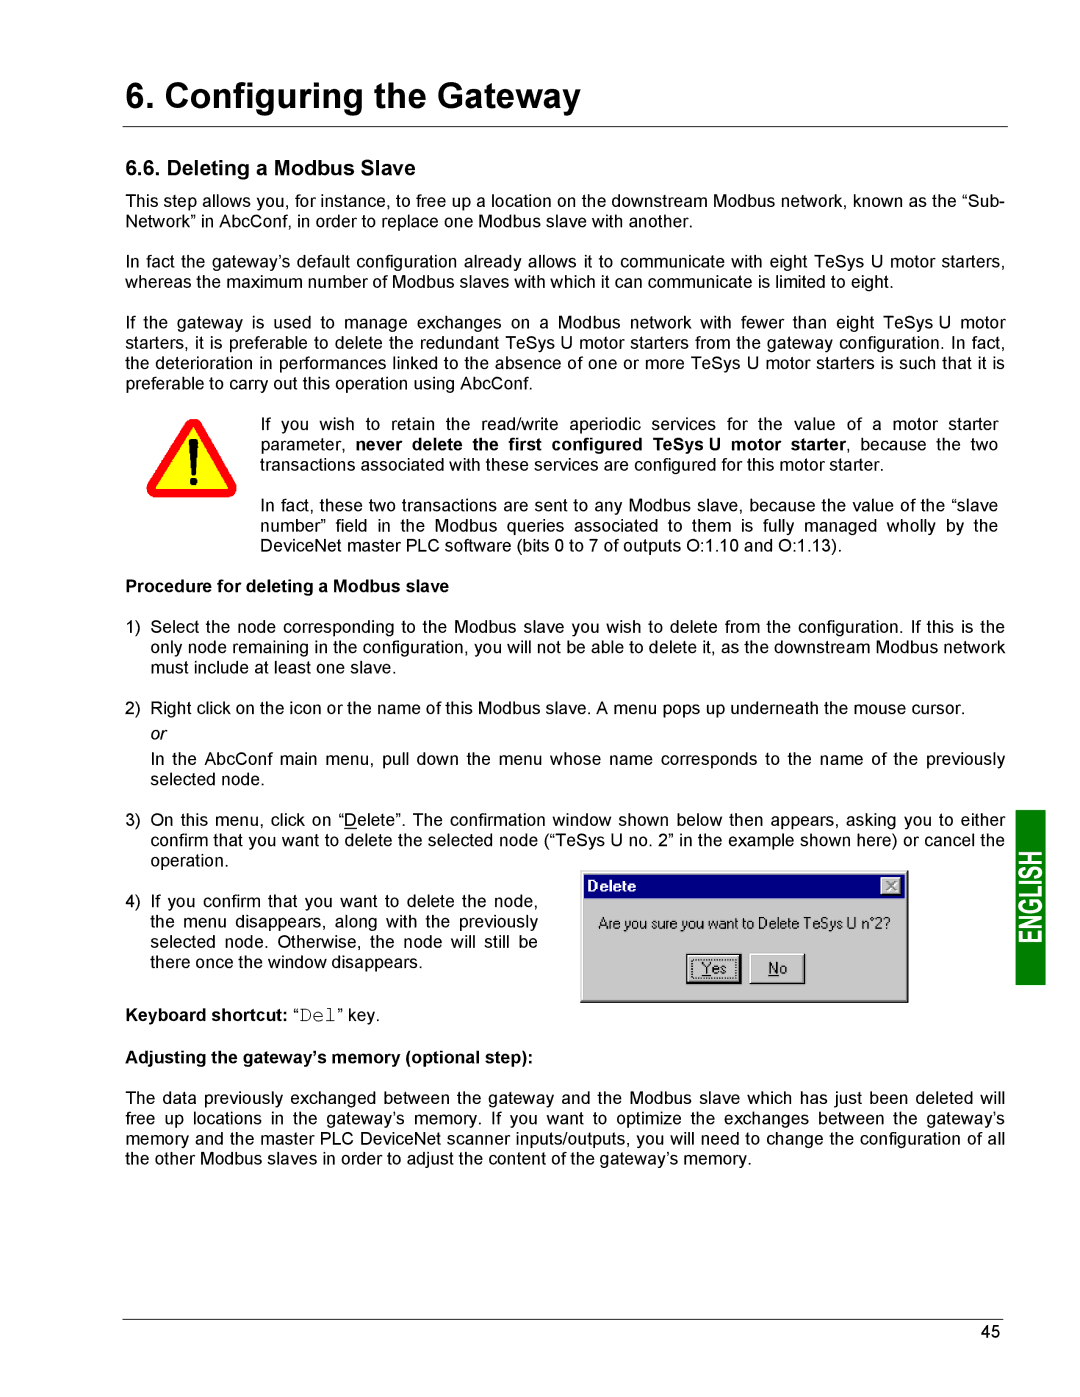
3)On this menu, click on “Delete”. The confirmation window shown below then appears, asking you to either confirm that you want to delete the selected node (“TeSys U no. 2” in the example shown here) or cancel the operation.
4)If you confirm that you want to delete the node, the menu disappears, along with the previously selected node. Otherwise, the node will still be there once the window disappears.
Keyboard shortcut: “Del” key.
Adjusting the gateway’s memory (optional step):
The data previously exchanged between the gateway and the Modbus slave which has just been deleted will free up locations in the gateway’s memory. If you want to optimize the exchanges between the gateway’s memory and the master PLC DeviceNet scanner inputs/outputs, you will need to change the configuration of all the other Modbus slaves in order to adjust the content of the gateway’s memory.
45