LOADING PRINTING PAPER
5 | Insert the paper tray into the fax ma- |
| chine, making sure it clicks into place. |
6 | Replace the paper tray cover. |
• The paper tray cover also serves as a tray for original documents which come out of the fax after scanning for transmission or copying. You can pull out the cover as needed to ensure that it catches the documents.
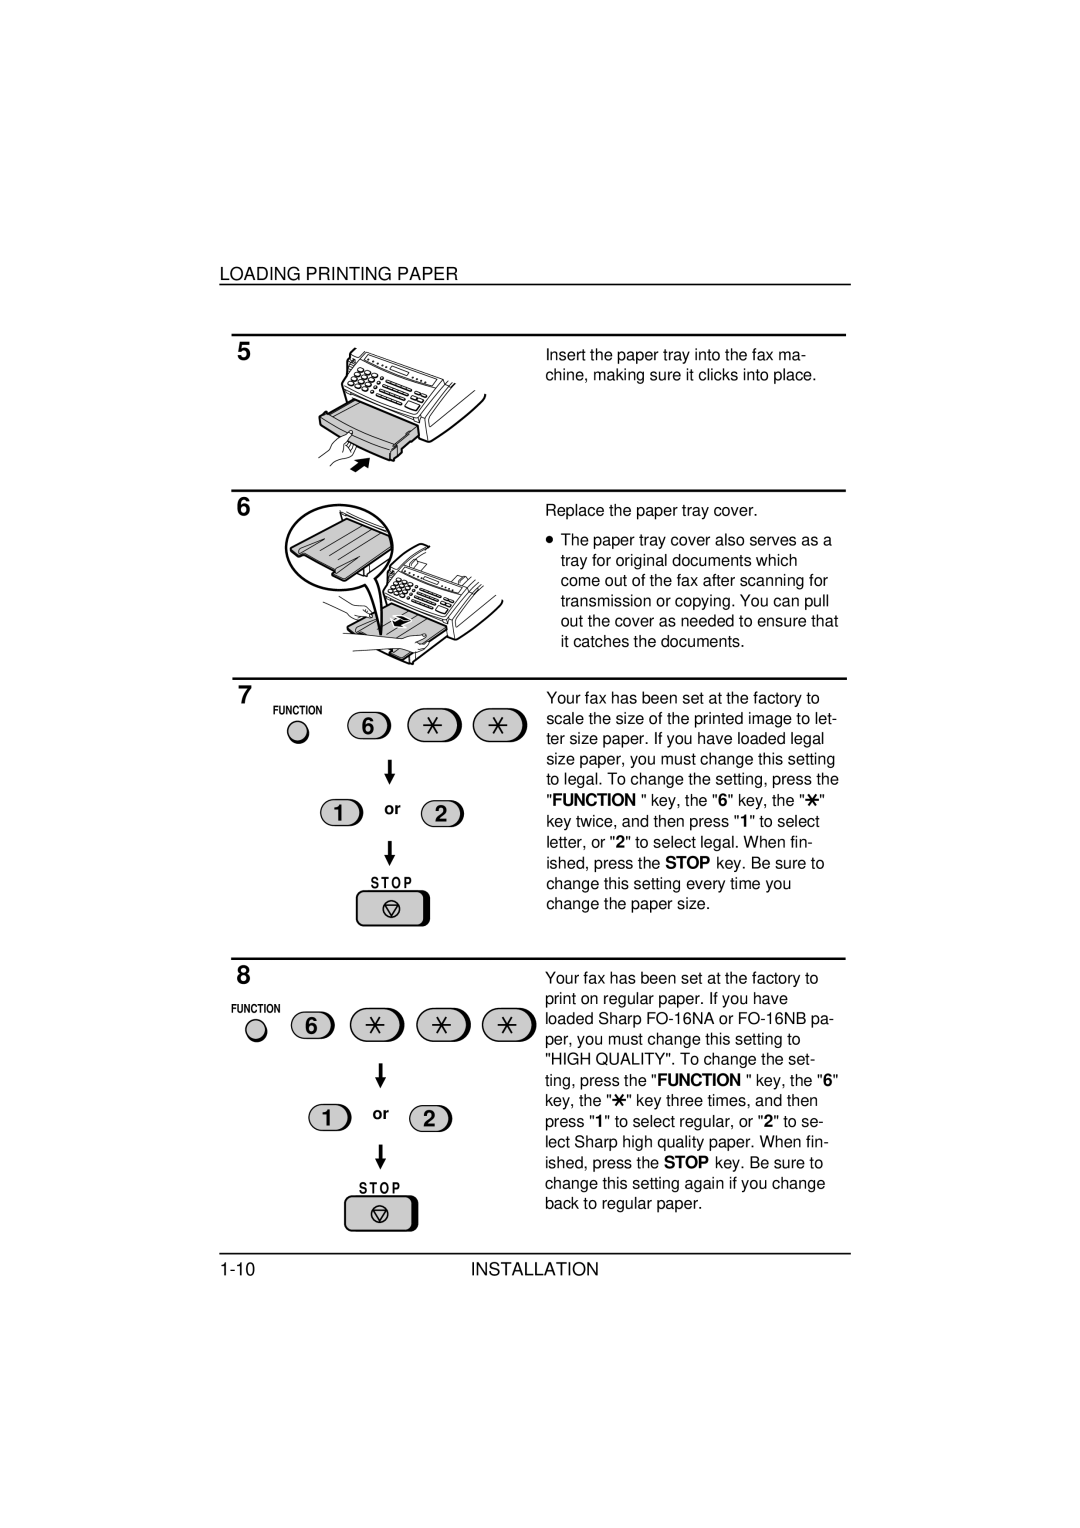
7
FUNCTION
6
1 or 2
S T O P
Your fax has been set at the factory to scale the size of the printed image to let- ter size paper. If you have loaded legal size paper, you must change this setting to legal. To change the setting, press the "FUNCTION " key, the "6" key, the "*" key twice, and then press "1" to select letter, or "2" to select legal. When fin- ished, press the STOP key. Be sure to change this setting every time you change the paper size.
8
FUNCTION
6
1 or 2
S T O P
Your fax has been set at the factory to print on regular paper. If you have loaded Sharp
INSTALLATION |