4.24 Wireless LAN Antenna/Bluetooth Antenna/Display Cover/Speaker | 4 Replacement Procedures |
Installing the Wireless LAN Antenna/Bluetooth Antenna/Display Cover/Speaker
To install the wireless LAN antenna/Bluetooth antenna/display cover/speaker, follow the steps below and refer to figures
1.Install the two hinges into the hole on the back of the display assembly and secure the hinges with the following screws.
• M2.5⋅6 FLAT HEAD screw | ⋅2 |
2.Install the side covers and speakers. Pass the speaker cables through the hole on the display assembly. Secure the side covers and speakers with the following screws.
• | M2.5⋅4 | FLAT HEAD screw | ⋅2 |
• | M2.5⋅6 | FLAT HEAD screw | ⋅4 |
3.Stick the acetate tape to secure the left speaker cable.
4.Install the LCD cable and the metal plate on the display cover and secure it with the following screw.
• M2.5⋅4 TAPPING screw | ⋅1 |
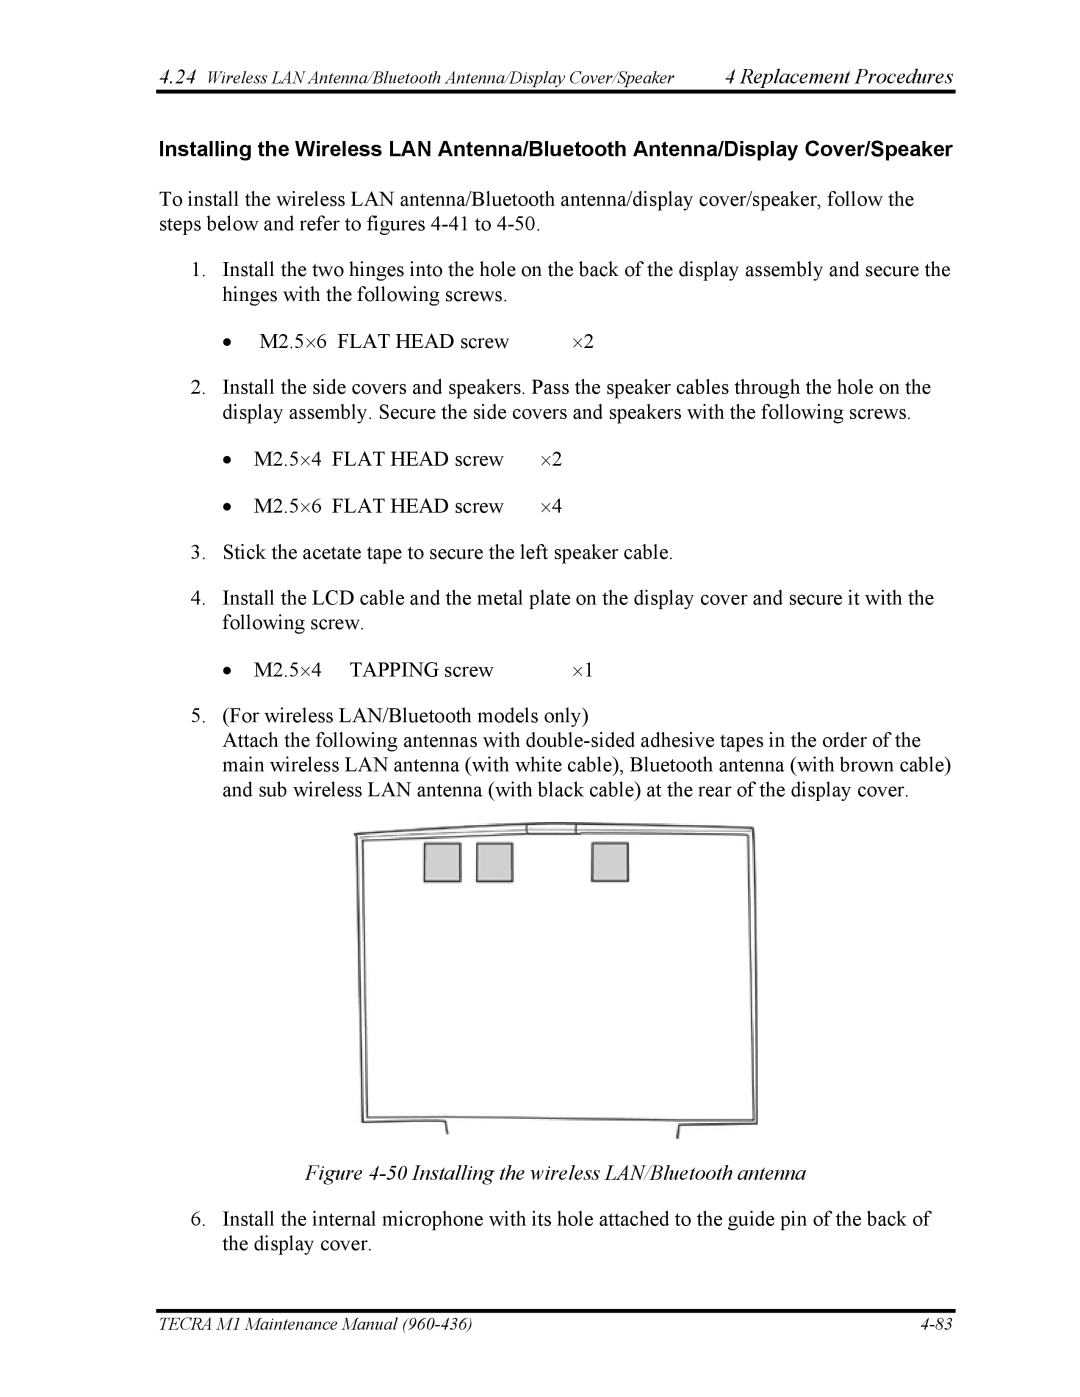
5.(For wireless LAN/Bluetooth models only)
Attach the following antennas with
Figure 4-50 Installing the wireless LAN/Bluetooth antenna
6.Install the internal microphone with its hole attached to the guide pin of the back of the display cover.
TECRA M1 Maintenance Manual |