Main Menu (continued)
FULL SYSTEM TEST
Select the FULL SYSTEM TEST option to run all applicable tests on the Scanner to determine if it is working properly.
To run the FULL SYSTEM TEST diagnostic:
1.Press the Menu key. The MAIN MENU screen is displayed.
2.Press the Next key until DIAGNOSTICS is highlighted.
3.Press the Enter key to select DIAGNOSTICS. The DIAGNOSTICS menu screen is displayed.
4.Press the Next key until SCANNER DIAGNOSTICS is displayed.
5.Press the Enter key to select SCANNER DIAGNOSTICS. The SCANNER DIAGNOSTICS menu screen is displayed.
6.Press the Next key until FULL SYSTEM TEST is highlighted.
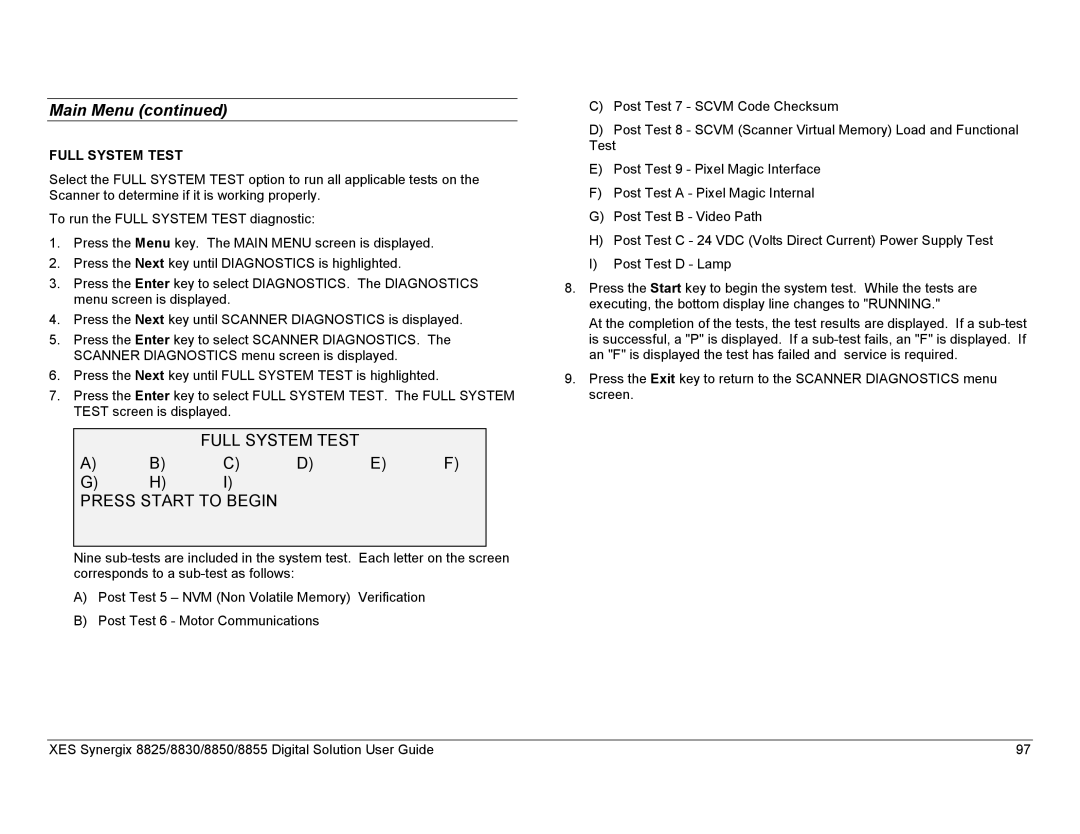
7.Press the Enter key to select FULL SYSTEM TEST. The FULL SYSTEM TEST screen is displayed.
FULL SYSTEM TEST
A) B) C) D) E) F)
G) H) I)
PRESS START TO BEGIN
Nine
A)Post Test 5 – NVM (Non Volatile Memory) Verification
B)Post Test 6 - Motor Communications
C)Post Test 7 - SCVM Code Checksum
D)Post Test 8 - SCVM (Scanner Virtual Memory) Load and Functional Test
E)Post Test 9 - Pixel Magic Interface
F)Post Test A - Pixel Magic Internal
G)Post Test B - Video Path
H)Post Test C - 24 VDC (Volts Direct Current) Power Supply Test
I)Post Test D - Lamp
8.Press the Start key to begin the system test. While the tests are executing, the bottom display line changes to "RUNNING."
At the completion of the tests, the test results are displayed. If a
9.Press the Exit key to return to the SCANNER DIAGNOSTICS menu screen.
XES Synergix 8825/8830/8850/8855 Digital Solution User Guide | 97 |