The following steps listed below illustrate the VLAN alias and color setup. This procedure is common for both
1From the Root window select the Virtual LANs icon and then from the ATMvLAN menu select Configuration Assistant
or
in the Topology Browser select a Virtual LANs component and then select the Configure icon.
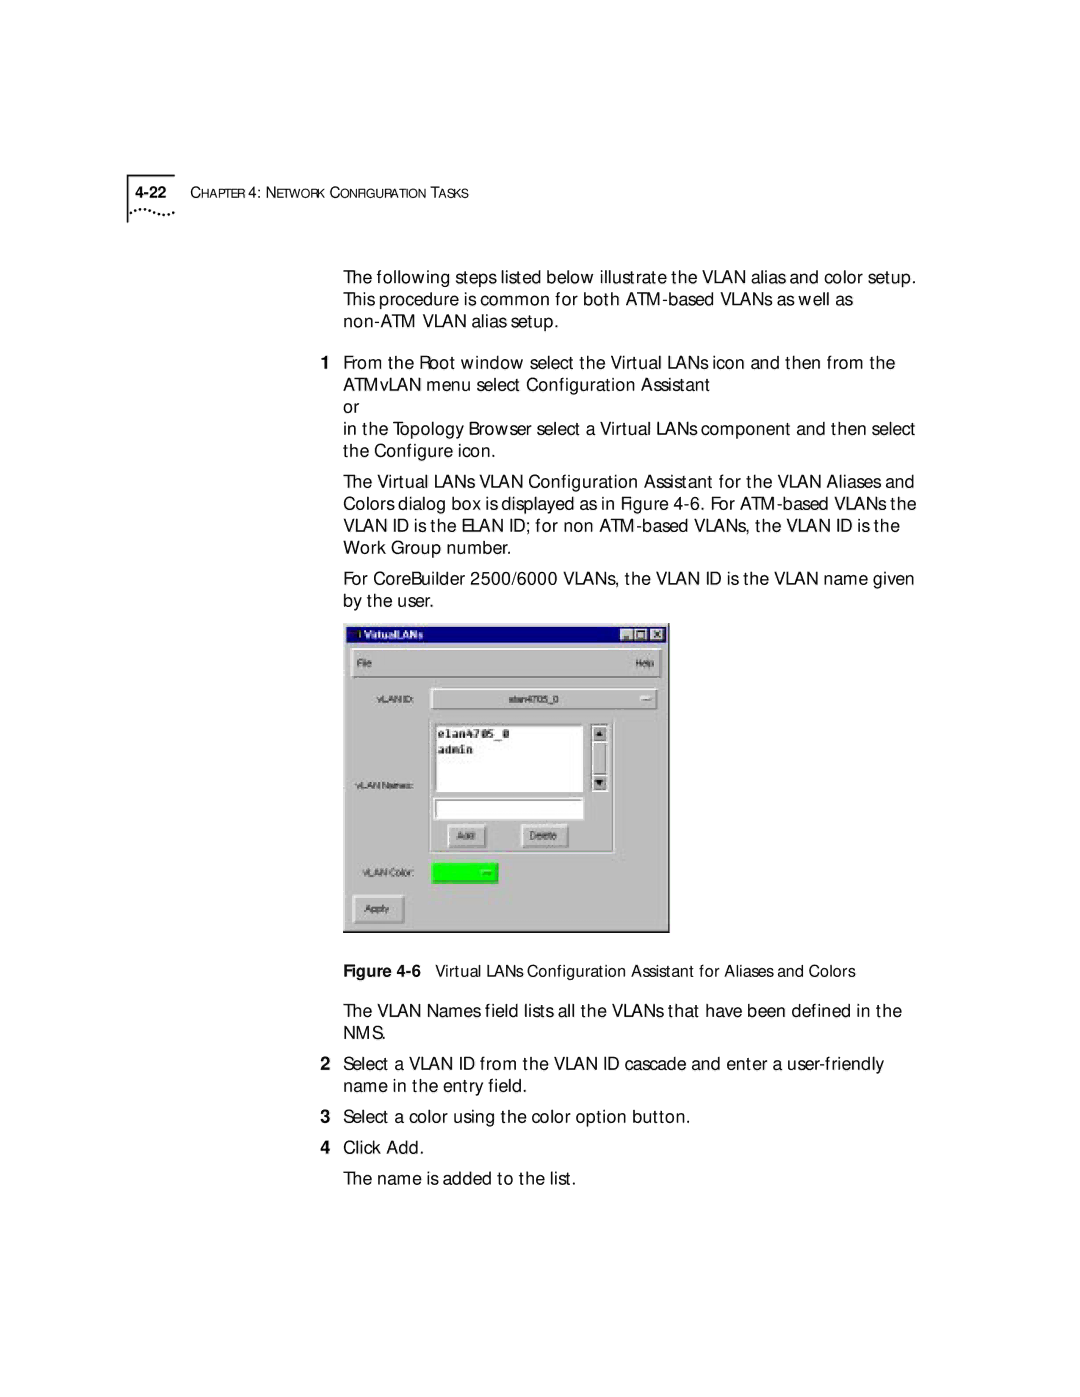
The Virtual LANs VLAN Configuration Assistant for the VLAN Aliases and Colors dialog box is displayed as in Figure
For CoreBuilder 2500/6000 VLANs, the VLAN ID is the VLAN name given by the user.
Figure 4-6 Virtual LANs Configuration Assistant for Aliases and Colors
The VLAN Names field lists all the VLANs that have been defined in the
NMS.
2Select a VLAN ID from the VLAN ID cascade and enter a
3Select a color using the color option button.
4Click Add.
The name is added to the list.
