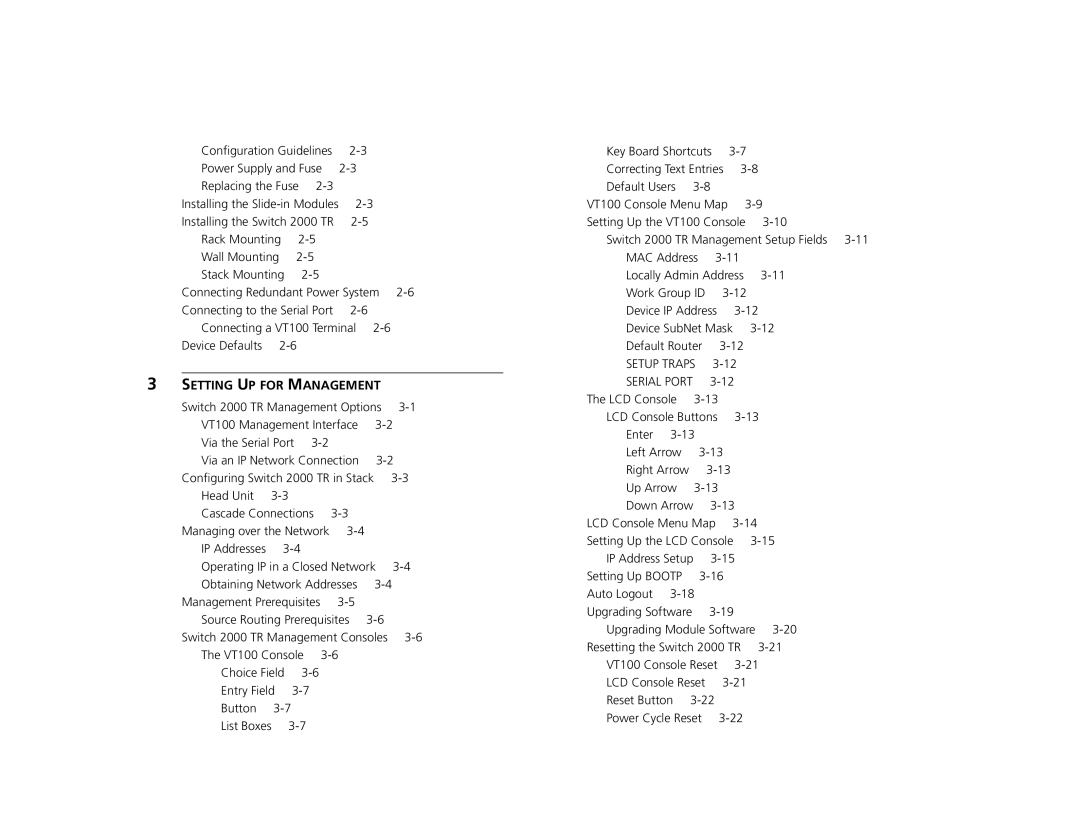
Configuration Guidelines | ||
Power Supply and Fuse | ||
Replacing the Fuse |
| |
Installing the | ||
Installing the Switch 2000 TR | ||
Rack Mounting |
| |
Wall Mounting |
| |
Stack Mounting |
| |
Connecting Redundant Power System | ||
Connecting to the Serial Port | ||
Connecting a VT100 Terminal
3SETTING UP FOR MANAGEMENT
Switch 2000 TR Management Options | ||||||
VT100 Management Interface | ||||||
Via the Serial Port |
|
|
| |||
Via an IP Network Connection | ||||||
Configuring Switch 2000 TR in Stack | ||||||
Head Unit |
|
|
|
| ||
Cascade Connections |
|
| ||||
Managing over the Network |
|
| ||||
IP Addresses |
|
|
|
| ||
Operating IP in a Closed Network | ||||||
Obtaining Network Addresses | ||||||
Management Prerequisites |
|
| ||||
Source Routing Prerequisites |
| |||||
Switch 2000 TR Management Consoles | ||||||
The VT100 Console |
|
| ||||
Choice Field |
|
|
| |||
Entry Field |
|
|
|
| ||
Button |
|
|
|
| ||
List Boxes |
|
|
|
| ||
Key Board Shortcuts |
| |||||
Correcting Text Entries | ||||||
Default Users |
|
|
| |||
VT100 Console Menu Map | ||||||
Setting Up the VT100 Console | ||||||
Switch 2000 TR Management Setup Fields | ||||||
MAC Address |
| |||||
Locally Admin Address | ||||||
Work Group ID |
|
| ||||
Device IP Address |
| |||||
Device SubNet Mask | ||||||
Default Router |
|
| ||||
SETUP TRAPS |
| |||||
SERIAL PORT |
| |||||
The LCD Console |
|
|
| |||
LCD Console Buttons |
| |||||
Enter |
|
|
|
| ||
Left Arrow |
|
| ||||
Right Arrow |
|
|
| |||
Up Arrow |
|
|
| |||
Down Arrow |
| |||||
LCD Console Menu Map |
| |||||
Setting Up the LCD Console | ||||||
IP Address Setup |
| |||||
Setting Up BOOTP |
|
| ||||
Auto Logout |
|
|
|
| ||
Upgrading Software |
|
| ||||
Upgrading Module Software | ||||||
Resetting the Switch 2000 TR | ||||||
VT100 Console Reset |
| |||||
LCD Console Reset |
|
| ||||
Reset Button |
|
|
| |||
Power Cycle Reset |
|
| ||||
