Installing the Switch 2000 TR
Rack Mounting
The Switch 2000 TR fits a standard
1Unpack the Switch 2000 TR and place it on a hard, flat surface.
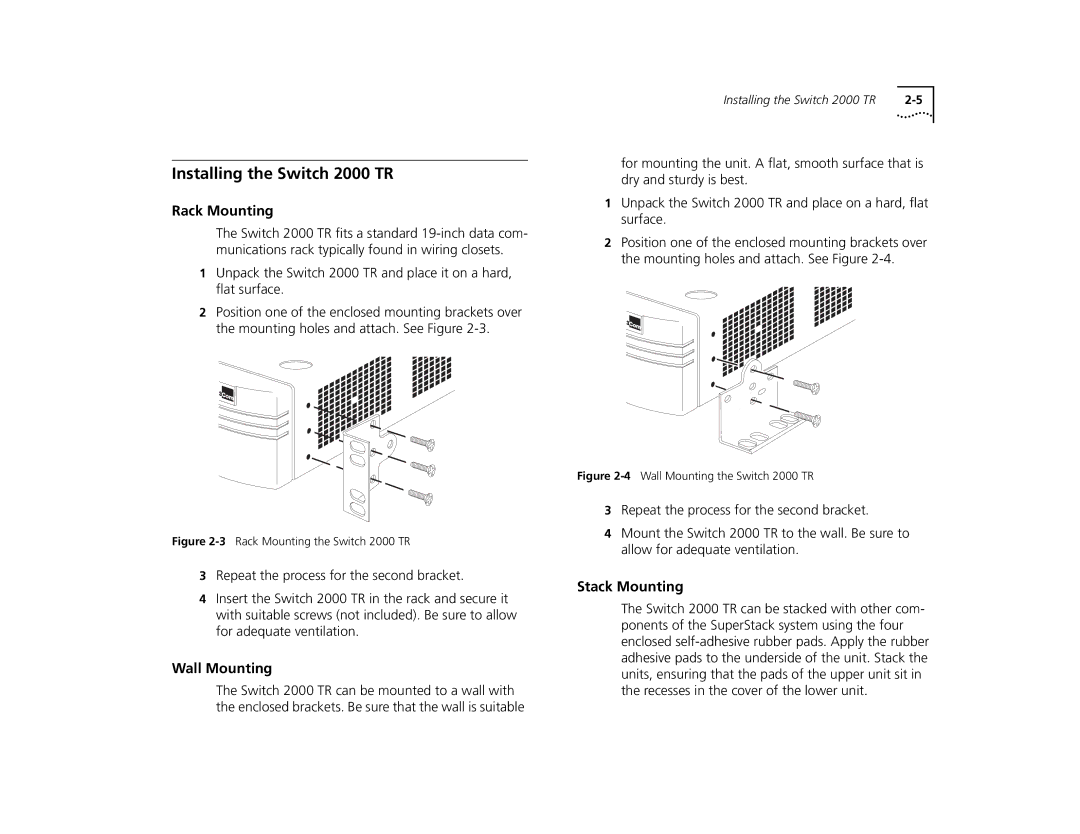
2Position one of the enclosed mounting brackets over the mounting holes and attach. See Figure
Installing the Switch 2000 TR |
for mounting the unit. A flat, smooth surface that is dry and sturdy is best.
1Unpack the Switch 2000 TR and place on a hard, flat surface.
2Position one of the enclosed mounting brackets over the mounting holes and attach. See Figure
Figure 2-3 Rack Mounting the Switch 2000 TR
3Repeat the process for the second bracket.
4Insert the Switch 2000 TR in the rack and secure it with suitable screws (not included). Be sure to allow for adequate ventilation.
Wall Mounting
The Switch 2000 TR can be mounted to a wall with the enclosed brackets. Be sure that the wall is suitable
Figure 2-4 Wall Mounting the Switch 2000 TR
3Repeat the process for the second bracket.
4Mount the Switch 2000 TR to the wall. Be sure to allow for adequate ventilation.
Stack Mounting
The Switch 2000 TR can be stacked with other com- ponents of the SuperStack system using the four enclosed