3Select OK when you are finished filling in the fields.
Creating New Users
Follow these steps to create new users and assign access levels to the Switch 2000 TR.
From the TR USER ACCESS LEVELS screen:
1Select CREATE USER.
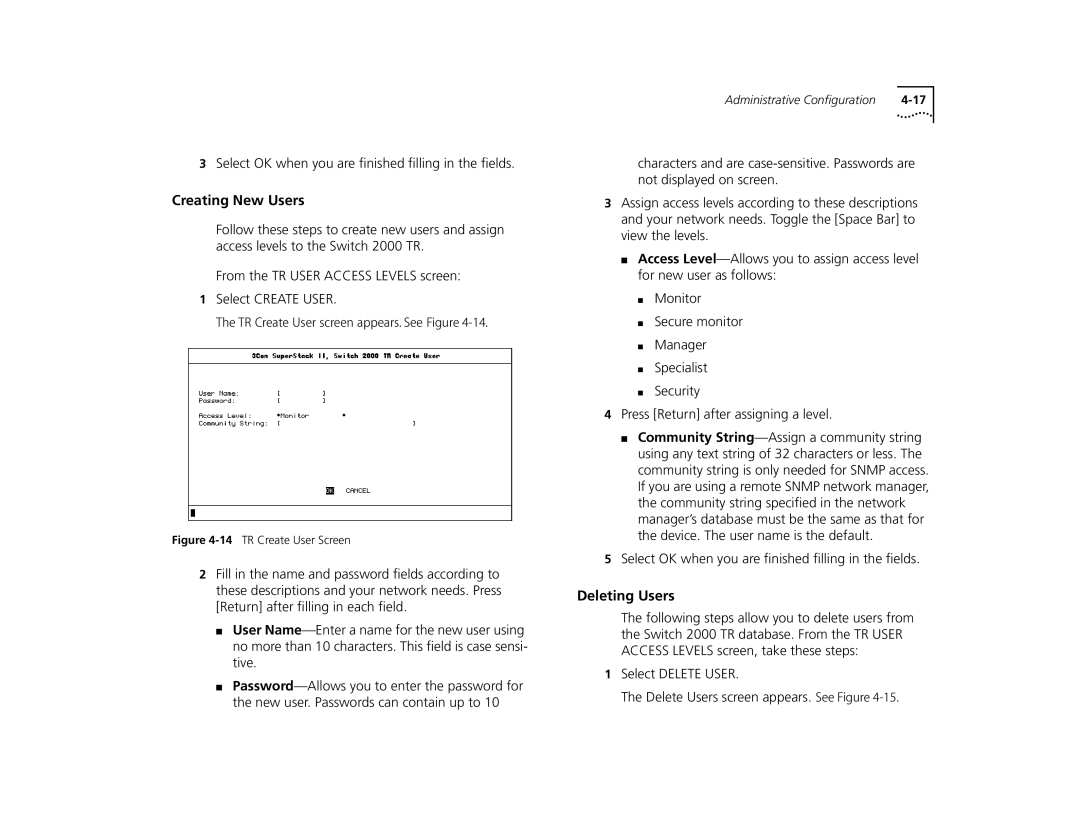
The TR Create User screen appears. See Figure
Figure 4-14 TR Create User Screen
2Fill in the name and password fields according to these descriptions and your network needs. Press [Return] after filling in each field.
■User
■
Administrative Configuration |
characters and are
3Assign access levels according to these descriptions and your network needs. Toggle the [Space Bar] to view the levels.
■Access
■Monitor
■Secure monitor
■Manager
■Specialist
■Security
4Press [Return] after assigning a level.
■Community
5Select OK when you are finished filling in the fields.
Deleting Users
The following steps allow you to delete users from the Switch 2000 TR database. From the TR USER ACCESS LEVELS screen, take these steps:
1Select DELETE USER.
The Delete Users screen appears. See Figure
