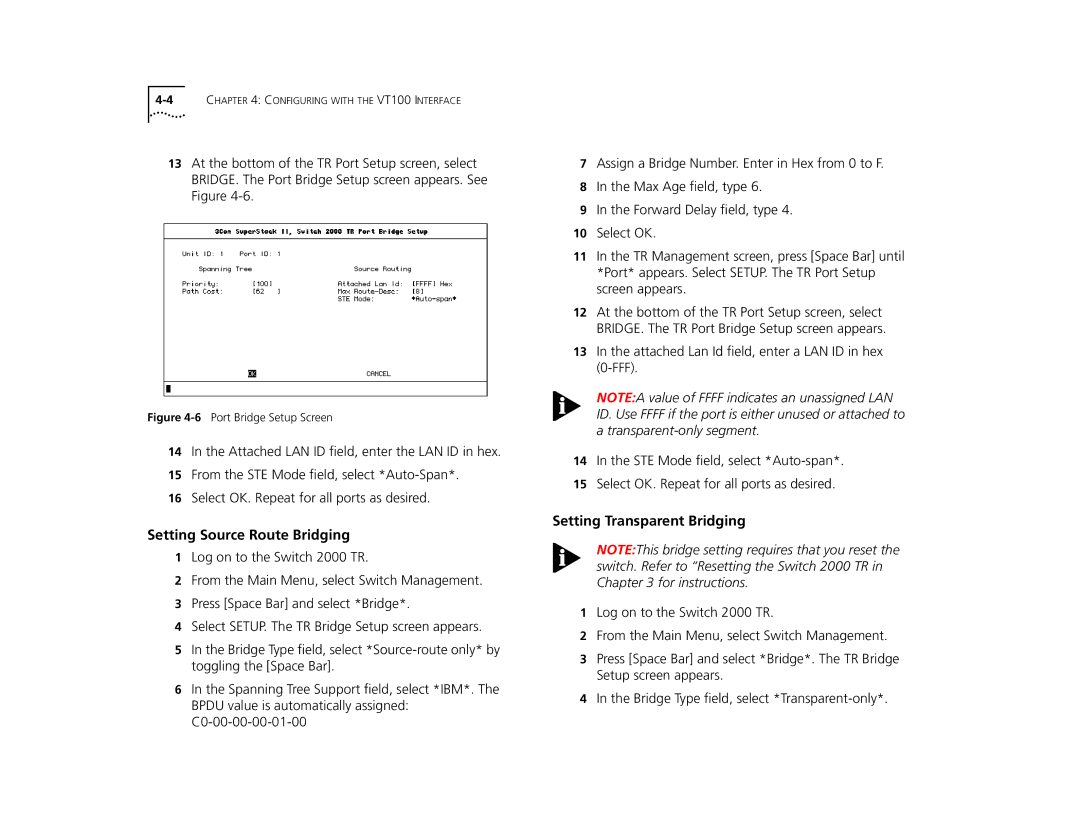
13At the bottom of the TR Port Setup screen, select BRIDGE. The Port Bridge Setup screen appears. See Figure
Figure 4-6 Port Bridge Setup Screen
14In the Attached LAN ID field, enter the LAN ID in hex.
15From the STE Mode field, select
16Select OK. Repeat for all ports as desired.
Setting Source Route Bridging
1Log on to the Switch 2000 TR.
2From the Main Menu, select Switch Management.
3Press [Space Bar] and select *Bridge*.
4Select SETUP. The TR Bridge Setup screen appears.
5In the Bridge Type field, select
6In the Spanning Tree Support field, select *IBM*. The BPDU value is automatically assigned:
7Assign a Bridge Number. Enter in Hex from 0 to F.
8In the Max Age field, type 6.
9In the Forward Delay field, type 4.
10Select OK.
11In the TR Management screen, press [Space Bar] until *Port* appears. Select SETUP. The TR Port Setup screen appears.
12At the bottom of the TR Port Setup screen, select BRIDGE. The TR Port Bridge Setup screen appears.
13In the attached Lan Id field, enter a LAN ID in hex
NOTE:A value of FFFF indicates an unassigned LAN ID. Use FFFF if the port is either unused or attached to a
14In the STE Mode field, select
15Select OK. Repeat for all ports as desired.
Setting Transparent Bridging
NOTE:This bridge setting requires that you reset the switch. Refer to “Resetting the Switch 2000 TR in Chapter 3 for instructions.
1Log on to the Switch 2000 TR.
2From the Main Menu, select Switch Management.
3Press [Space Bar] and select *Bridge*. The TR Bridge Setup screen appears.
4In the Bridge Type field, select