The following fields can be set:
| Parameter | Description | |
| Subnet Name | This field allows the entry of a name | |
|
| for the IP interface. The default IP | |
|
| interface is named “System”. | |
| IP Address | This field allows the entry of an IP | |
|
| address to be assigned to this IP | |
|
| interface. | |
| Subnet Mask | This field allows the entry of a | |
|
| subnet mask to be applied to this IP | |
|
| interface. | |
| VID | This field allows the entry of the | |
|
| VLAN ID number for the VLAN the IP | |
|
| interface belongs to. | |
| Active <Yes> | This field is toggled between Yes and | |
|
| No using the space bar. This entry | |
|
| determines whether the interface will | |
|
| be active or not. | |
|
|
|
|
Layer 3 IP Networking
To access the Layer 3 IP Networking menus, select Configure Layer 3 - IP Networking on the Configuration menu.
If an IP Interface is created while RIP is enabled, the TX Mode default will be V2 Only and the RX Mode default will be V1 and V2
Setup the Routing Information Protocol (RIP)
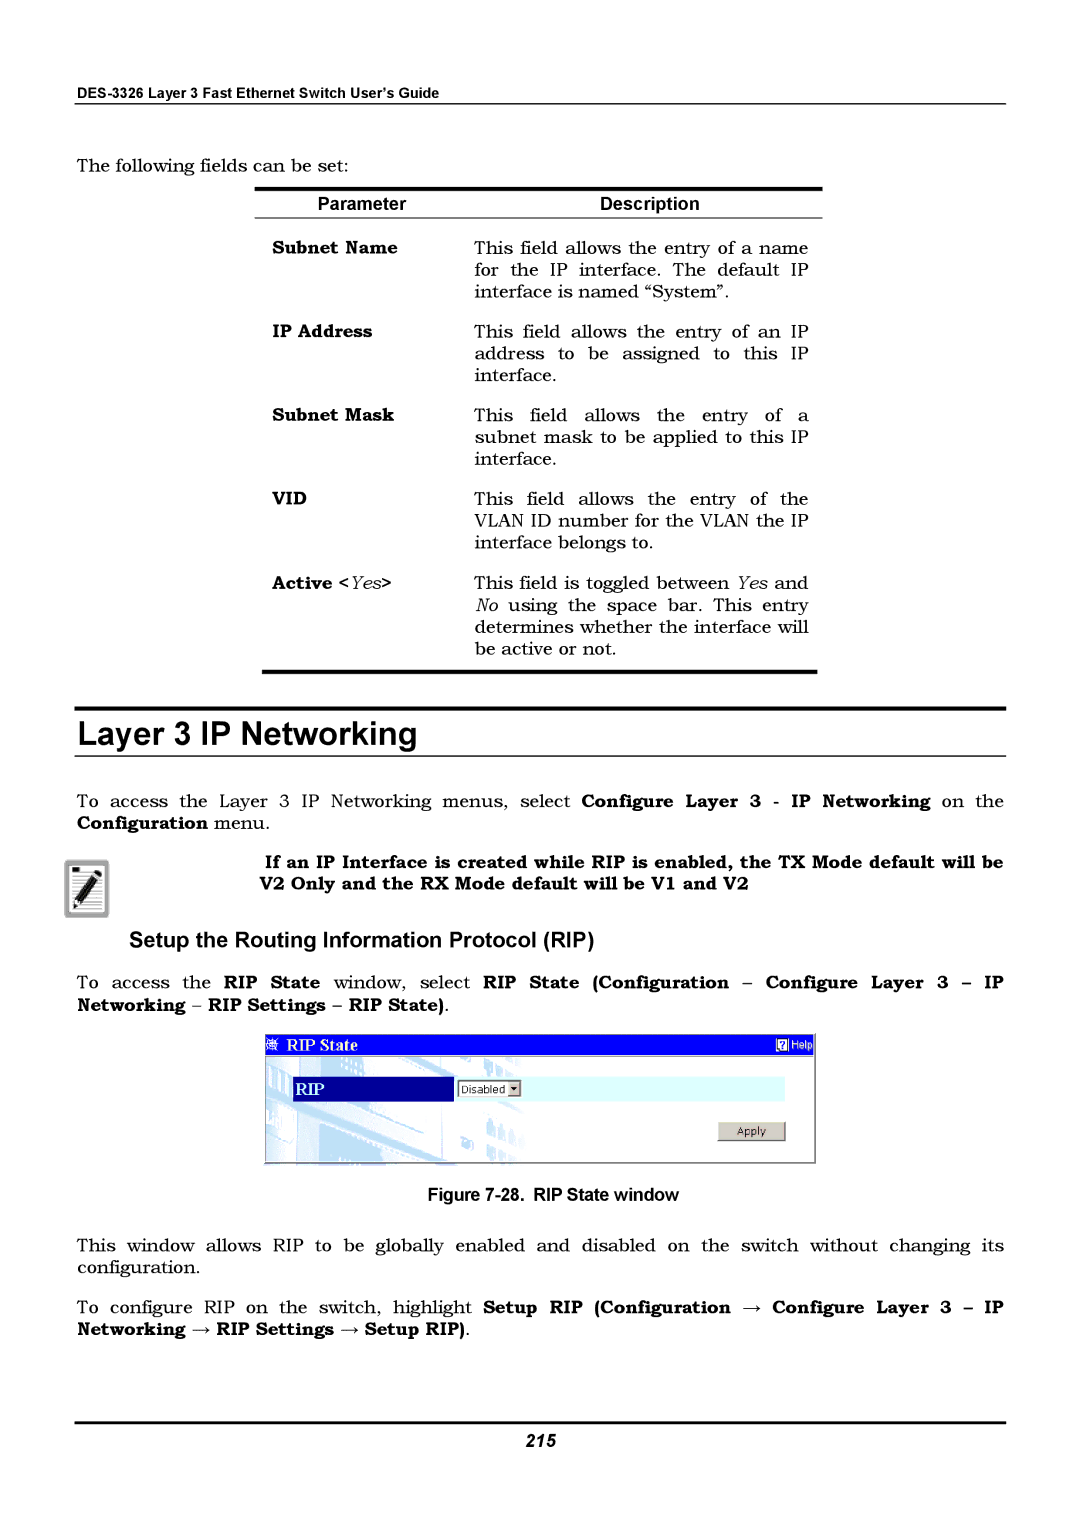
To access the RIP State window, select RIP State (Configuration − Configure Layer 3 – IP Networking − RIP Settings − RIP State).
Figure 7-28. RIP State window
This window allows RIP to be globally enabled and disabled on the switch without changing its configuration.
To configure RIP on the switch, highlight Setup RIP (Configuration → Configure Layer 3 – IP Networking → RIP Settings → Setup RIP).
