Chapter 5---Electronics
temperature of the green ILA® increases, the bias is increased to maintain a constant ILA® output.
The Convergence Deflection PCB receives commands for x and
The Waveform Generator section generates a horizontal and vertical parabolic waveforms that the High Voltage Power Supply uses for dynamic focus.
Convergence Deflection PCB - Remove and Replace
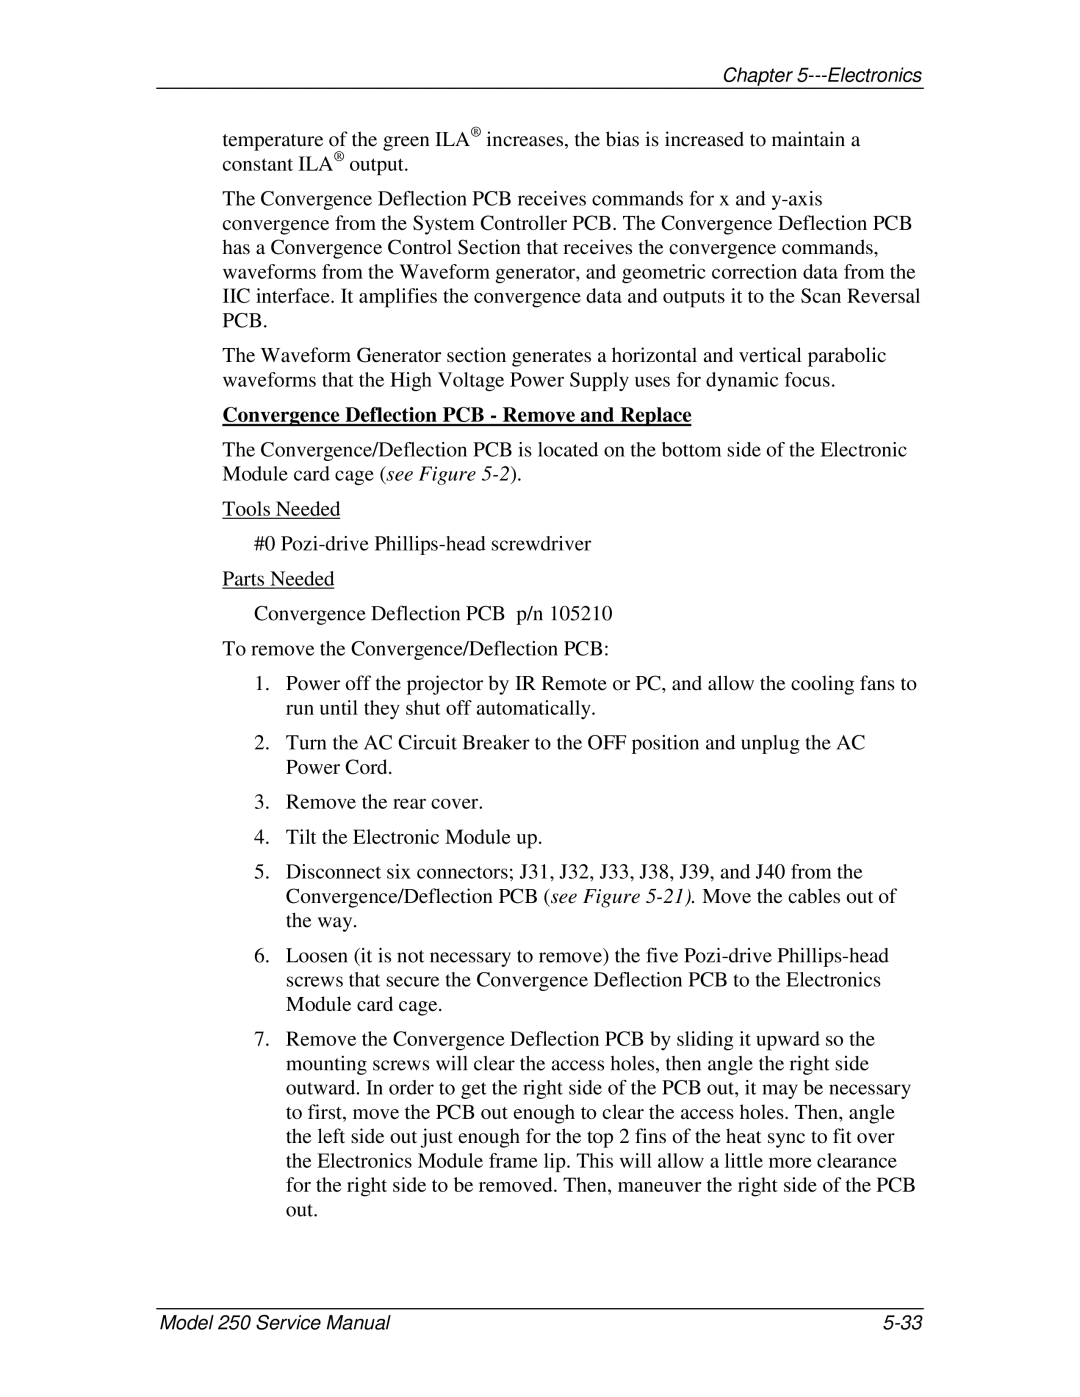
The Convergence/Deflection PCB is located on the bottom side of the Electronic Module card cage (see Figure
Tools Needed
#0
Parts Needed
Convergence Deflection PCB p/n 105210
To remove the Convergence/Deflection PCB:
1.Power off the projector by IR Remote or PC, and allow the cooling fans to run until they shut off automatically.
2.Turn the AC Circuit Breaker to the OFF position and unplug the AC Power Cord.
3.Remove the rear cover.
4.Tilt the Electronic Module up.
5.Disconnect six connectors; J31, J32, J33, J38, J39, and J40 from the Convergence/Deflection PCB (see Figure
6.Loosen (it is not necessary to remove) the five
7.Remove the Convergence Deflection PCB by sliding it upward so the mounting screws will clear the access holes, then angle the right side outward. In order to get the right side of the PCB out, it may be necessary to first, move the PCB out enough to clear the access holes. Then, angle the left side out just enough for the top 2 fins of the heat sync to fit over the Electronics Module frame lip. This will allow a little more clearance for the right side to be removed. Then, maneuver the right side of the PCB out.
Model 250 Service Manual |