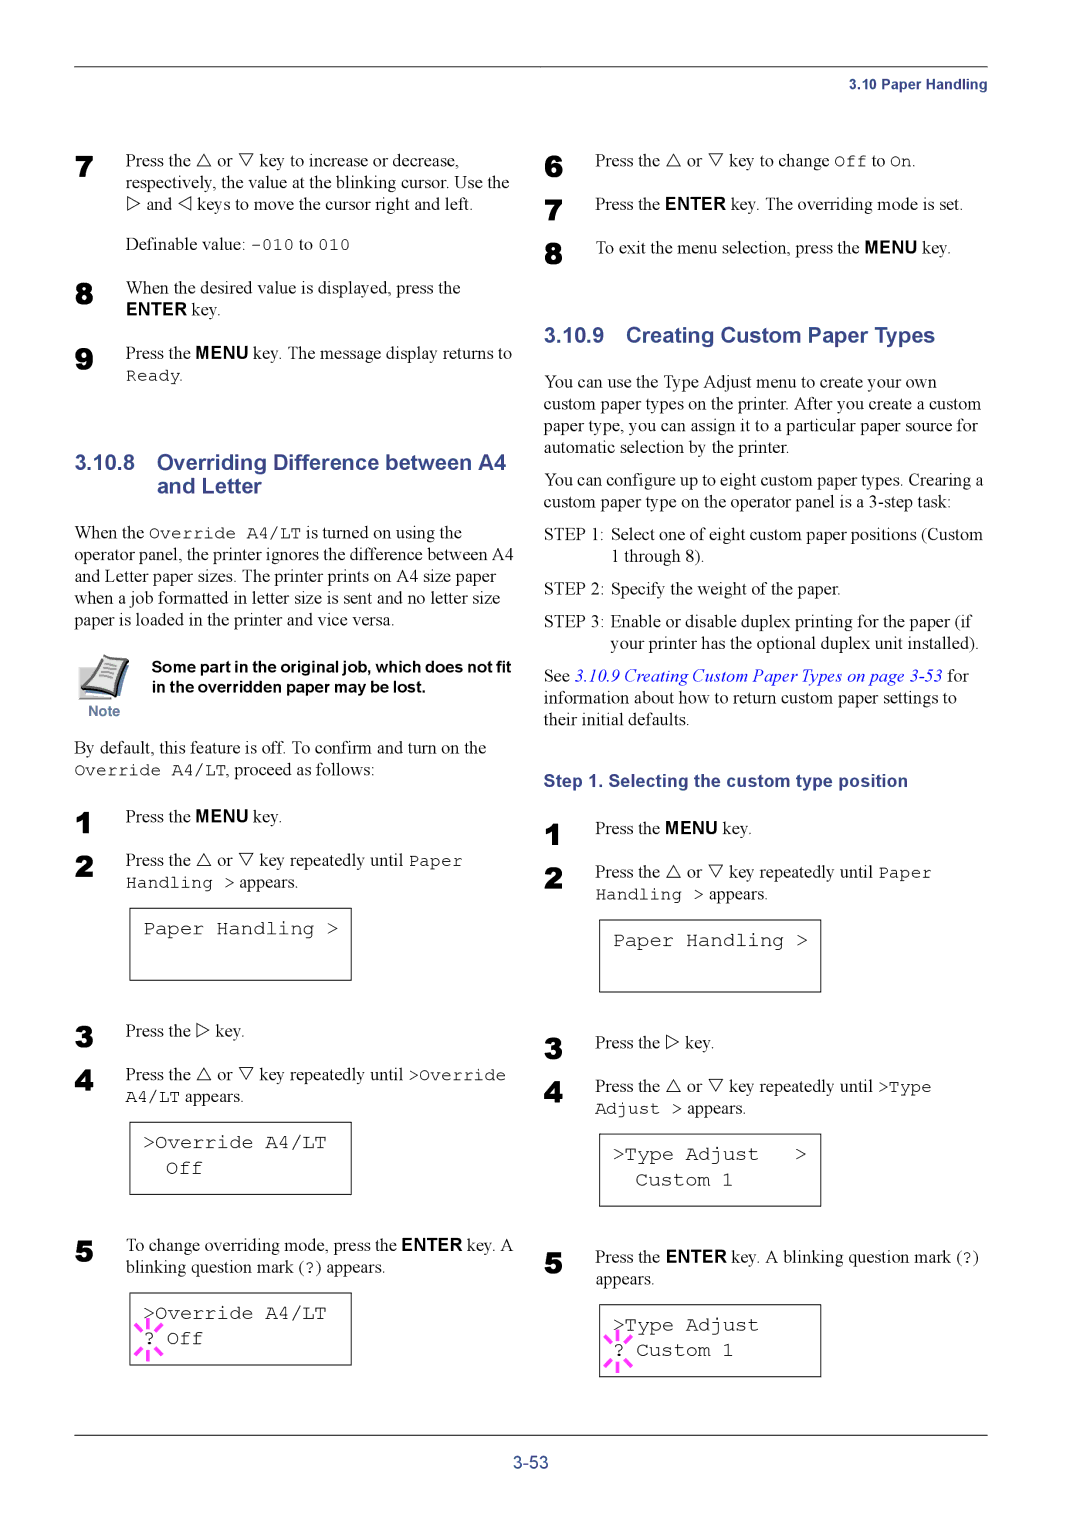
7 | Press the U or V key to increase or decrease, |
| respectively, the value at the blinking cursor. Use the |
| Z and Y keys to move the cursor right and left. |
| Definable value: |
8 | When the desired value is displayed, press the |
| ENTER key. |
9 | Press the MENU key. The message display returns to |
| Ready. |
3.10.8Overriding Difference between A4 and Letter
When the Override A4/LT is turned on using the operator panel, the printer ignores the difference between A4 and Letter paper sizes. The printer prints on A4 size paper when a job formatted in letter size is sent and no letter size paper is loaded in the printer and vice versa.
Some part in the original job, which does not fit in the overridden paper may be lost.
Note
By default, this feature is off. To confirm and turn on the Override A4/LT, proceed as follows:
1 | Press the MENU key. | ||||
2 | Press the U or V key repeatedly until Paper | ||||
| Handling > appears. | ||||
|
|
|
|
|
|
|
| Paper Handling > |
| ||
3 |
|
|
|
|
|
Press the Z key. | |||||
4 | Press the U or V key repeatedly until >Override | ||||
| A4/LT appears. | ||||
|
|
|
|
| |
|
| >Override A4/LT |
| ||
|
|
|
| Off |
|
5 |
|
|
|
|
|
To change overriding mode, press the ENTER key. A | |||||
| blinking question mark (?) appears. | ||||
|
|
|
|
| |
|
|
|
| >Override A4/LT |
|
|
|
|
| ||
|
| ? Off |
| ||
|
|
|
|
|
|
|
|
|
|
|
|
| 3.10 Paper Handling |
6 | Press the U or V key to change Off to On. |
7 | Press the ENTER key. The overriding mode is set. |
8 | To exit the menu selection, press the MENU key. |
3.10.9 Creating Custom Paper Types
You can use the Type Adjust menu to create your own custom paper types on the printer. After you create a custom paper type, you can assign it to a particular paper source for automatic selection by the printer.
You can configure up to eight custom paper types. Crearing a custom paper type on the operator panel is a
STEP 1: Select one of eight custom paper positions (Custom 1 through 8).
STEP 2: Specify the weight of the paper.
STEP 3: Enable or disable duplex printing for the paper (if your printer has the optional duplex unit installed).
See 3.10.9 Creating Custom Paper Types on page
Step 1. Selecting the custom type position
1 | Press the MENU key. | ||||
2 | Press the U or V key repeatedly until Paper | ||||
| Handling > appears. | ||||
|
|
|
|
|
|
|
| Paper Handling > |
| ||
3 |
|
|
|
|
|
Press the Z key. | |||||
4 | Press the U or V key repeatedly until >Type | ||||
| Adjust > appears. | ||||
|
|
|
|
| |
|
| >Type Adjust > |
| ||
|
|
|
| Custom 1 |
|
5 |
|
|
|
|
|
Press the ENTER key. A blinking question mark (?) | |||||
| appears. | ||||
|
|
|
|
| |
|
|
|
| >Type Adjust |
|
|
|
|
| ||
|
| ? Custom 1 |
| ||
|
|
|
|
|
|
|
|
|
|
|
|
