3.4
5 | Double click Model Name on the list. The jobs |
| currently stored in the printer are shown. To print the |
job, right click Job name and then click Print on the drop down list that appears.
It is possible to select more than one job at a time by left clicking a job one by one while pressing the Ctrl key on the computer keyboard.
Figure
The job remains intact even after printing. To permanently delete the job in the hard disk, right click the job name on Job Manager, then click Delete on the drop down list that appears.
Printing a list of code jobs
If you select Permanent Job Storage on the printer driver, you can have a List of Code Job printed using the operator panel.
1 | Press the MENU key. |
|
| |
2 | Press the U or V key repeatedly until | |||
| appears. |
|
| |
|
|
|
|
|
|
|
| > |
|
|
|
|
|
|
3 | Press the Z key. | ||
4 | Press the U or V key repeatedly until >List of | ||
| Code JOB appears. | ||
|
|
|
|
|
| >List of |
|
|
| Code JOB |
|
5 |
|
|
|
Press the ENTER key. A question mark (?) appears. | |||
|
|
| |
|
| >List of |
|
|
| Code JOB ? |
|
|
|
|
|
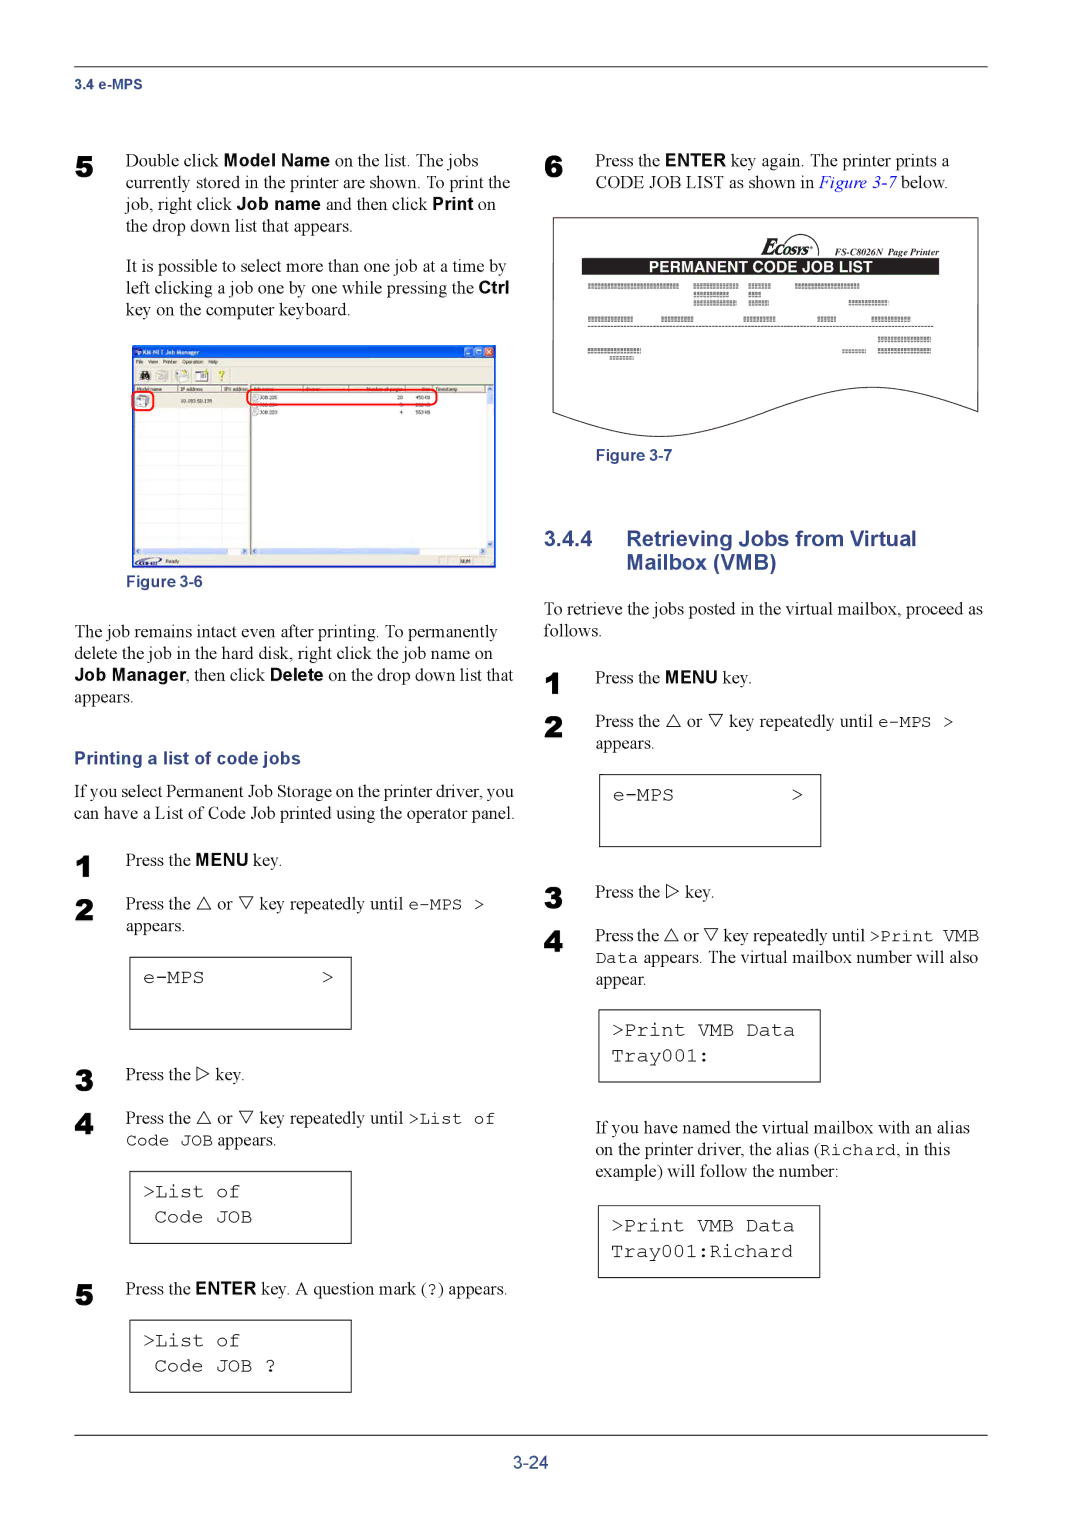
6 | Press the ENTER key again. The printer prints a |
| CODE JOB LIST as shown in Figure |
PERMANENT CODE JOB LIST
Figure
3.4.4Retrieving Jobs from Virtual Mailbox (VMB)
To retrieve the jobs posted in the virtual mailbox, proceed as follows.
1 | Press the MENU key. |
|
2 | Press the U or V key repeatedly until | |
| appears. |
|
|
| > |
3
4 Press the U or V key repeatedly until >Print VMB Data appears. The virtual mailbox number will also appear.
>Print VMB Data
Tray001:
If you have named the virtual mailbox with an alias on the printer driver, the alias (Richard, in this example) will follow the number:
