3.7 Pagination
3.7Pagination
In Page Set menus, you can set the number of copies, page orientation, and other settings regarding pagination.
3.7.1Number of Copies
You can set the number of copies of each page to be printed for the current interface. The number of copies can be set between 1 and 999.
1 | Press the MENU key. |
|
| |
2 | Press the U or V key repeatedly until Page Set > | |||
| appears. |
|
| |
|
|
|
|
|
|
| Page Set | > |
|
|
|
|
|
|
3 | Press the Z key. | ||
4 | Press the U or V key repeatedly until >Copies | ||
| appears. | ||
|
|
|
|
|
| >Copies |
|
|
| 001 |
|
|
|
|
|
5 | Press the ENTER key. A blinking cursor (_) appears. | |||
|
| >Copies |
| |
|
|
|
|
|
|
| 001 |
| |
6 |
|
|
|
|
Press the U or V key to increase or decrease, | ||||
| respectively, the value at the blinking cursor. Use the | |||
Zand Y keys to move the cursor right and left.
7 | When the desired number of copies is displayed, press |
| the ENTER key. |
8 | Press the MENU key. The display returns to Ready. |
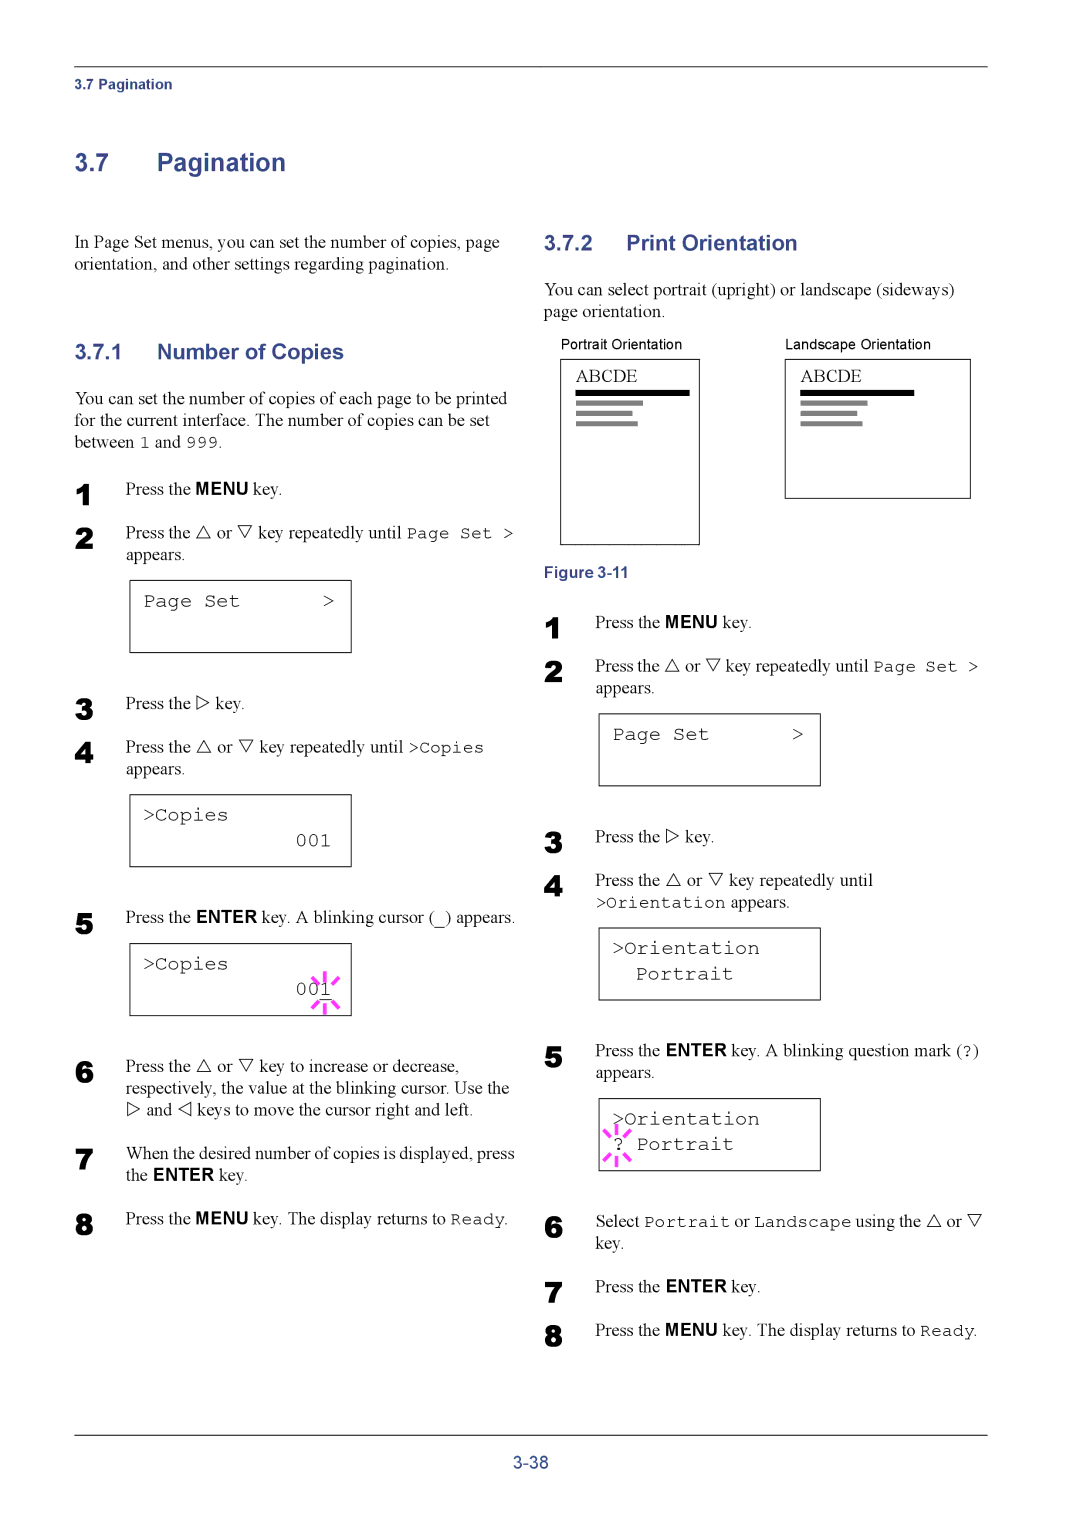
3.7.2Print Orientation
You can select portrait (upright) or landscape (sideways) page orientation.
Portrait Orientation |
| Landscape Orientation | ||||||||||
|
|
|
|
|
|
|
|
|
|
|
|
|
| ABCDE |
|
| ABCDE | ||||||||
|
|
|
|
|
|
|
|
|
|
|
|
|
|
|
|
|
|
|
|
|
|
|
|
|
|
|
|
|
|
|
|
|
|
|
|
|
|
|
|
|
|
|
|
|
|
|
|
|
|
|
|
|
|
|
|
|
|
|
|
|
|
|
|
|
|
|
|
|
|
|
|
|
|
|
|
|
|
|
|
|
|
|
|
|
|
|
|
|
|
|
Figure |
|
| ||||
1 | Press the MENU key. |
|
| |||
2 | Press the U or V key repeatedly until Page Set > | |||||
| appears. |
|
| |||
|
|
|
|
|
|
|
|
| Page Set | > |
| ||
3 |
|
|
|
|
|
|
Press the Z key. |
|
| ||||
4 | Press the U or V key repeatedly until | |||||
| >Orientation appears. |
|
| |||
|
|
|
|
|
|
|
|
| >Orientation |
|
| ||
|
|
|
| Portrait |
|
|
5 |
|
|
|
|
| |
Press the ENTER key. A blinking question mark (?) | ||||||
| appears. |
|
| |||
|
|
|
|
|
|
|
|
|
|
| >Orientation |
|
|
|
|
|
|
| ||
|
|
| ? Portrait |
|
| |
6 |
|
|
|
|
|
|
|
|
|
|
|
| |
Select Portrait or Landscape using the U or V | ||||||
| key. |
|
| |||
7 | Press the ENTER key. |
|
| |||
8 | Press the MENU key. The display returns to Ready. | |||||