5.3 Cleaning the Printer
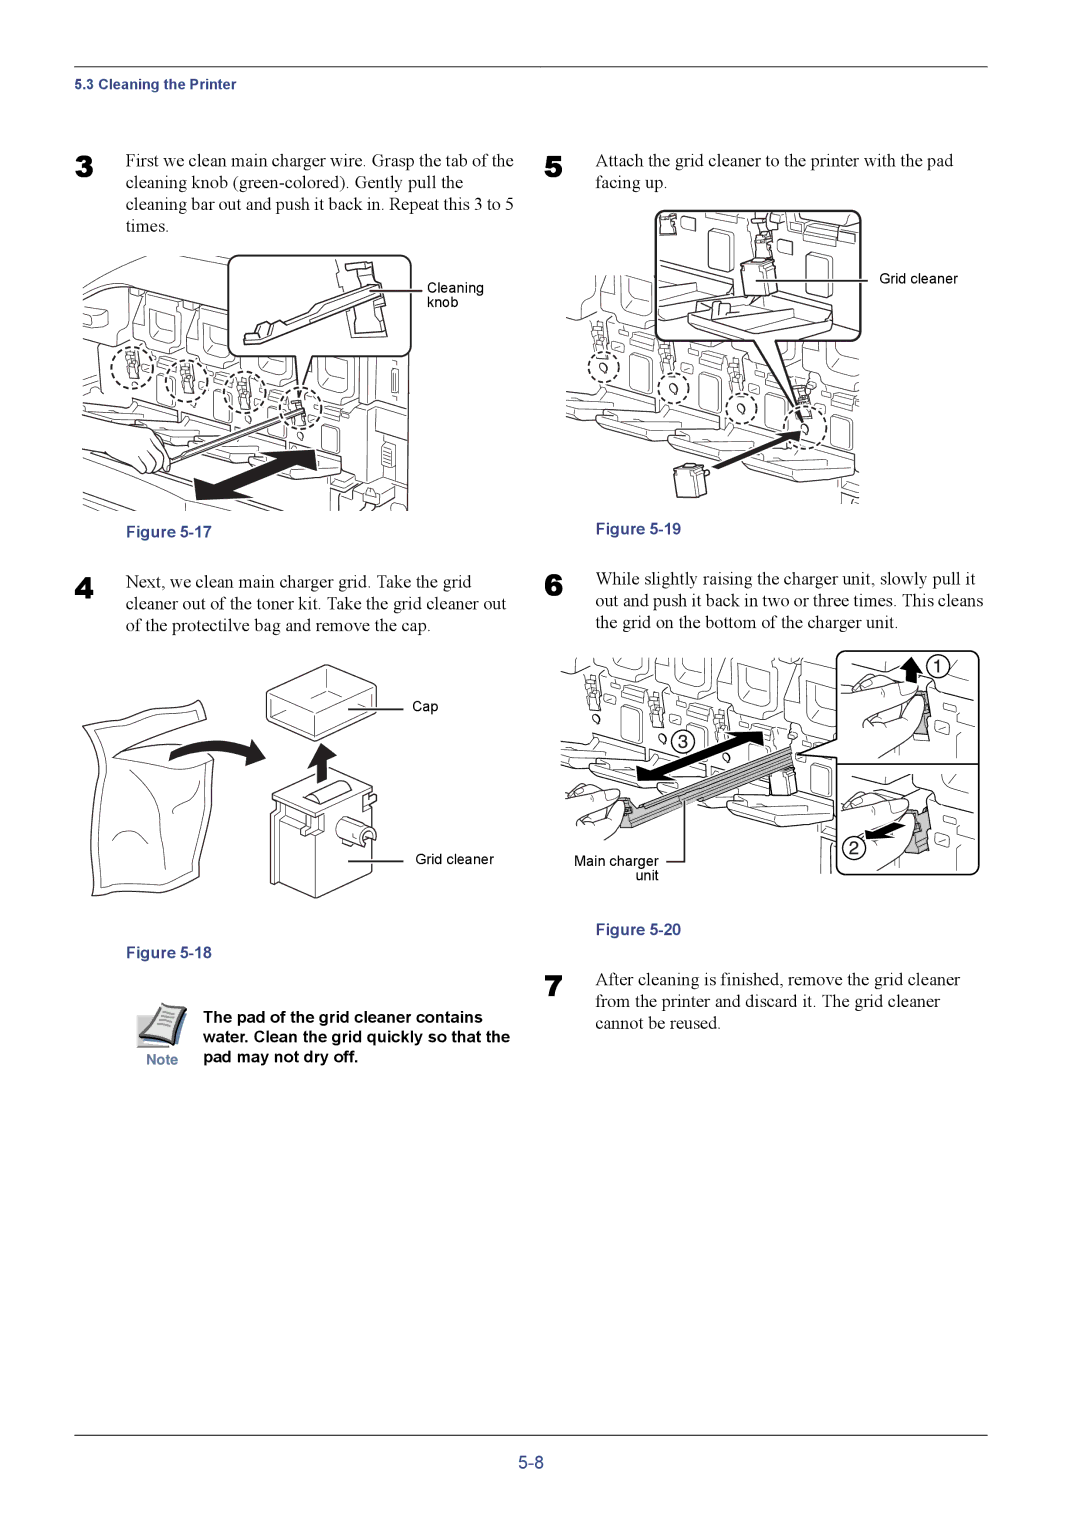
3 | First we clean main charger wire. Grasp the tab of the |
| cleaning knob |
| cleaning bar out and push it back in. Repeat this 3 to 5 |
| times. |
| Cleaning |
| knob |
| Figure |
4 | Next, we clean main charger grid. Take the grid |
| cleaner out of the toner kit. Take the grid cleaner out |
of the protectilve bag and remove the cap.
5 | Attach the grid cleaner to the printer with the pad |
| facing up. |
Grid cleaner
| Figure |
6 | While slightly raising the charger unit, slowly pull it |
| out and push it back in two or three times. This cleans |
the grid on the bottom of the charger unit.
Cap
Grid cleaner | Main charger |
| unit |
Figure
The pad of the grid cleaner contains water. Clean the grid quickly so that the
Note pad may not dry off.
| Figure |
7 | After cleaning is finished, remove the grid cleaner |
| from the printer and discard it. The grid cleaner |
cannot be reused.