3.4
Deleting a quick copy job
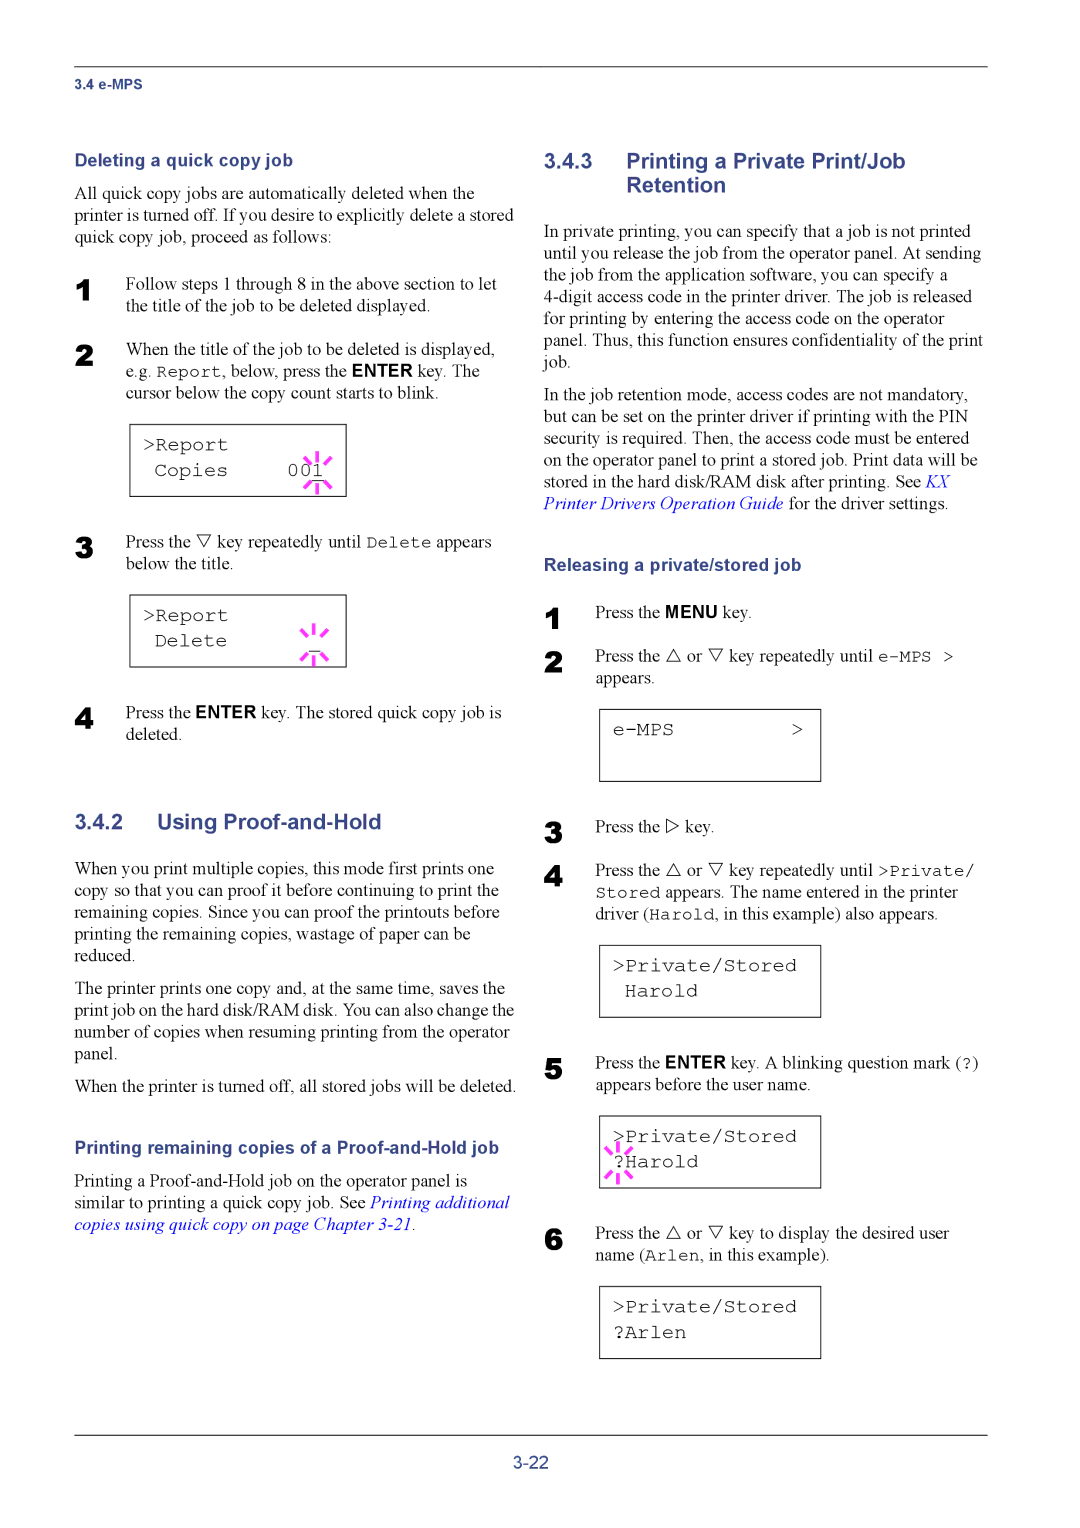
All quick copy jobs are automatically deleted when the printer is turned off. If you desire to explicitly delete a stored quick copy job, proceed as follows:
1
2 When the title of the job to be deleted is displayed, e.g. Report, below, press the ENTER key. The cursor below the copy count starts to blink.
|
| >Report |
|
|
|
|
| Copies |
|
|
|
|
| 001 |
| ||
3 |
|
|
|
|
|
Press the V key repeatedly until Delete appears | |||||
| below the title. |
|
|
| |
>Report Delete
4 | Press the ENTER key. The stored quick copy job is |
| deleted. |
3.4.2Using Proof-and-Hold
When you print multiple copies, this mode first prints one copy so that you can proof it before continuing to print the remaining copies. Since you can proof the printouts before printing the remaining copies, wastage of paper can be reduced.
The printer prints one copy and, at the same time, saves the print job on the hard disk/RAM disk. You can also change the number of copies when resuming printing from the operator panel.
When the printer is turned off, all stored jobs will be deleted.
Printing remaining copies of a Proof-and-Hold job
Printing a
3.4.3Printing a Private Print/Job Retention
In private printing, you can specify that a job is not printed until you release the job from the operator panel. At sending the job from the application software, you can specify a
In the job retention mode, access codes are not mandatory, but can be set on the printer driver if printing with the PIN security is required. Then, the access code must be entered on the operator panel to print a stored job. Print data will be stored in the hard disk/RAM disk after printing. See KX Printer Drivers Operation Guide for the driver settings.
Releasing a private/stored job
1 | Press the MENU key. |
|
| |
2 | Press the U or V key repeatedly until | |||
| appears. |
|
| |
|
|
|
|
|
|
|
| > |
|
|
|
|
|
|
3 | Press the Z key. | ||||
4 | Press the U or V key repeatedly until >Private/ | ||||
| Stored appears. The name entered in the printer | ||||
| driver (Harold, in this example) also appears. | ||||
|
|
|
|
|
|
|
| >Private/Stored |
| ||
|
|
|
| Harold |
|
5 |
|
|
|
|
|
Press the ENTER key. A blinking question mark (?) | |||||
| appears before the user name. | ||||
|
|
|
|
| |
|
|
|
| >Private/Stored |
|
|
|
|
| ||
6 |
|
|
| ?Harold |
|
|
|
|
|
| |
|
|
|
|
| |
Press the U or V key to display the desired user | |||||
| name (Arlen, in this example). | ||||
|
|
| |||
|
| >Private/Stored |
| ||
|
| ?Arlen |
| ||
|
|
|
|
|
|
