A.2 Expansion Memory Modules
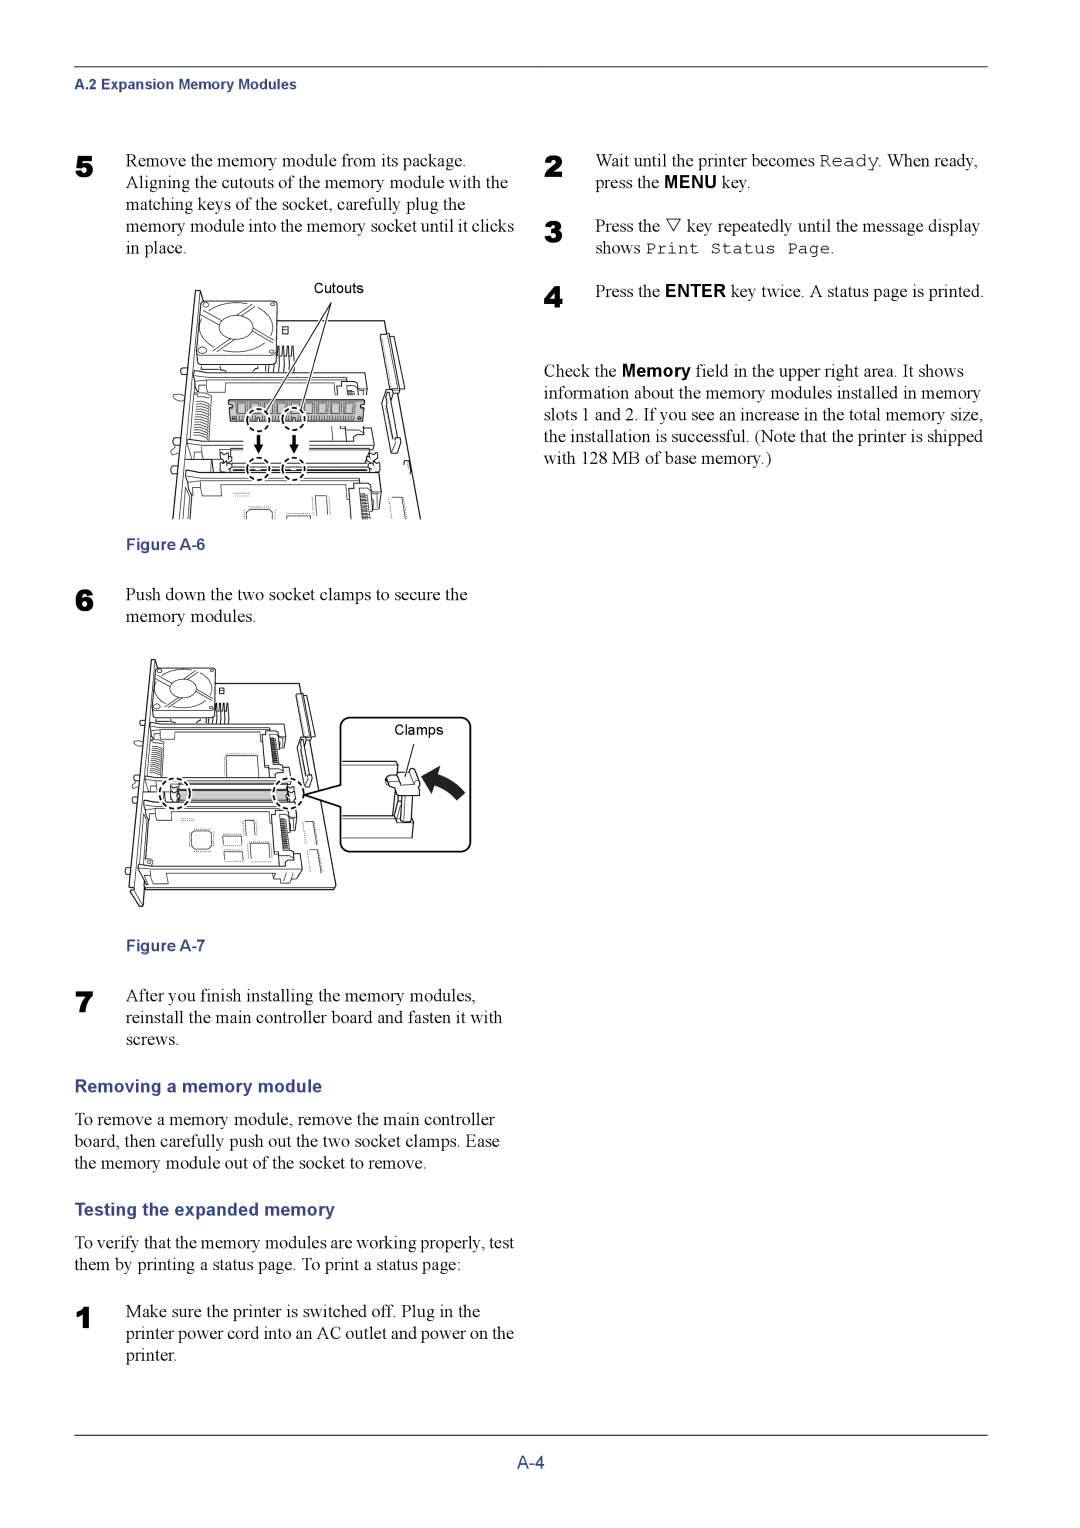
5 | Remove the memory module from its package. |
| Aligning the cutouts of the memory module with the |
matching keys of the socket, carefully plug the memory module into the memory socket until it clicks in place.
Cutouts
2 | Wait until the printer becomes Ready. When ready, |
| press the MENU key. |
3 | Press the V key repeatedly until the message display |
| shows Print Status Page. |
4 | Press the ENTER key twice. A status page is printed. |
Check the Memory field in the upper right area. It shows information about the memory modules installed in memory slots 1 and 2. If you see an increase in the total memory size, the installation is successful. (Note that the printer is shipped with 128 MB of base memory.)
| Figure |
6 | Push down the two socket clamps to secure the |
| memory modules. |
Clamps
| Figure |
7 | After you finish installing the memory modules, |
| reinstall the main controller board and fasten it with |
screws.
Removing a memory module
To remove a memory module, remove the main controller board, then carefully push out the two socket clamps. Ease the memory module out of the socket to remove.
Testing the expanded memory
To verify that the memory modules are working properly, test them by printing a status page. To print a status page:
1 | Make sure the printer is switched off. Plug in the |
| printer power cord into an AC outlet and power on the |
printer.