I/O Mapping an I/OBus Network with Concept
Editing the I/OBus I/O Map, Continued
Procedure,
Continued
Step | Action |
2Click on the desired model number and then click the <OK> button.
Result: The module type and its description are displayed on the Remote I/O Bus Drop screen. The proper field is enabled so that you can assign state RAM reference(s) to the unit.
3Enter the desired reference number. Where there is more than one register the balance is automatically assigned.
4Continue to select and map modules one after the other. You must enter the modules in contiguous node slots on the screen, e.g. you cannot enter a module in slot 7 if you have not filled slot 6.
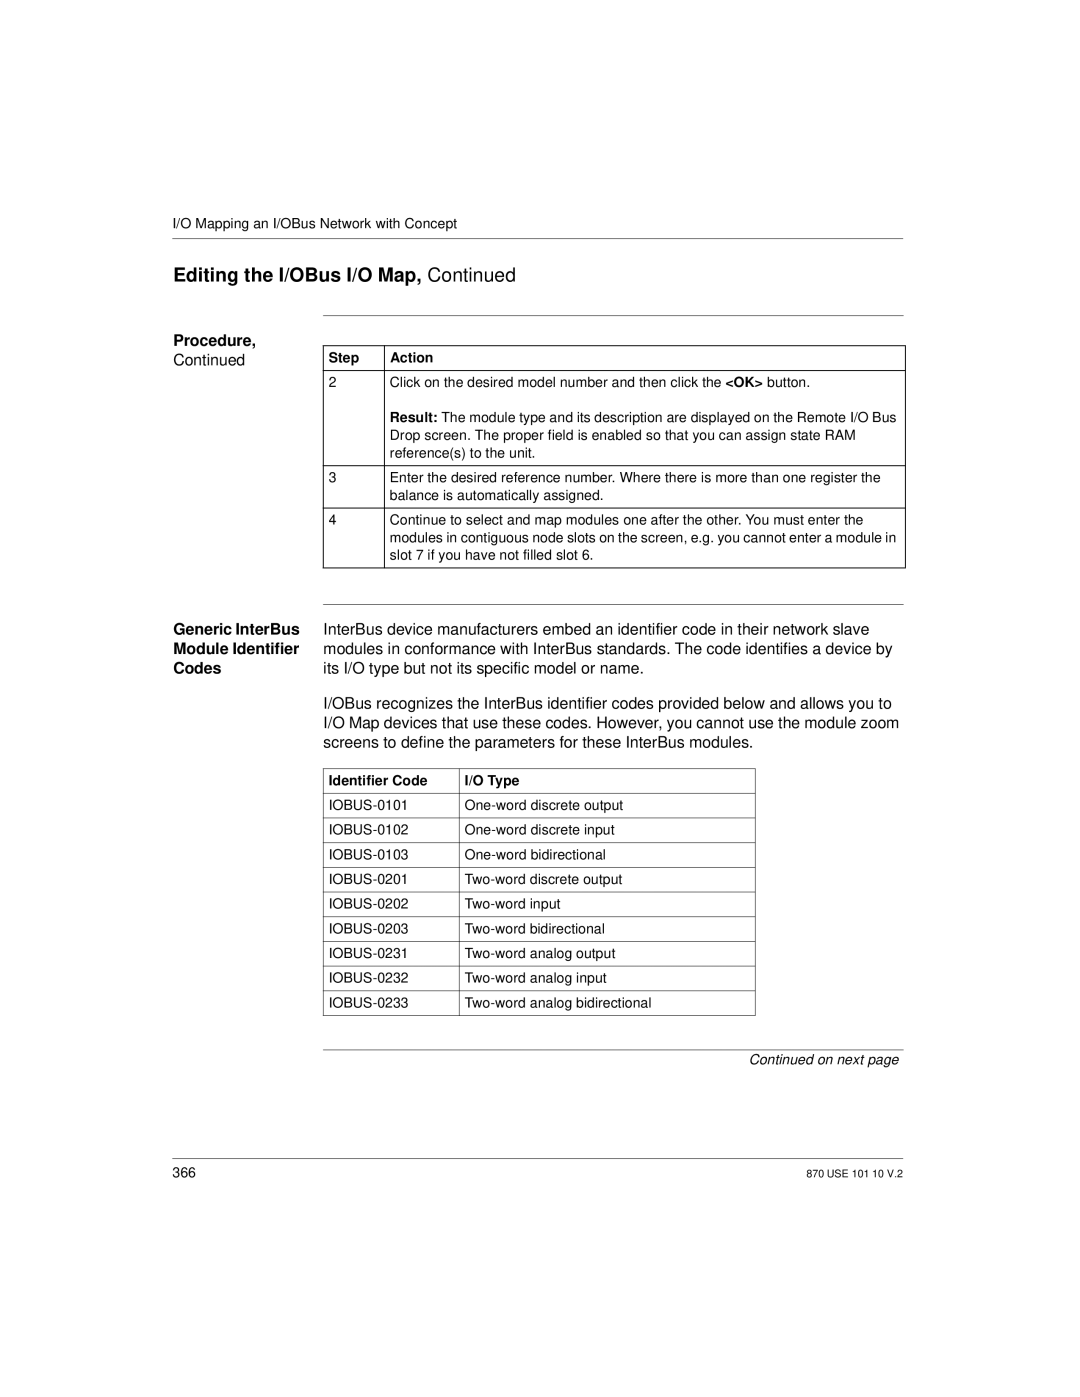
Generic InterBus InterBus device manufacturers embed an identifier code in their network slave Module Identifier modules in conformance with InterBus standards. The code identifies a device by
Codes | its I/O type but not its specific model or name. | ||
| I/OBus recognizes the InterBus identifier codes provided below and allows you to | ||
| I/O Map devices that use these codes. However, you cannot use the module zoom | ||
| screens to define the parameters for these InterBus modules. | ||
|
|
|
|
| Identifier Code | I/O Type |
|
|
|
|
|
|
| ||
|
|
|
|
|
| ||
|
|
|
|
|
| ||
|
|
|
|
|
| ||
|
|
|
|
|
| ||
|
|
|
|
|
| ||
|
|
|
|
|
| ||
|
|
|
|
|
| ||
|
|
|
|
|
| ||
|
|
|
|
Continued on next page
366 | 870 USE 101 10 V.2 |