Confirming the Scan Log
SCAN LOG allows you to list the jobs that have finished being scanned to confirm the results.
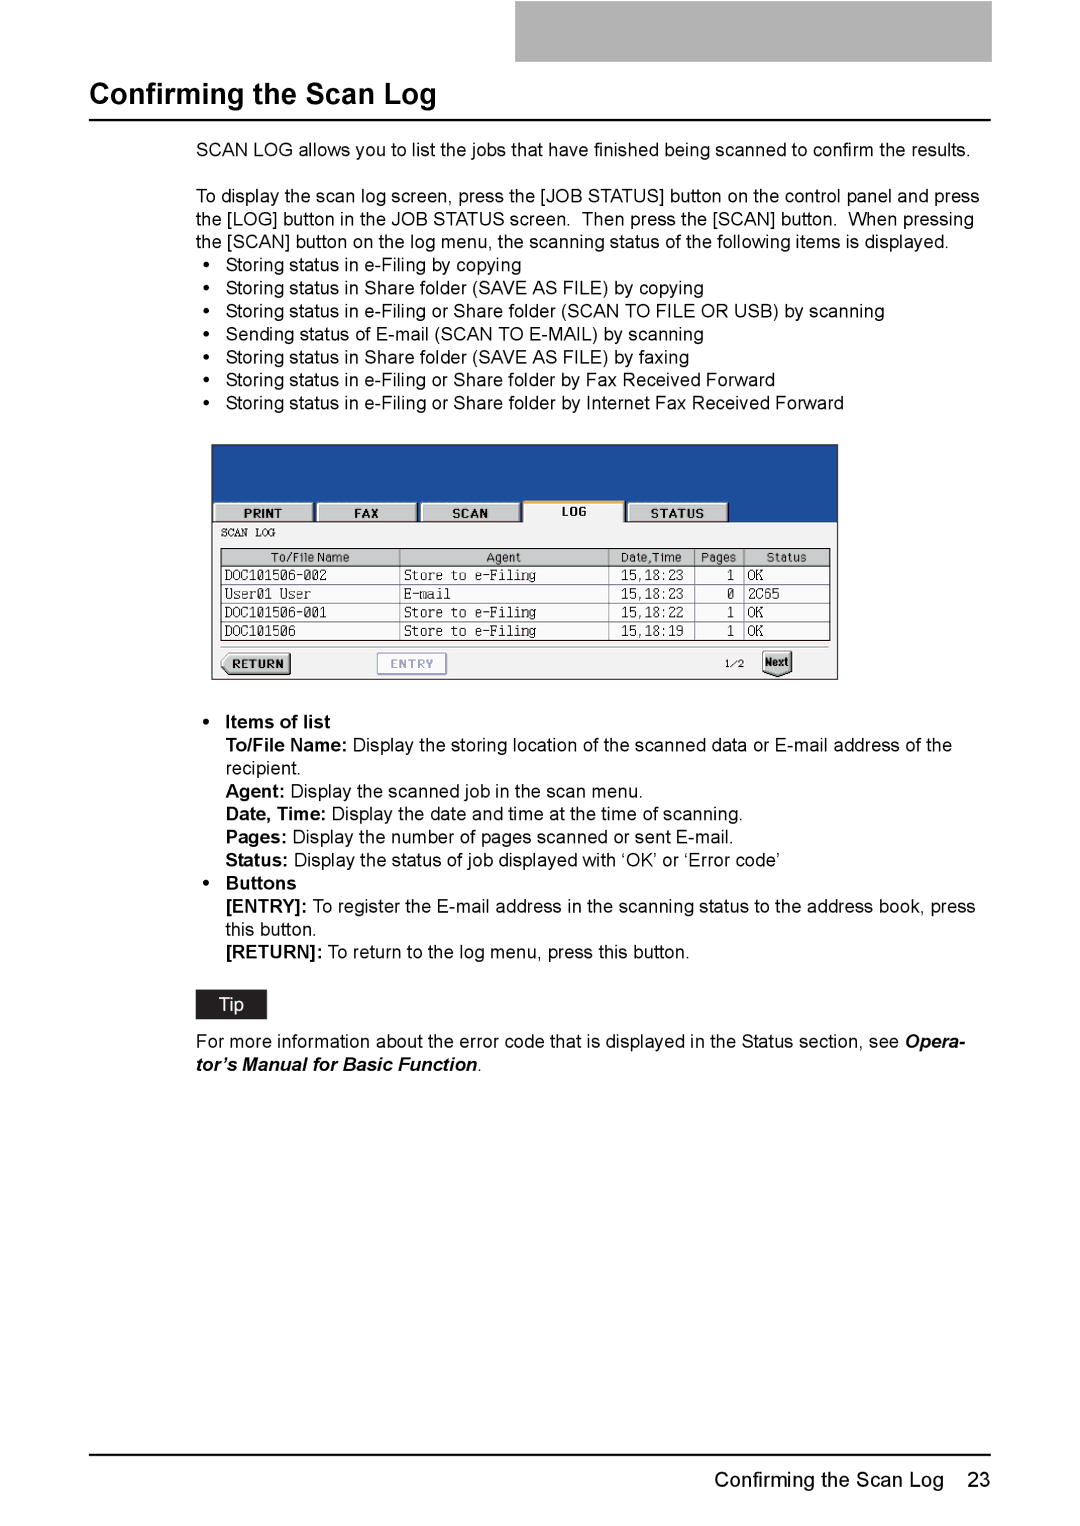
To display the scan log screen, press the [JOB STATUS] button on the control panel and press the [LOG] button in the JOB STATUS screen. Then press the [SCAN] button. When pressing the [SCAN] button on the log menu, the scanning status of the following items is displayed.
yStoring status in
yStoring status in Share folder (SAVE AS FILE) by copying
yStoring status in
ySending status of
yStoring status in Share folder (SAVE AS FILE) by faxing
yStoring status in
yStoring status in
yItems of list
To/File Name: Display the storing location of the scanned data or
Agent: Display the scanned job in the scan menu.
Date, Time: Display the date and time at the time of scanning.
Pages: Display the number of pages scanned or sent
Status: Display the status of job displayed with ‘OK’ or ‘Error code’
yButtons
[ENTRY]: To register the
[RETURN]: To return to the log menu, press this button.
For more information about the error code that is displayed in the Status section, see Opera- tor’s Manual for Basic Function.
Confirming the Scan Log 23