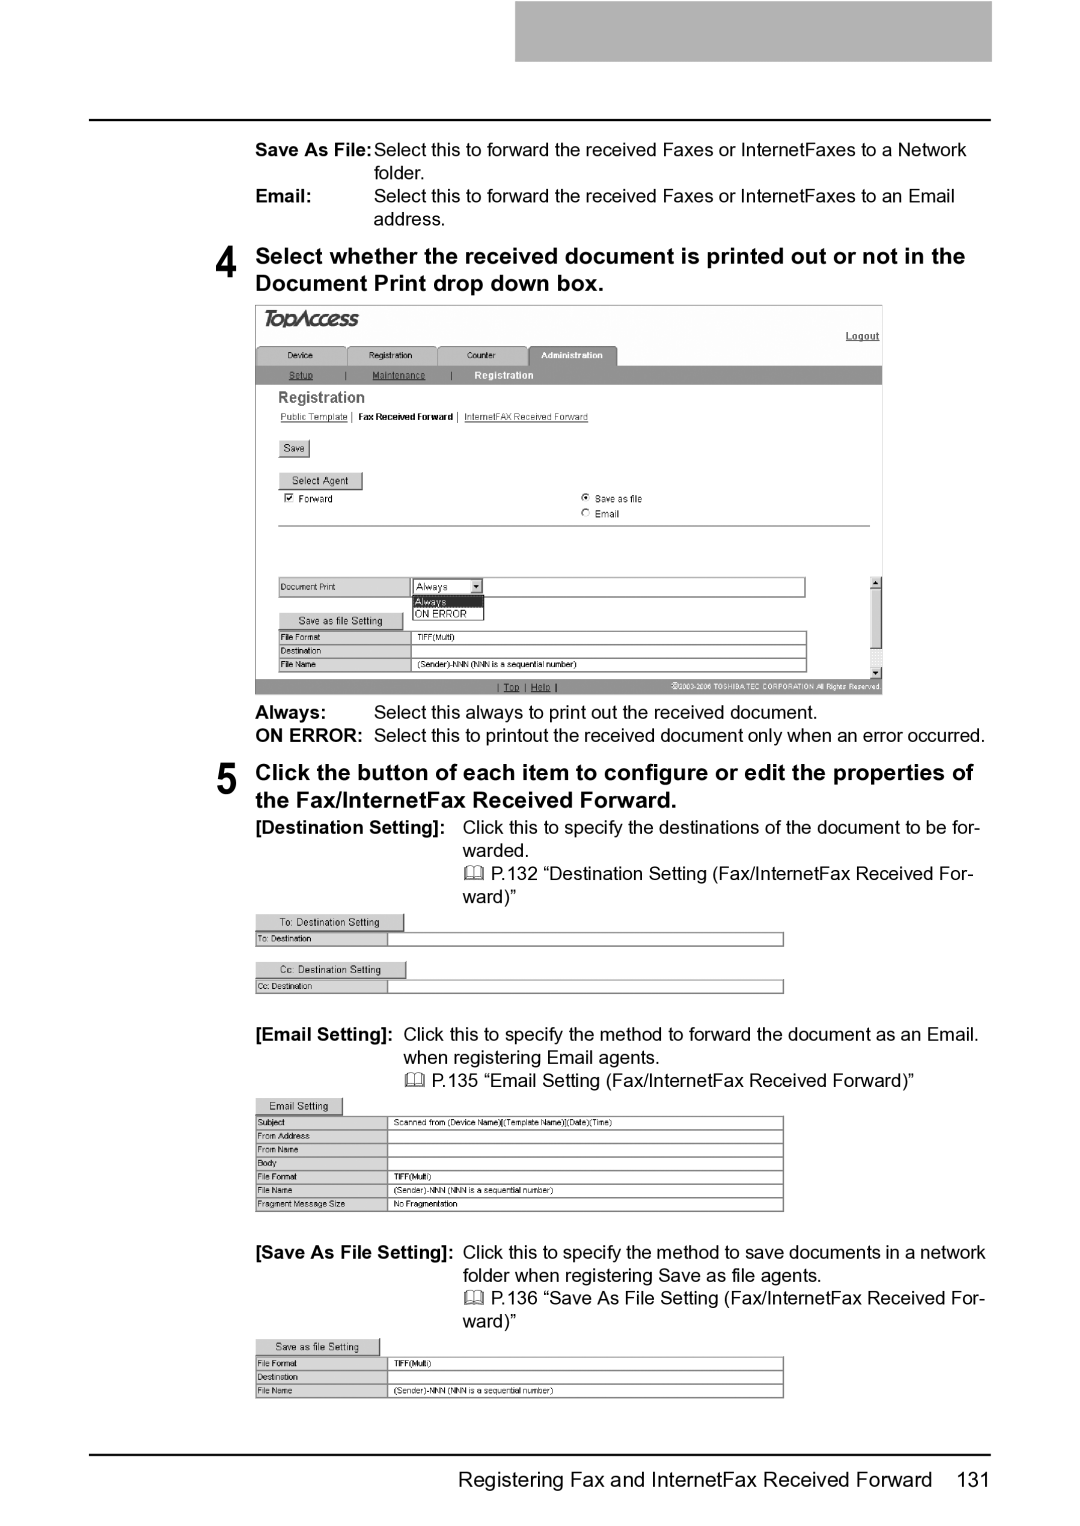
Save As File:Select this to forward the received Faxes or InternetFaxes to a Network folder.
Email: Select this to forward the received Faxes or InternetFaxes to an Email address.
4 Select whether the received document is printed out or not in the Document Print drop down box.
Always: Select this always to print out the received document.
ON ERROR: Select this to printout the received document only when an error occurred.
5 Click the button of each item to configure or edit the properties of the Fax/InternetFax Received Forward.
[Destination Setting]: Click this to specify the destinations of the document to be for- warded.
P.132 “Destination Setting (Fax/InternetFax Received For- ward)”
[Email Setting]: Click this to specify the method to forward the document as an Email. when registering Email agents.
P.135 “Email Setting (Fax/InternetFax Received Forward)”
[Save As File Setting]: Click this to specify the method to save documents in a network folder when registering Save as file agents.
P.136 “Save As File Setting (Fax/InternetFax Received For- ward)”
