6F8A0917
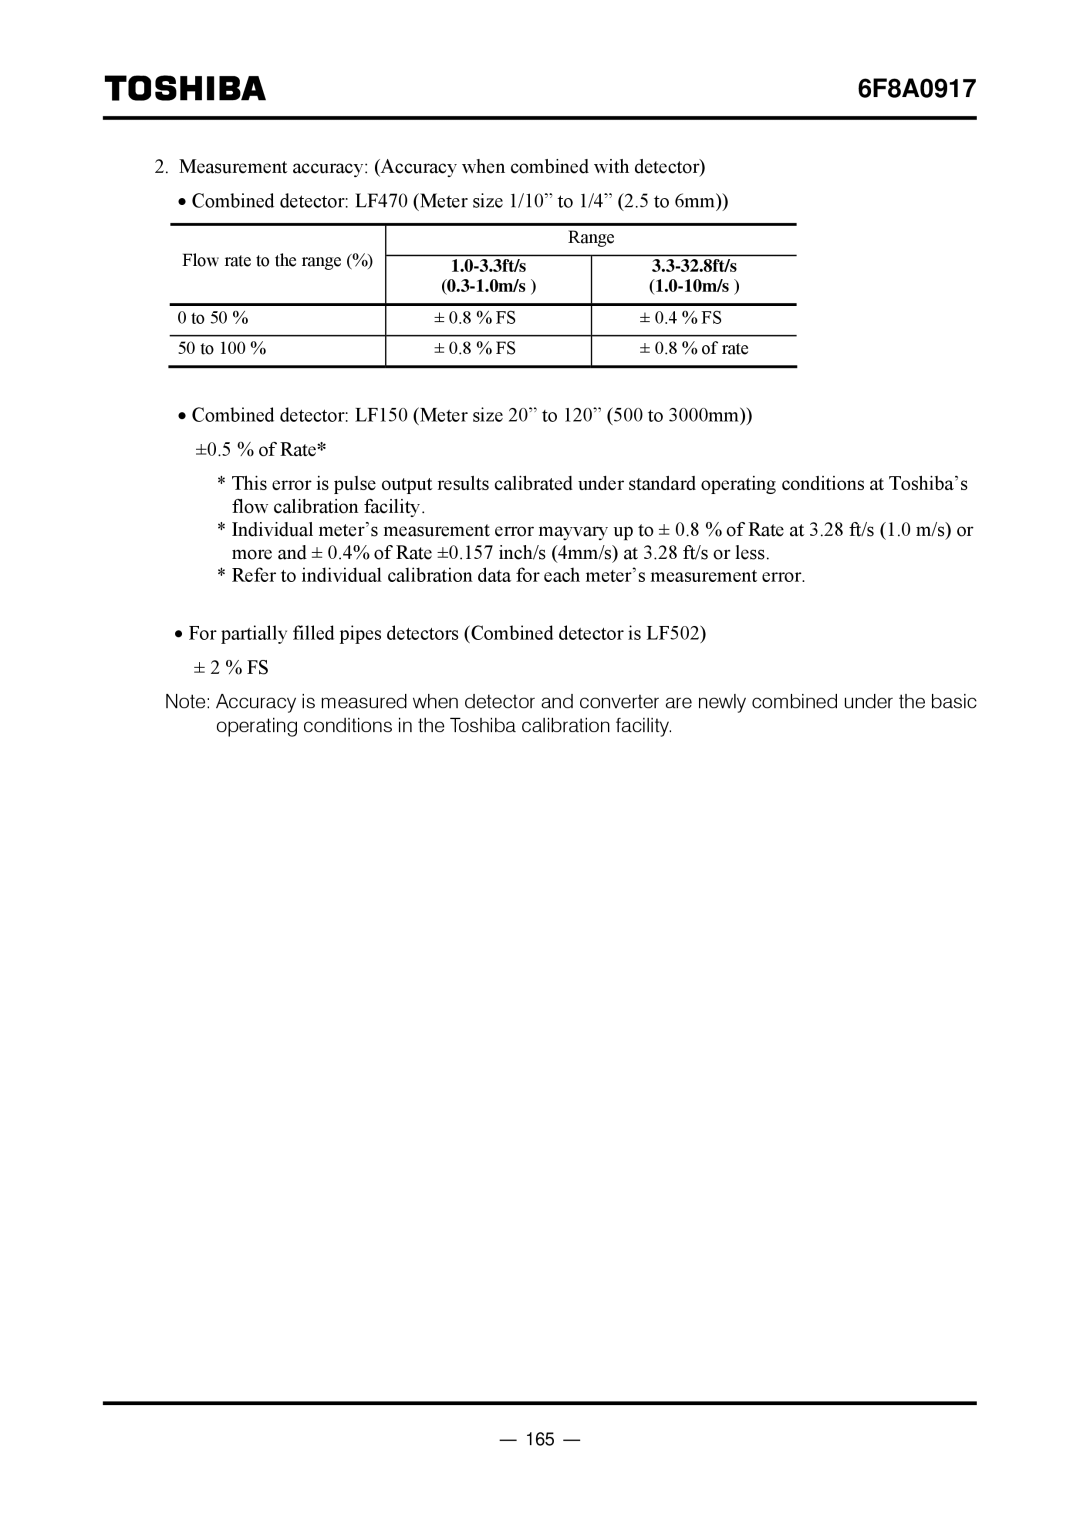
2.Measurement accuracy: (Accuracy when combined with detector)
•Combined detector: LF470 (Meter size 1/10” to 1/4” (2.5 to 6mm))
| Flow rate to the range (%) |
| Range | ||
|
|
|
| ||
|
| ||||
|
|
|
| ||
|
|
|
|
| ± 0.4 % FS |
| 0 to 50 % | ± 0.8 % FS |
|
| |
|
|
|
|
| ± 0.8 % of rate |
| 50 to 100 % | ± 0.8 % FS |
|
| |
|
|
|
|
|
|
•Combined detector: LF150 (Meter size 20” to 120” (500 to 3000mm)) ±0.5 % of Rate*
*This error is pulse output results calibrated under standard operating conditions at Toshiba’s flow calibration facility.
*Individual meter’s measurement error mayvary up to ± 0.8 % of Rate at 3.28 ft/s (1.0 m/s) or more and ± 0.4% of Rate ±0.157 inch/s (4mm/s) at 3.28 ft/s or less.
*Refer to individual calibration data for each meter’s measurement error.
•For partially filled pipes detectors (Combined detector is LF502)
± 2 % FS
Note: Accuracy is measured when detector and converter are newly combined under the basic operating conditions in the Toshiba calibration facility.
