Scanning and Configuring OneTouch
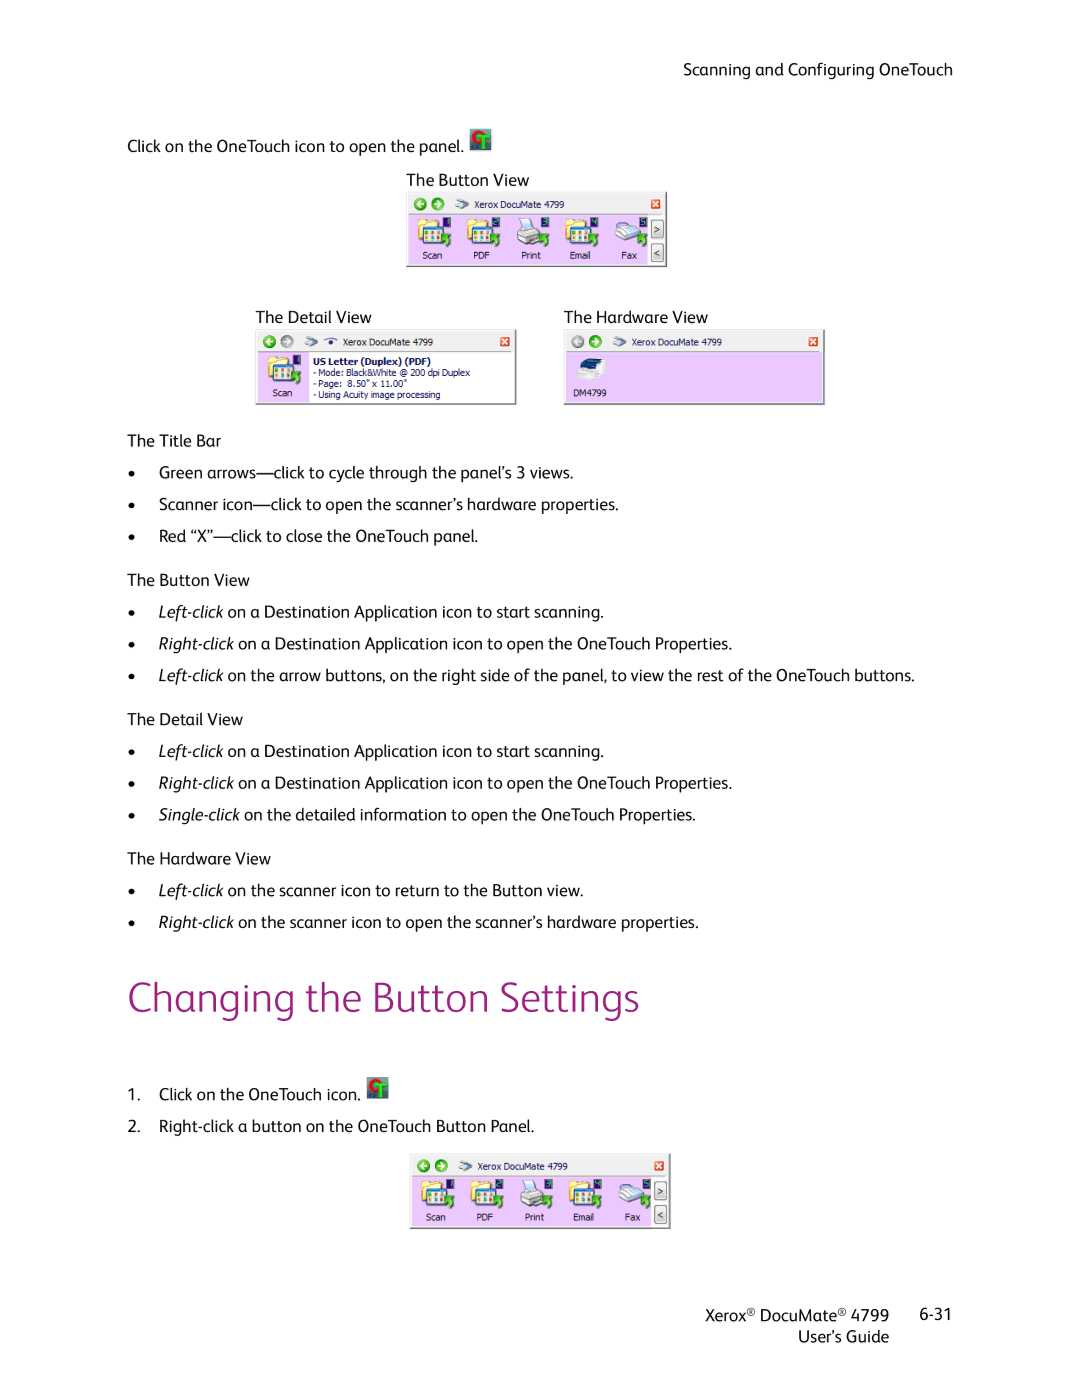
Click on the OneTouch icon to open the panel. 
The Button View
The Detail View | The Hardware View |
The Title Bar
•Green arrows—click to cycle through the panel’s 3 views.
•Scanner icon—click to open the scanner’s hardware properties.
•Red “X”—click to close the OneTouch panel.
The Button View
•Left-clickon a Destination Application icon to start scanning.
•Right-clickon a Destination Application icon to open the OneTouch Properties.
•Left-clickon the arrow buttons, on the right side of the panel, to view the rest of the OneTouch buttons.
The Detail View
•Left-clickon a Destination Application icon to start scanning.
•Right-clickon a Destination Application icon to open the OneTouch Properties.
•Single-clickon the detailed information to open the OneTouch Properties.
The Hardware View
•Left-clickon the scanner icon to return to the Button view.
•Right-clickon the scanner icon to open the scanner’s hardware properties.
Changing the Button Settings
1.Click on the OneTouch icon. 
2.Right-click a button on the OneTouch Button Panel.